
 Computer Forum
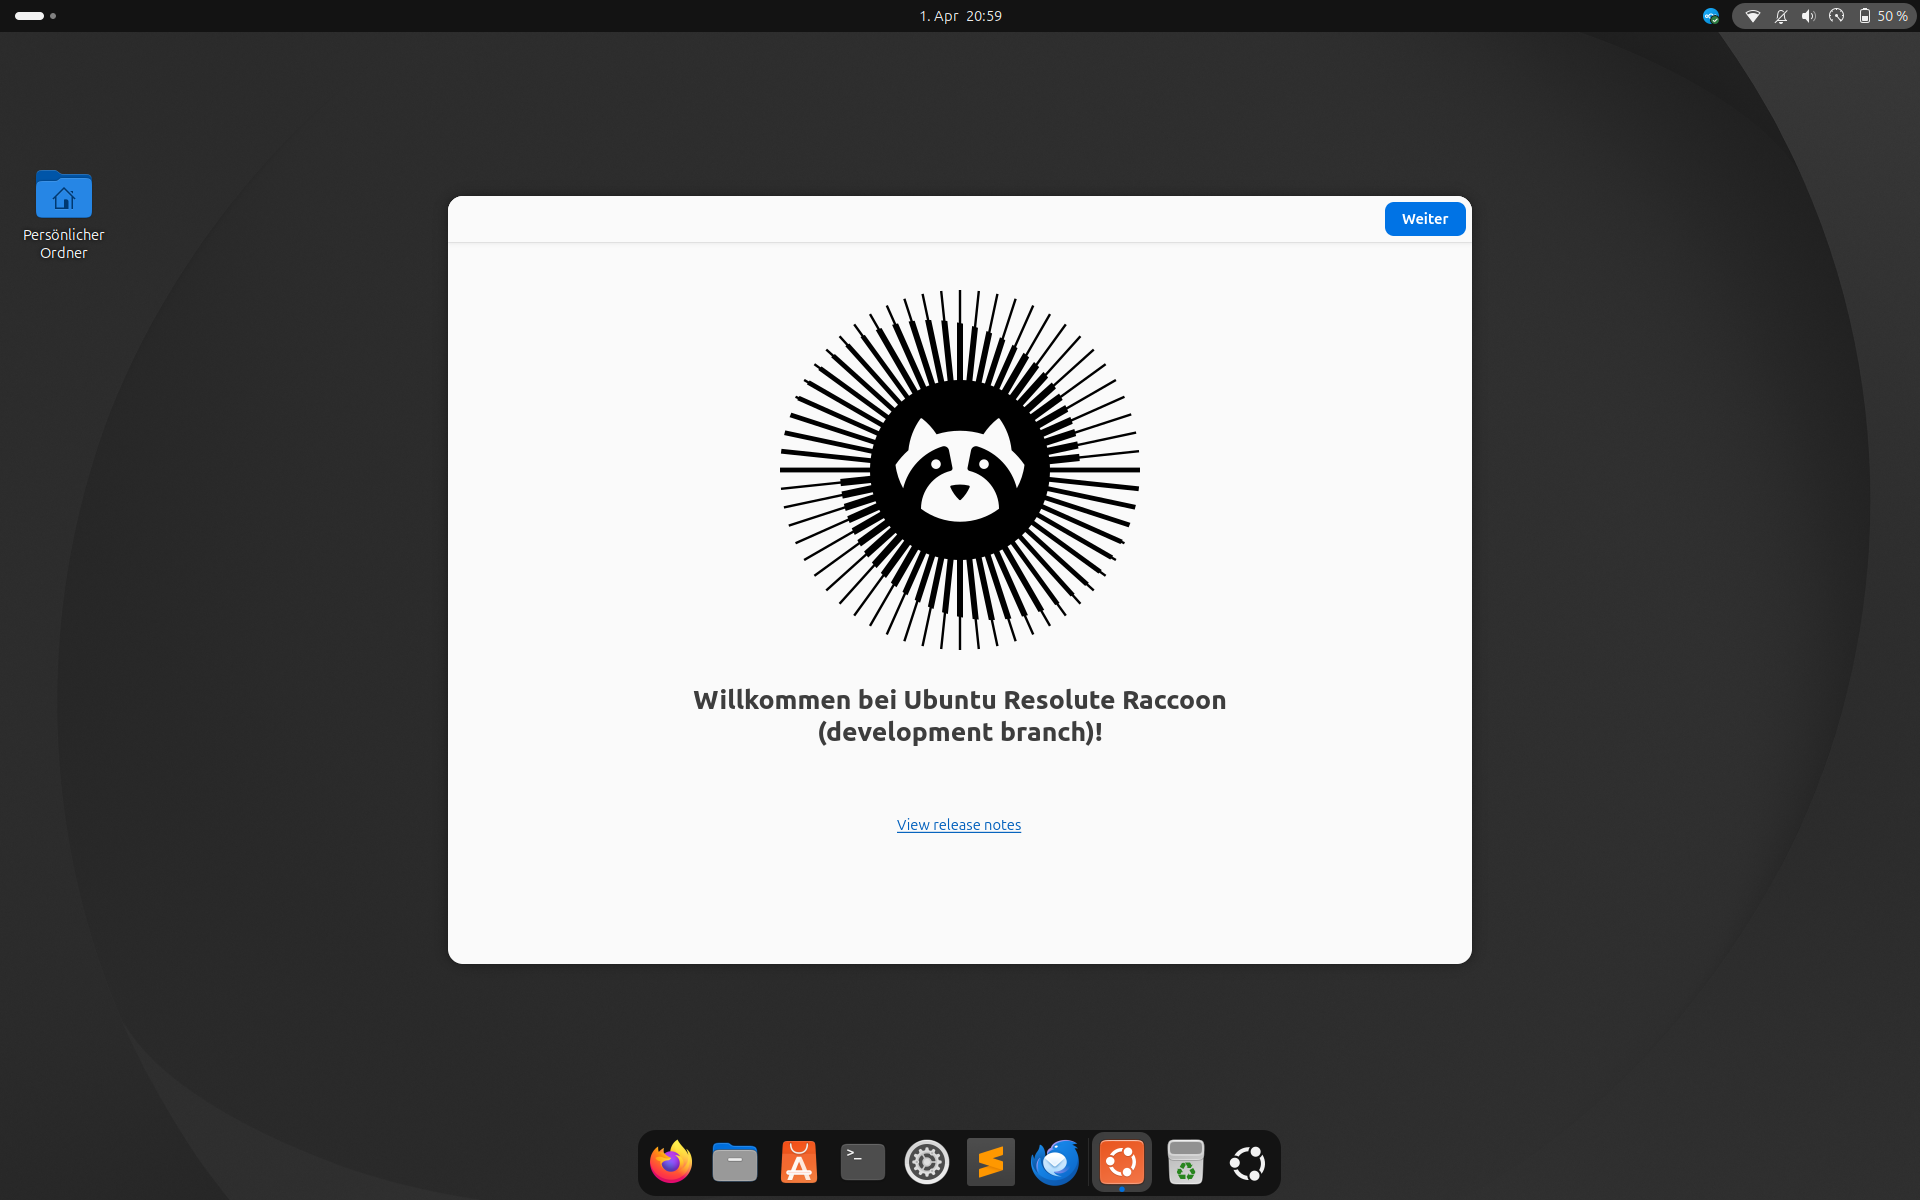 Ubuntu 26 04 LTS Resolute Raccoon (Image © PCMasters.de)
Ubuntu follows a strict sequential upgrade policy. Users cannot skip versions; they must move from one version to the next in chronological order. This applies to both Long-Term Support (LTS) versions and interim releases.
Long-Term Support (LTS) Path
Users of an LTS version—which is the default for most installations—can upgrade to the latest LTS version, such as Ubuntu 24.04 LTS. It is important to note that upgrades to a new LTS version are generally not available immediately after the initial release. Instead, they become available only after the first point release (for example, version 26.04.01), which typically occurs several months after the original release date. This ensures that any serious upgrade bugs are fixed by then. Early adopters can still upgrade if they wish.
Intermediate Version
Users who use intermediate versions have a more frequent upgrade cycle. These upgrades are usually available a few days after the official release date of the new version, such as Ubuntu 26.04.
Performing an Ubuntu Desktop Upgrade
To avoid system instability or data loss during the upgrade, several preparatory steps are required:
- Power Supply: Users of laptops and mobile devices must ensure that the hardware is connected to a stable power source to prevent the device from shutting down during installation.
- Storage Capacity: The system requires several gigabytes of free disk space to download and store temporary installation data.
- Data Redundancy: All user data should be backed up to an external storage device. Even though data loss is rare, a backup is an important safety measure.
-
Current System Maintenance: The existing installation must be fully updated before starting the upgrade. This is done by running the
Software Updaterapplication, installing all available updates, and restarting the system if prompted.
Upgrade Process
The upgrade is initiated via the Software Updater application. As soon as the application detects a new version, select the upgrade option to start an interactive process.
Steps of the Interactive Process
- 1. Overview: The system displays a summary of the upgrade and provides access to the release notes.
- 2. Package Analysis: The application lists all packages that will be installed or removed during the process.
- 3. Managing External Packages: If the system contains packages from Personal Package Archives (PPAs) or third-party repositories, a message regarding external packages will appear. You can try to continue; however, if the process fails, these packages must be removed manually before you restart the upgrade.
- 4. Visual Glitches: During the process, visual glitches such as misaligned icons may occur as the desktop environment is updated.
- 5. Cleanup: Once the installation is complete, the system prompts the user to remove obsolete packages from the previous version to optimize disk space.
- 6. System Reboot: A full reboot is required to complete the installation.
Configuration and Final Steps After the Upgrade
After logging in to the new version for the first time, users should check system stability. Since third-party repositories and PPAs are often disabled during the upgrade process for compatibility reasons, users may need to re-enable them. This can be done through the Software & Updates application on the “Other Software” tab. If this application is not available, it can be installed using the software-properties-gtk Deb package.
Technical Troubleshooting and Recovery
Issues with Upgrade Availability
If an upgrade does not appear, it is likely due to the timing of the release. For LTS upgrades, the system waits for the first point release, and for interim upgrades, it waits a few days to ensure that critical bugs have been fixed. You can manually force the upgrade via the command line using update-manager. If you need a development release, you can use the command update-manager --devel-release, although this is unsupported and may lead to system instability.
Performance Degradation
An initial slowdown immediately after a reboot is often due to background configuration tasks running. However, if the system remains slow, users should verify that their hardware meets the updated system requirements listed in the release notes. In cases of severe performance degradation, a fresh installation is recommended. Users who wish to revert to an earlier LTS version must perform a complete reinstallation, as downgrading an existing installation is not supported.
Recovery After a Power Outage
If the system loses power during the upgrade, you should try to reboot it and resume the process. If the system cannot boot normally, use the following command-line steps to repair the installation:
-
- Configure extracted updates:
sudo dpkg --configure -a
- Configure extracted updates:
-
- Repair broken dependencies:
sudo apt --fix-broken install
- Repair broken dependencies: