
 Computer Forum
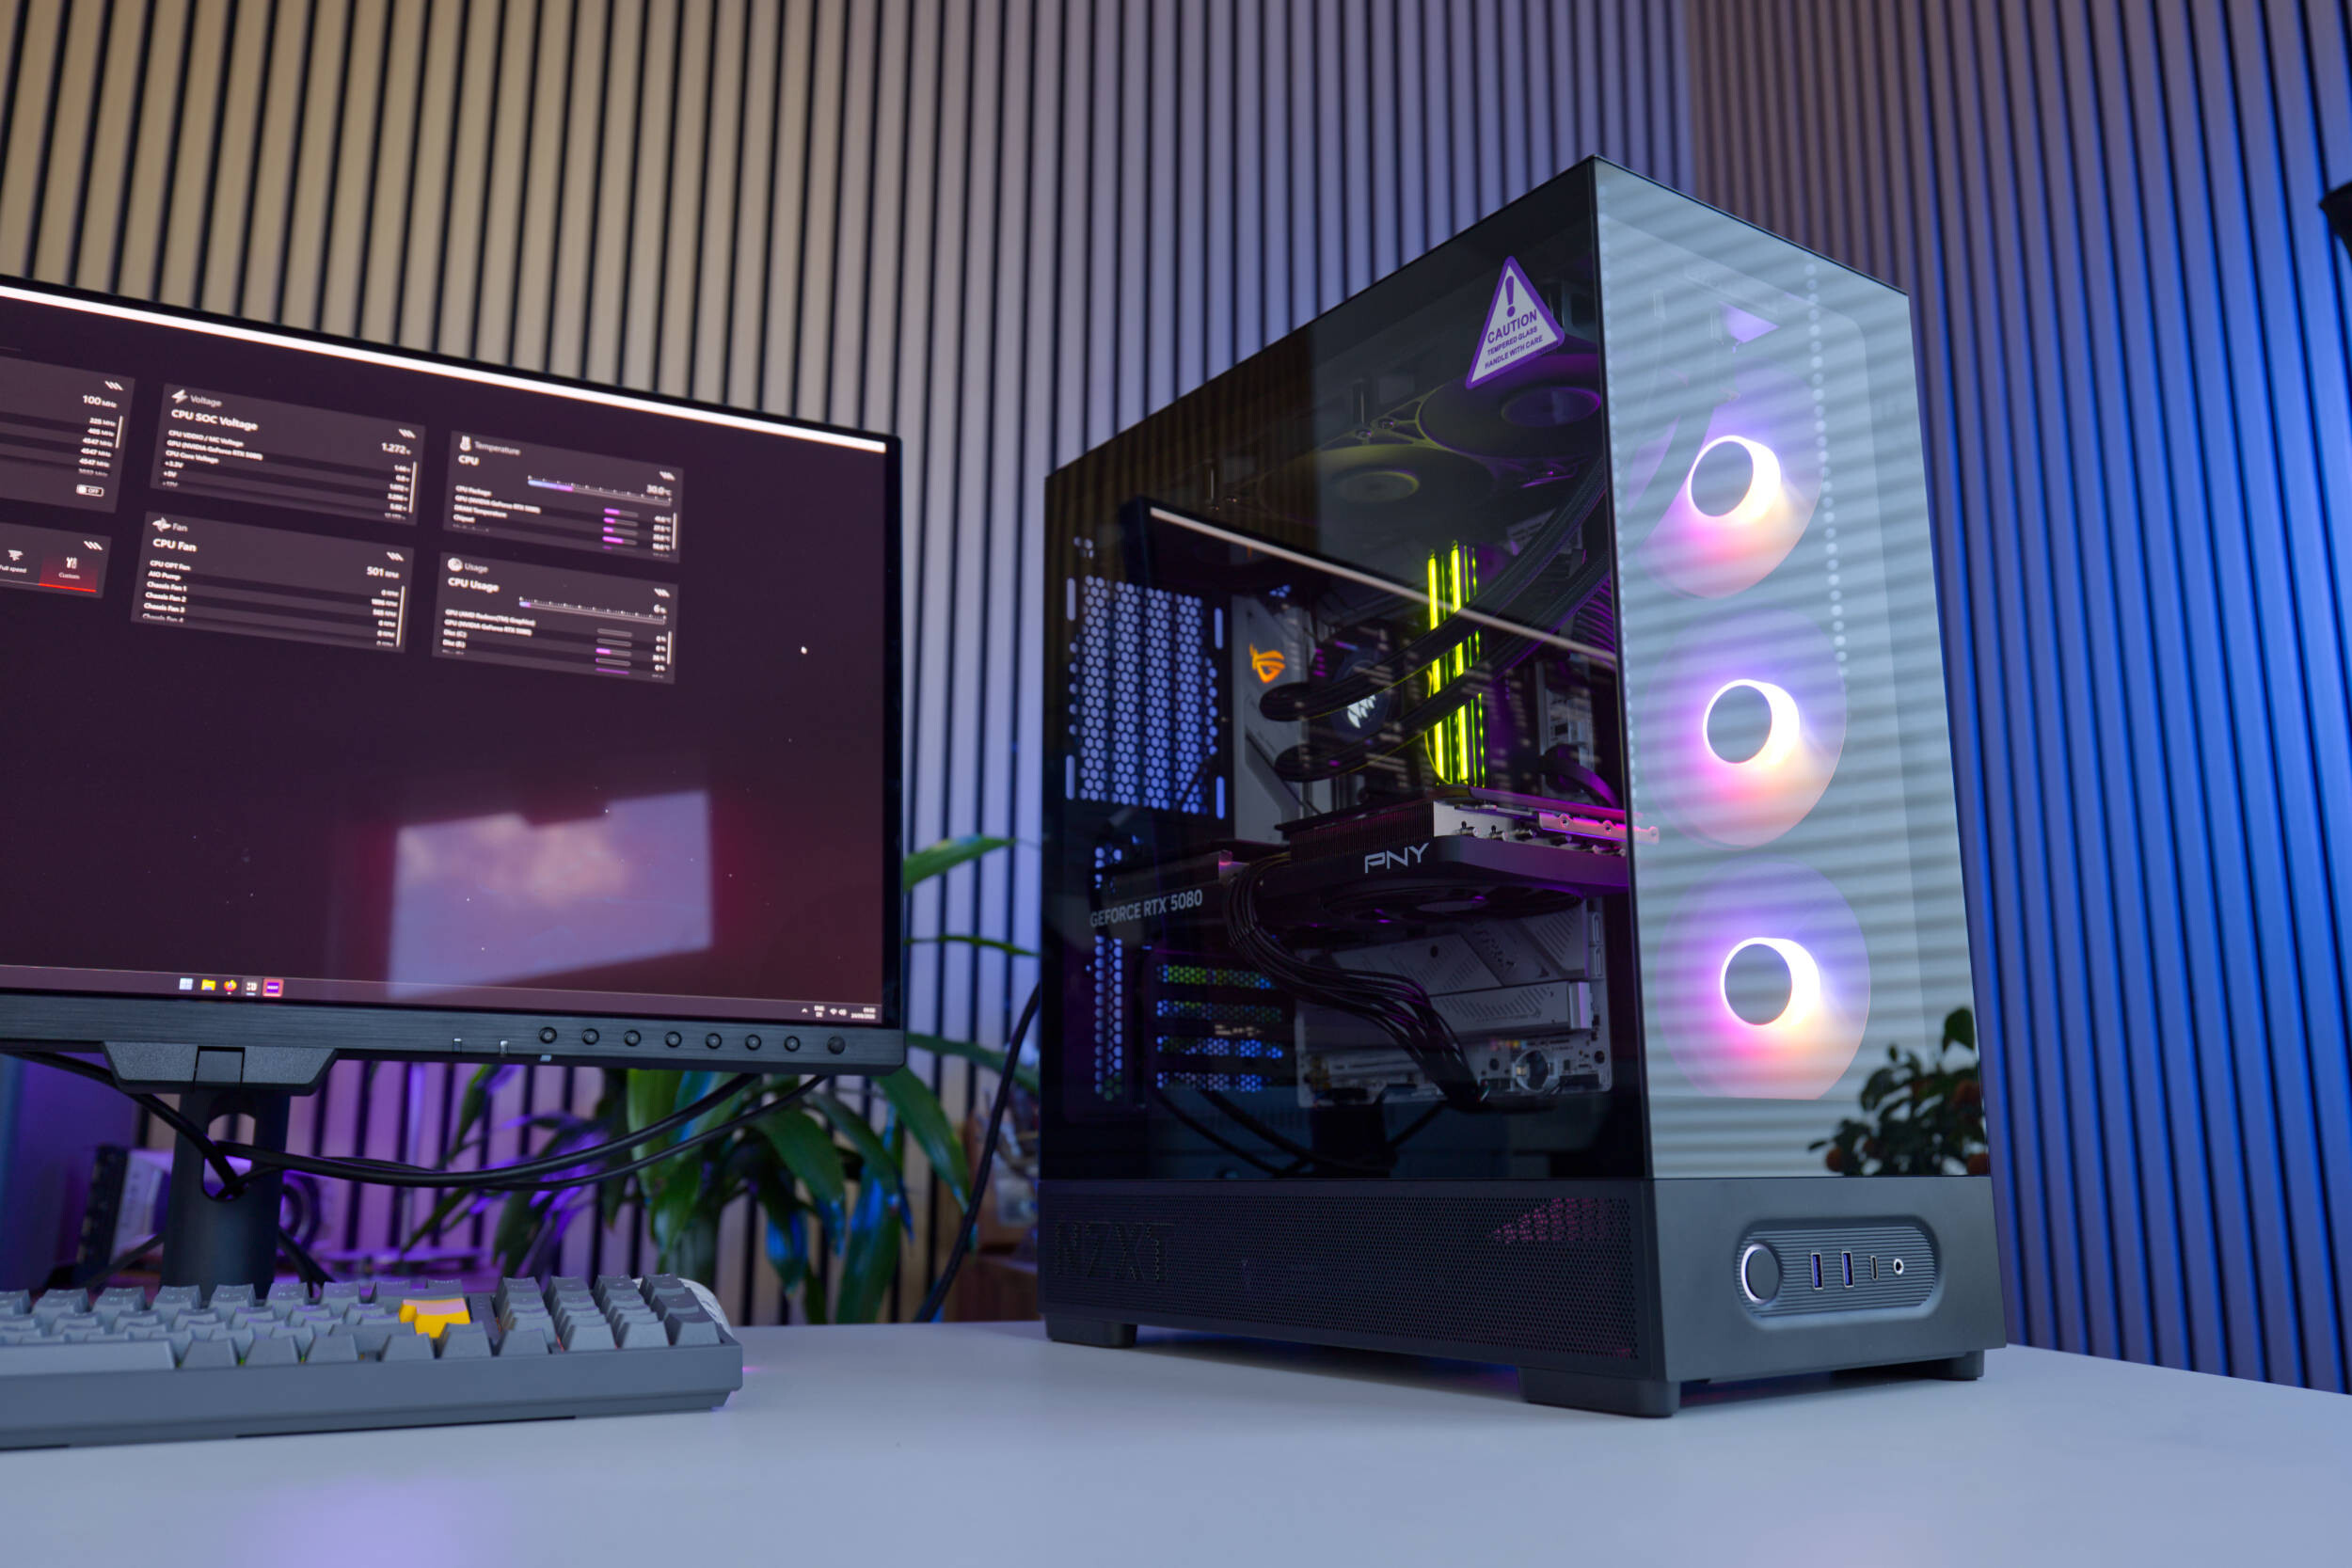 NZXT S5 RGB Review (Image © PCMasters.de)
NZXT S5 RGB in Detail
NZXT is best known for the premium segment and has consistently impressed with its design and sophisticated features. This new release takes a noticeably different approach, as the S5 RGB and S5 RGB Deluxe models are priced well below the €100 mark. In doing so, the company has cut back on more than we expected.
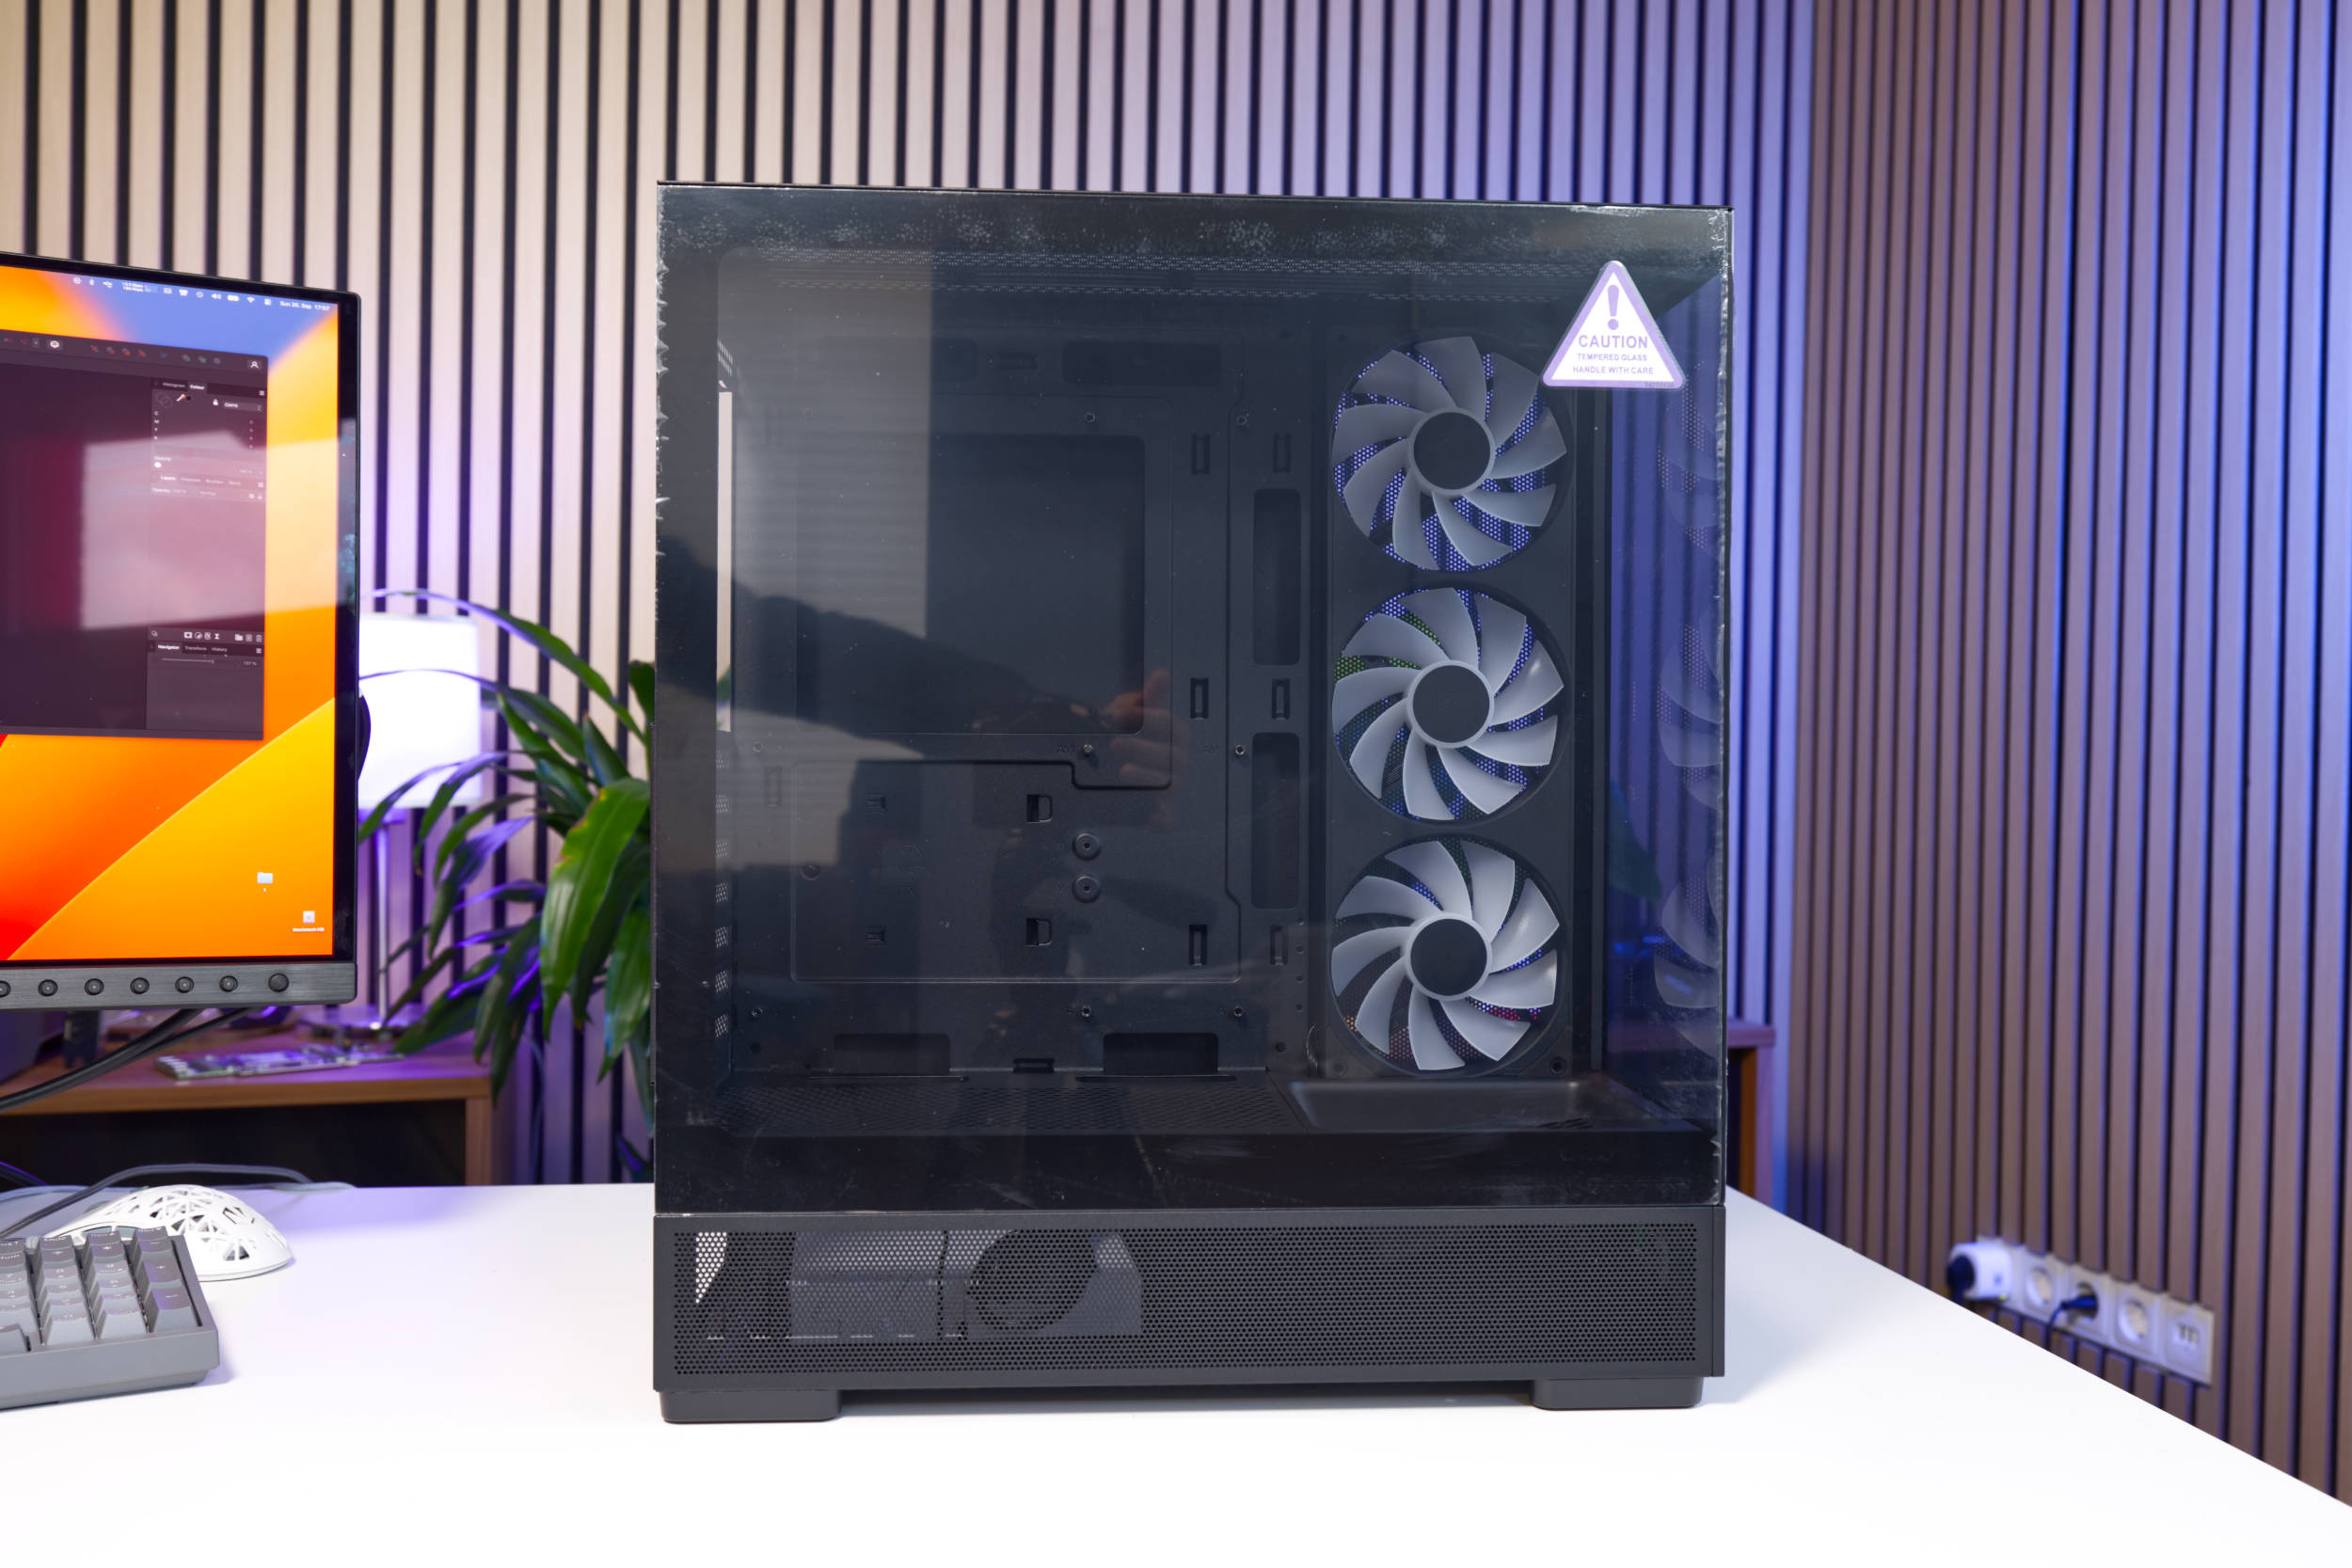 NZXT S5 RGB Glass Panel (Image © PCMasters.de)
Even though a glance at the design reveals the familiar shapes and large panoramic glass panel—which serve as recognizable hallmarks—when paired with a large, colorful 360mm single frame fan, the case is unexpectedly compact. With dimensions of 210 x 482 x 423 mm, it is, however, 82 mm narrower, 3 mm longer, and 34 mm taller than the NZXT H6 RGB+. A major difference can be seen in the construction and implementation, as the dual-chamber design isn’t quite present here—the power supply is installed at the bottom, and there’s very little space behind the motherboard tray. What stands out, however, is the space reserved for a fan rotated approximately 40° on the lower front panel next to the glass. This fan is oriented toward the graphics card and CPU.
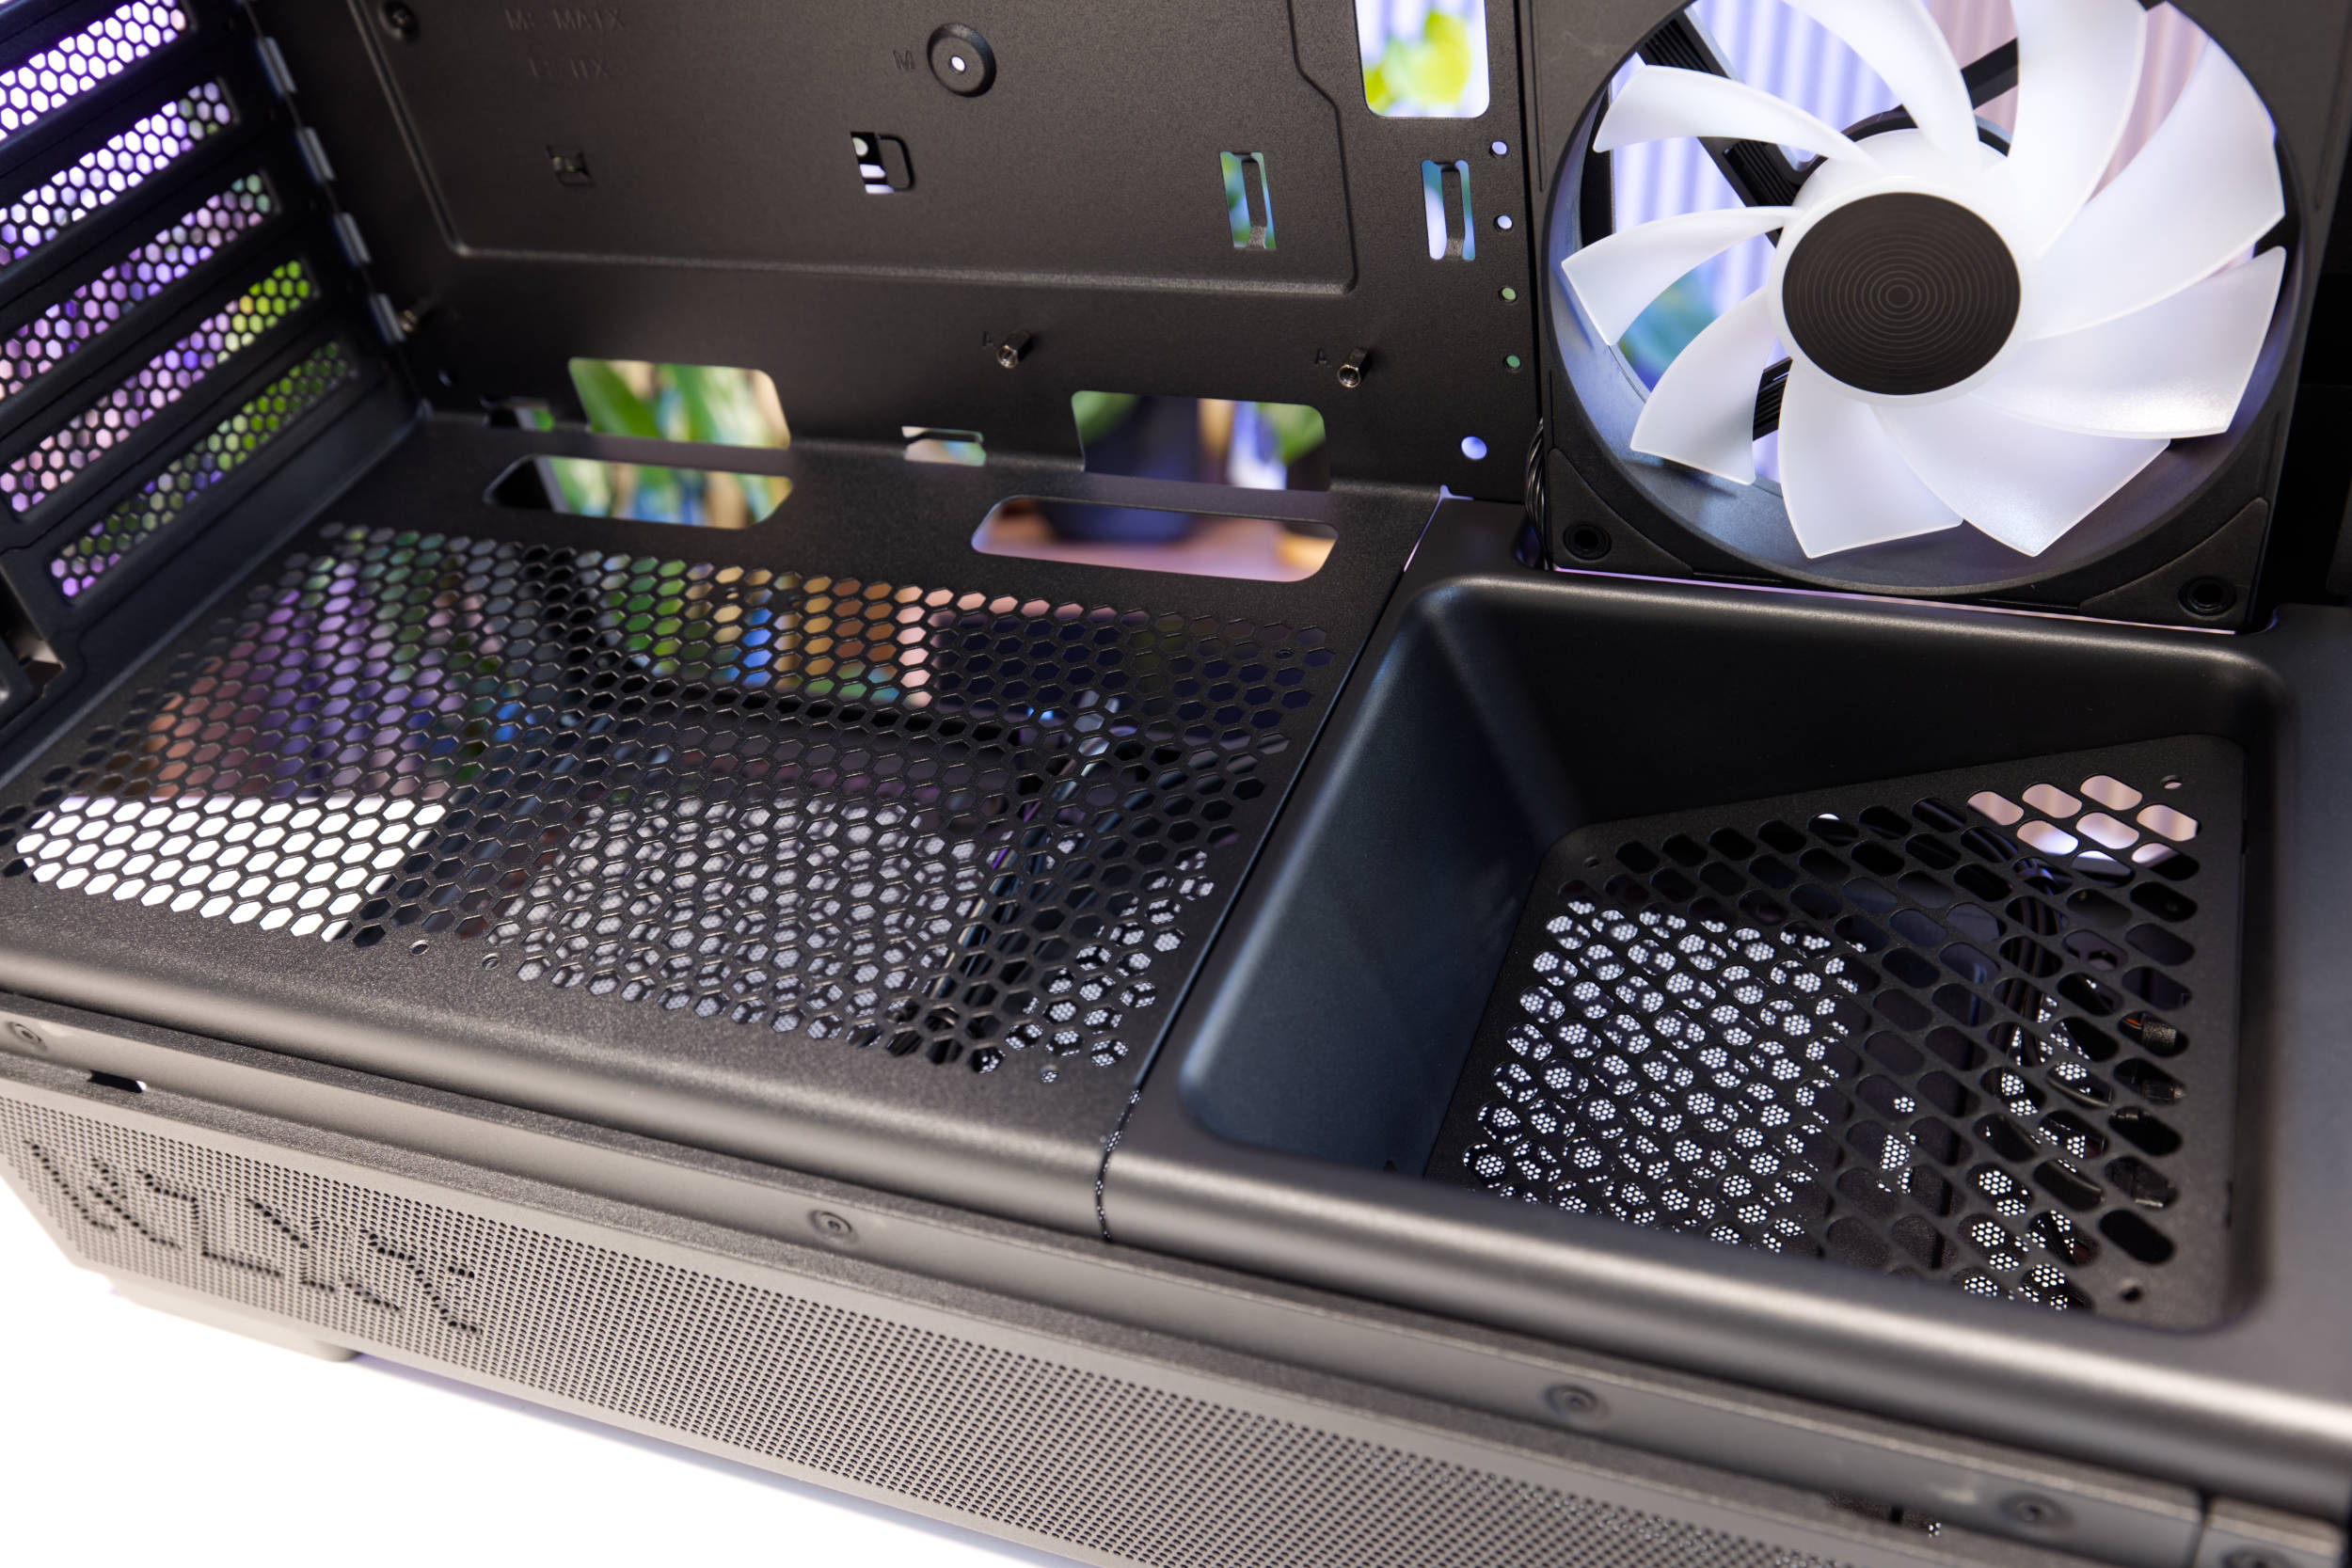 NZXT S5 RGB Fan Mounts (Bottom) (Image © PCMasters.de)
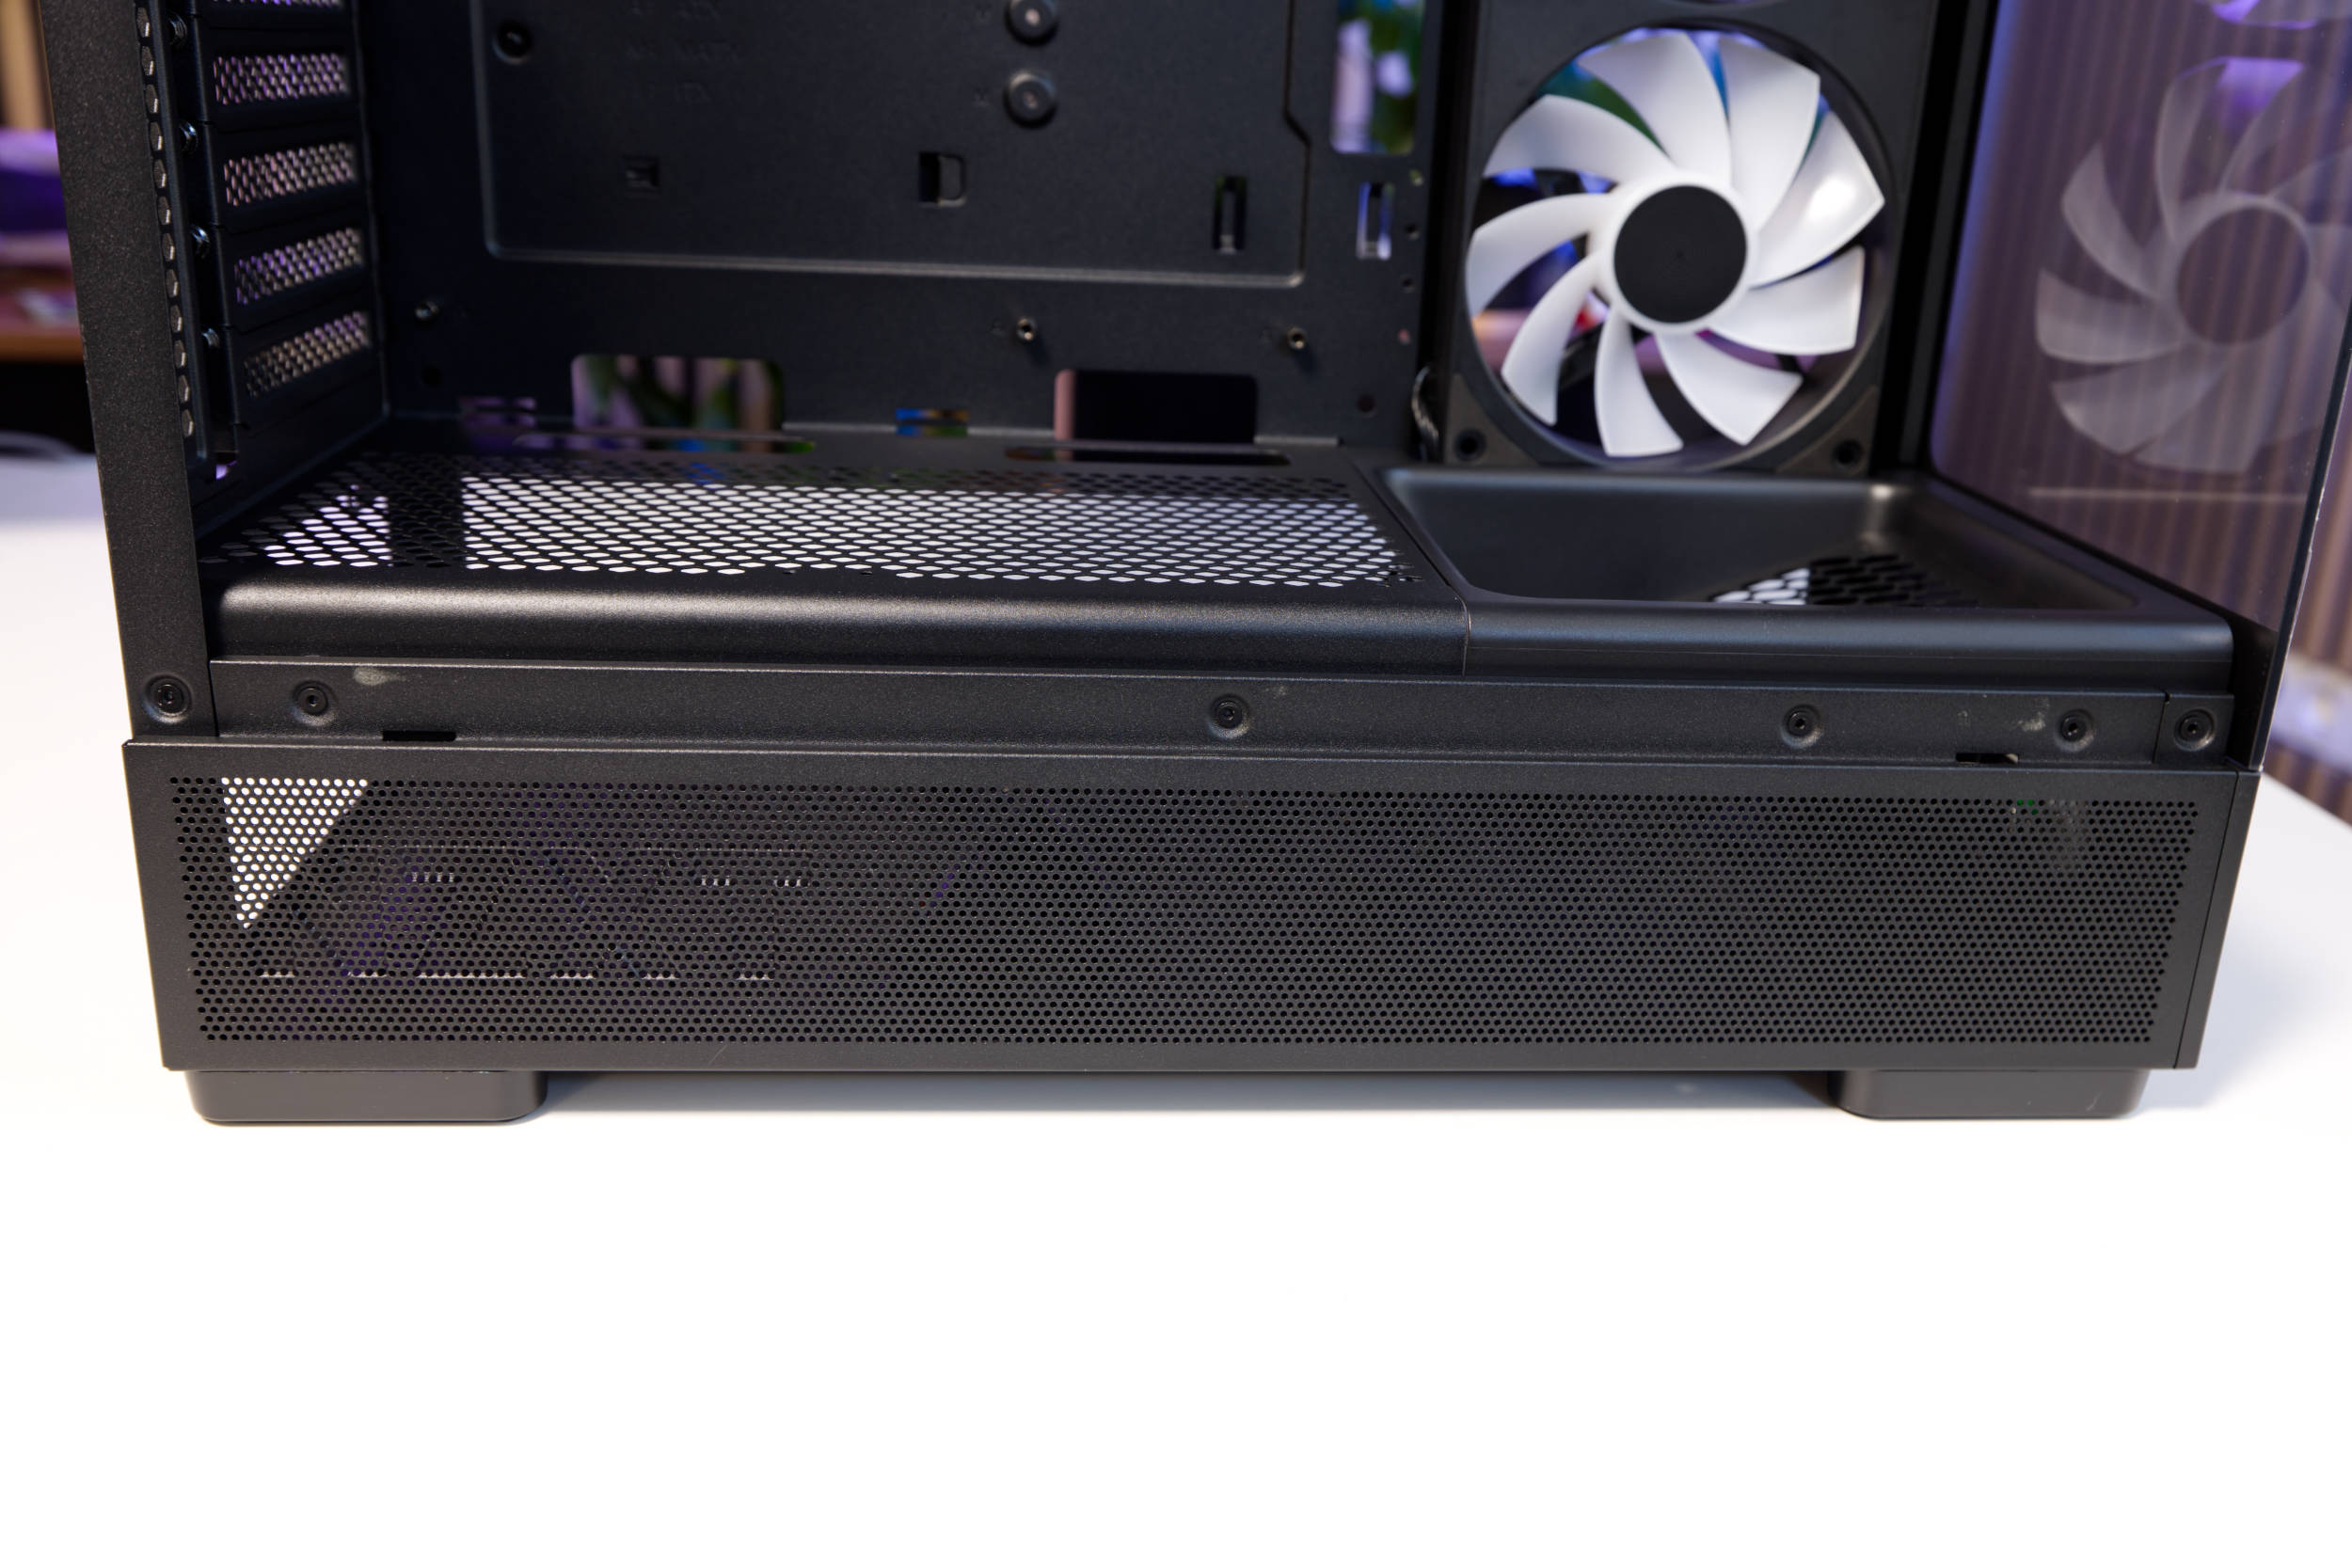 NZXT S5 RGB Side Mesh (Image © PCMasters.de)
The S5 RGB is thus intended to serve as an entry-level option in the NZXT portfolio for those on a tighter budget of €59. As a result, the sheet metal used is thinner; the rubber covers on the cable openings are missing; the usual cable channels and Velcro straps are absent; and we only get five cable ties for securing cables. Of course, at this price point, there’s no Cam Hub either, so the pre-installed single-frame 360mm fan is connected to the motherboard via a 4-pin PWM ARGB cable. The S5 thus offers the bare minimum and provides for upgrade options, as up to 10 fans—or radiators, if needed—can be installed.
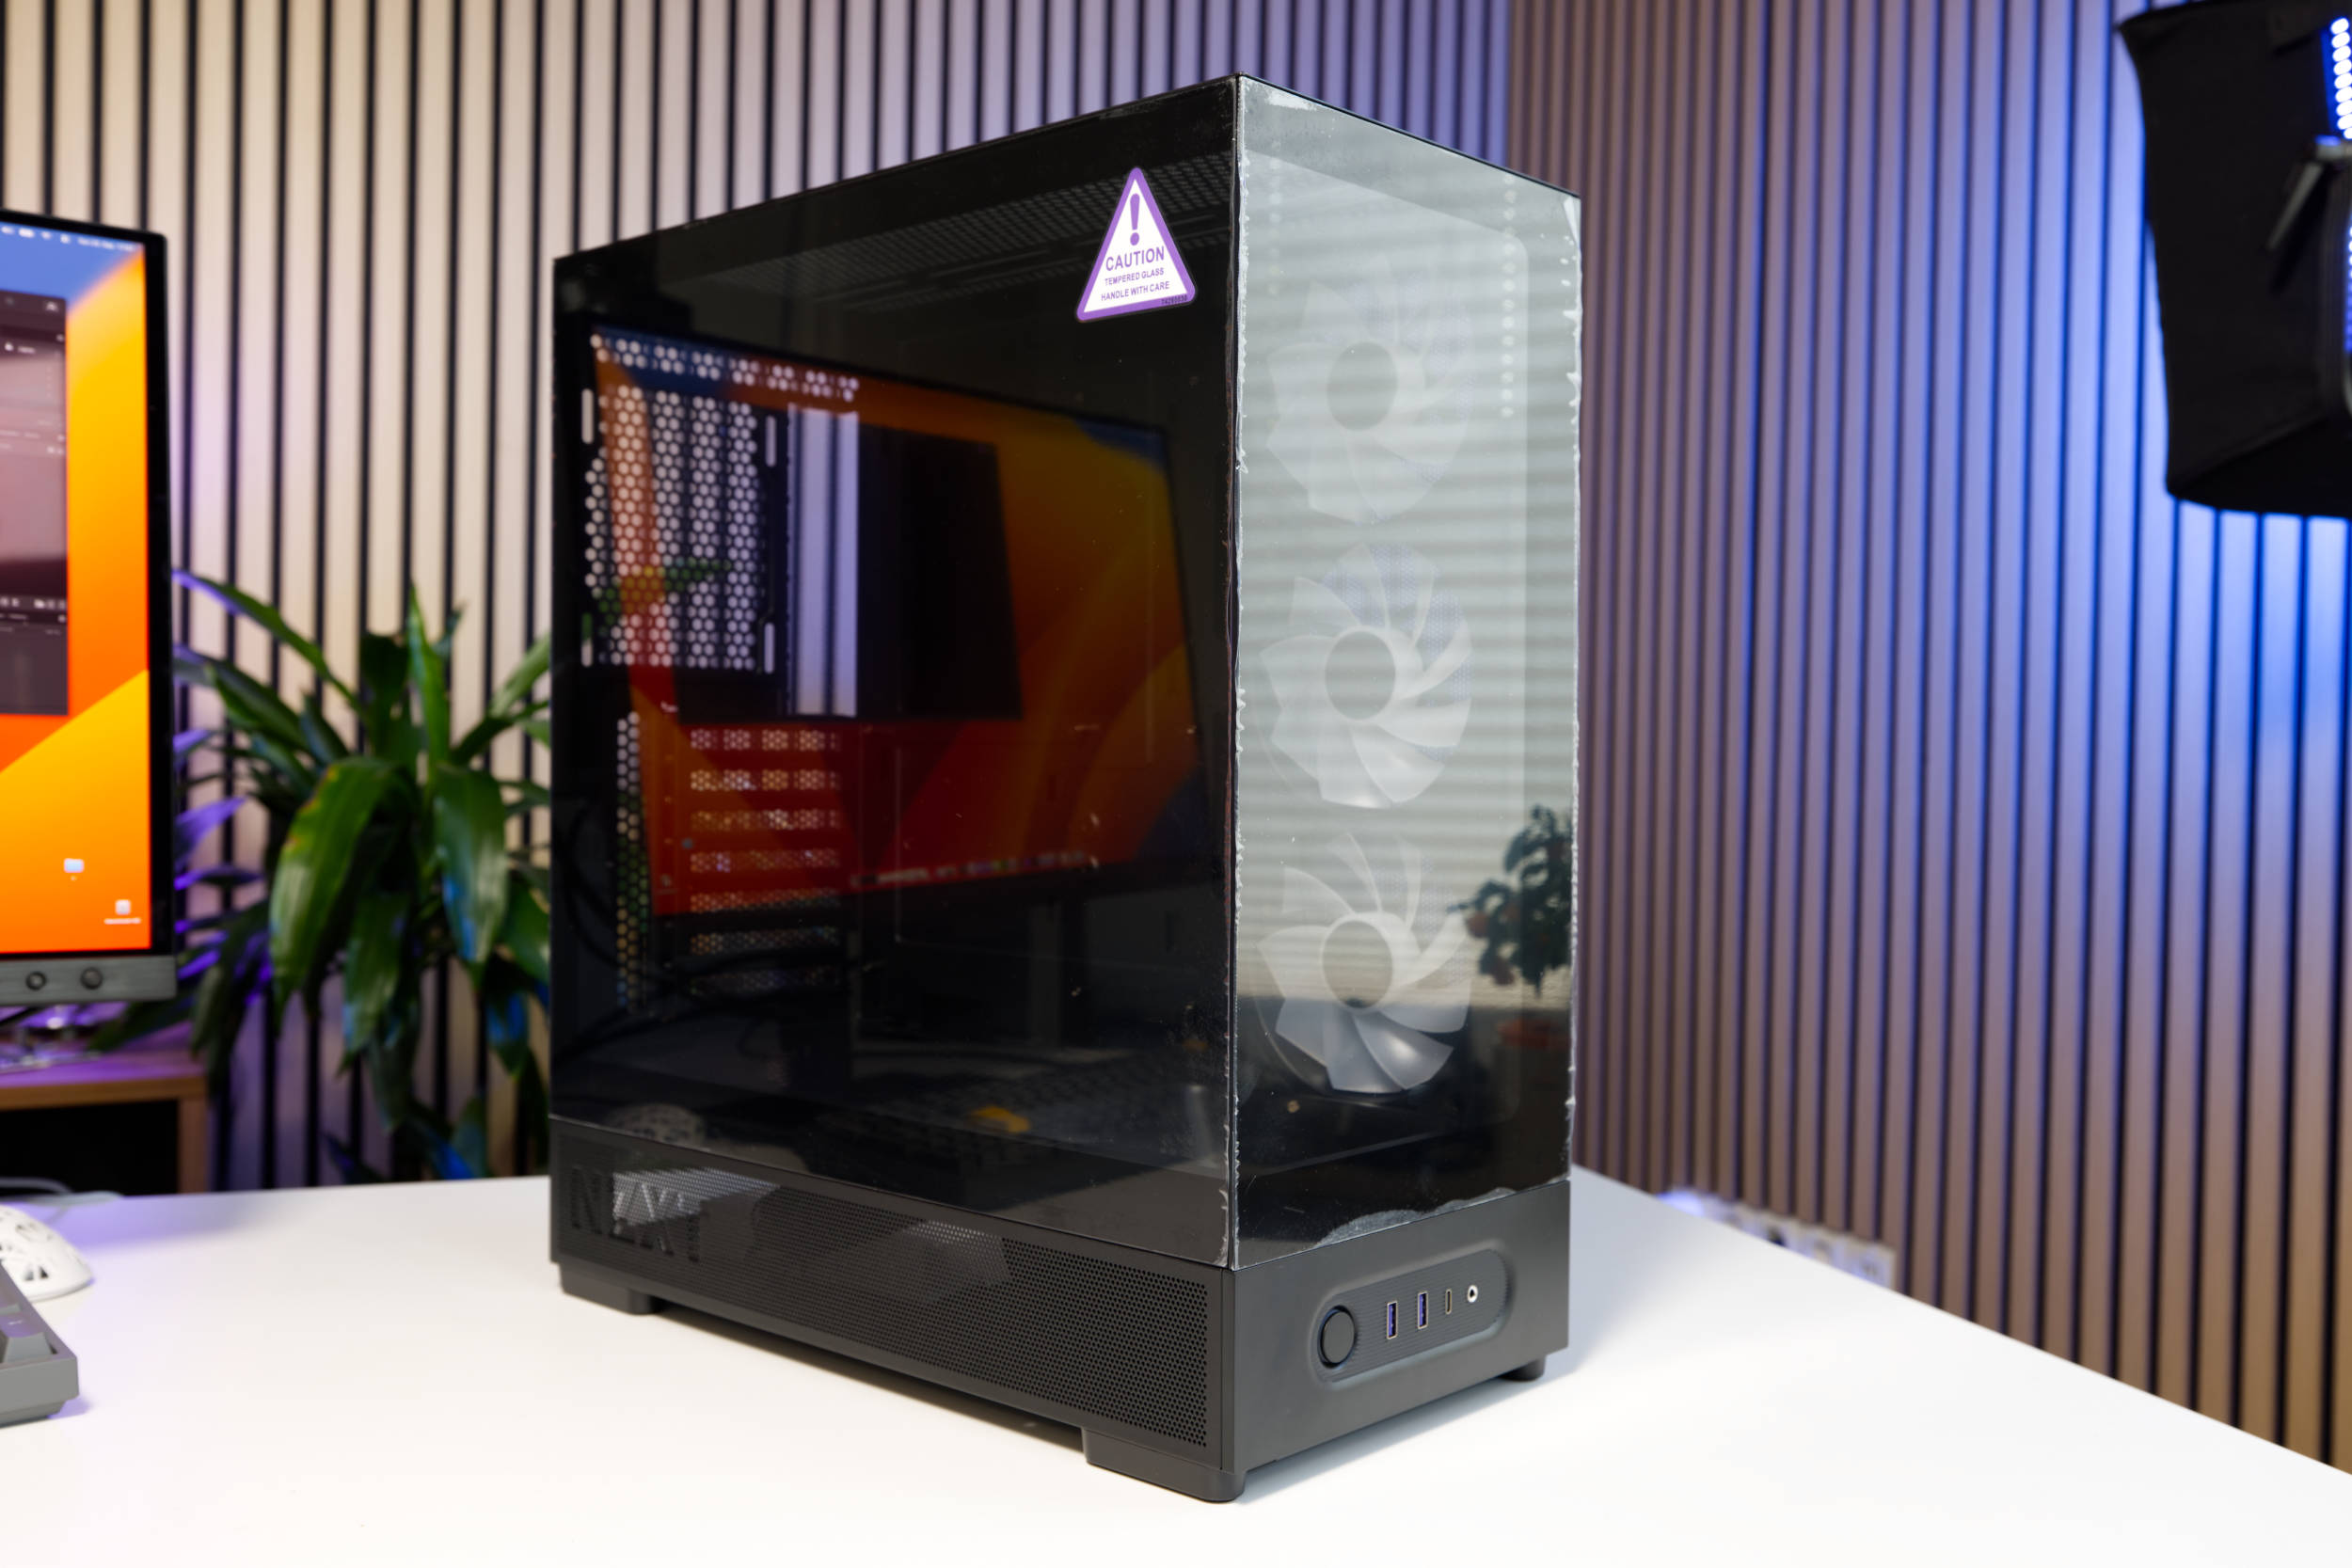 NZXT S5 RGB Unboxed (Image © PCMasters.de)
The case has an internal volume of about 43 liters, and NZXT really makes the most of that space. When choosing a graphics card, you can select models with a maximum length of 415 mm, and CPU air coolers with a height of up to 162 mm. The bottom-mounted power supply slot allows for the installation of units with a maximum length of 200 mm. As for motherboards, ATX or mATX models will likely be the primary choice, even though the mini-ITX form factor is supported; however, mini-ITX boards are significantly more expensive and therefore not a practical option.
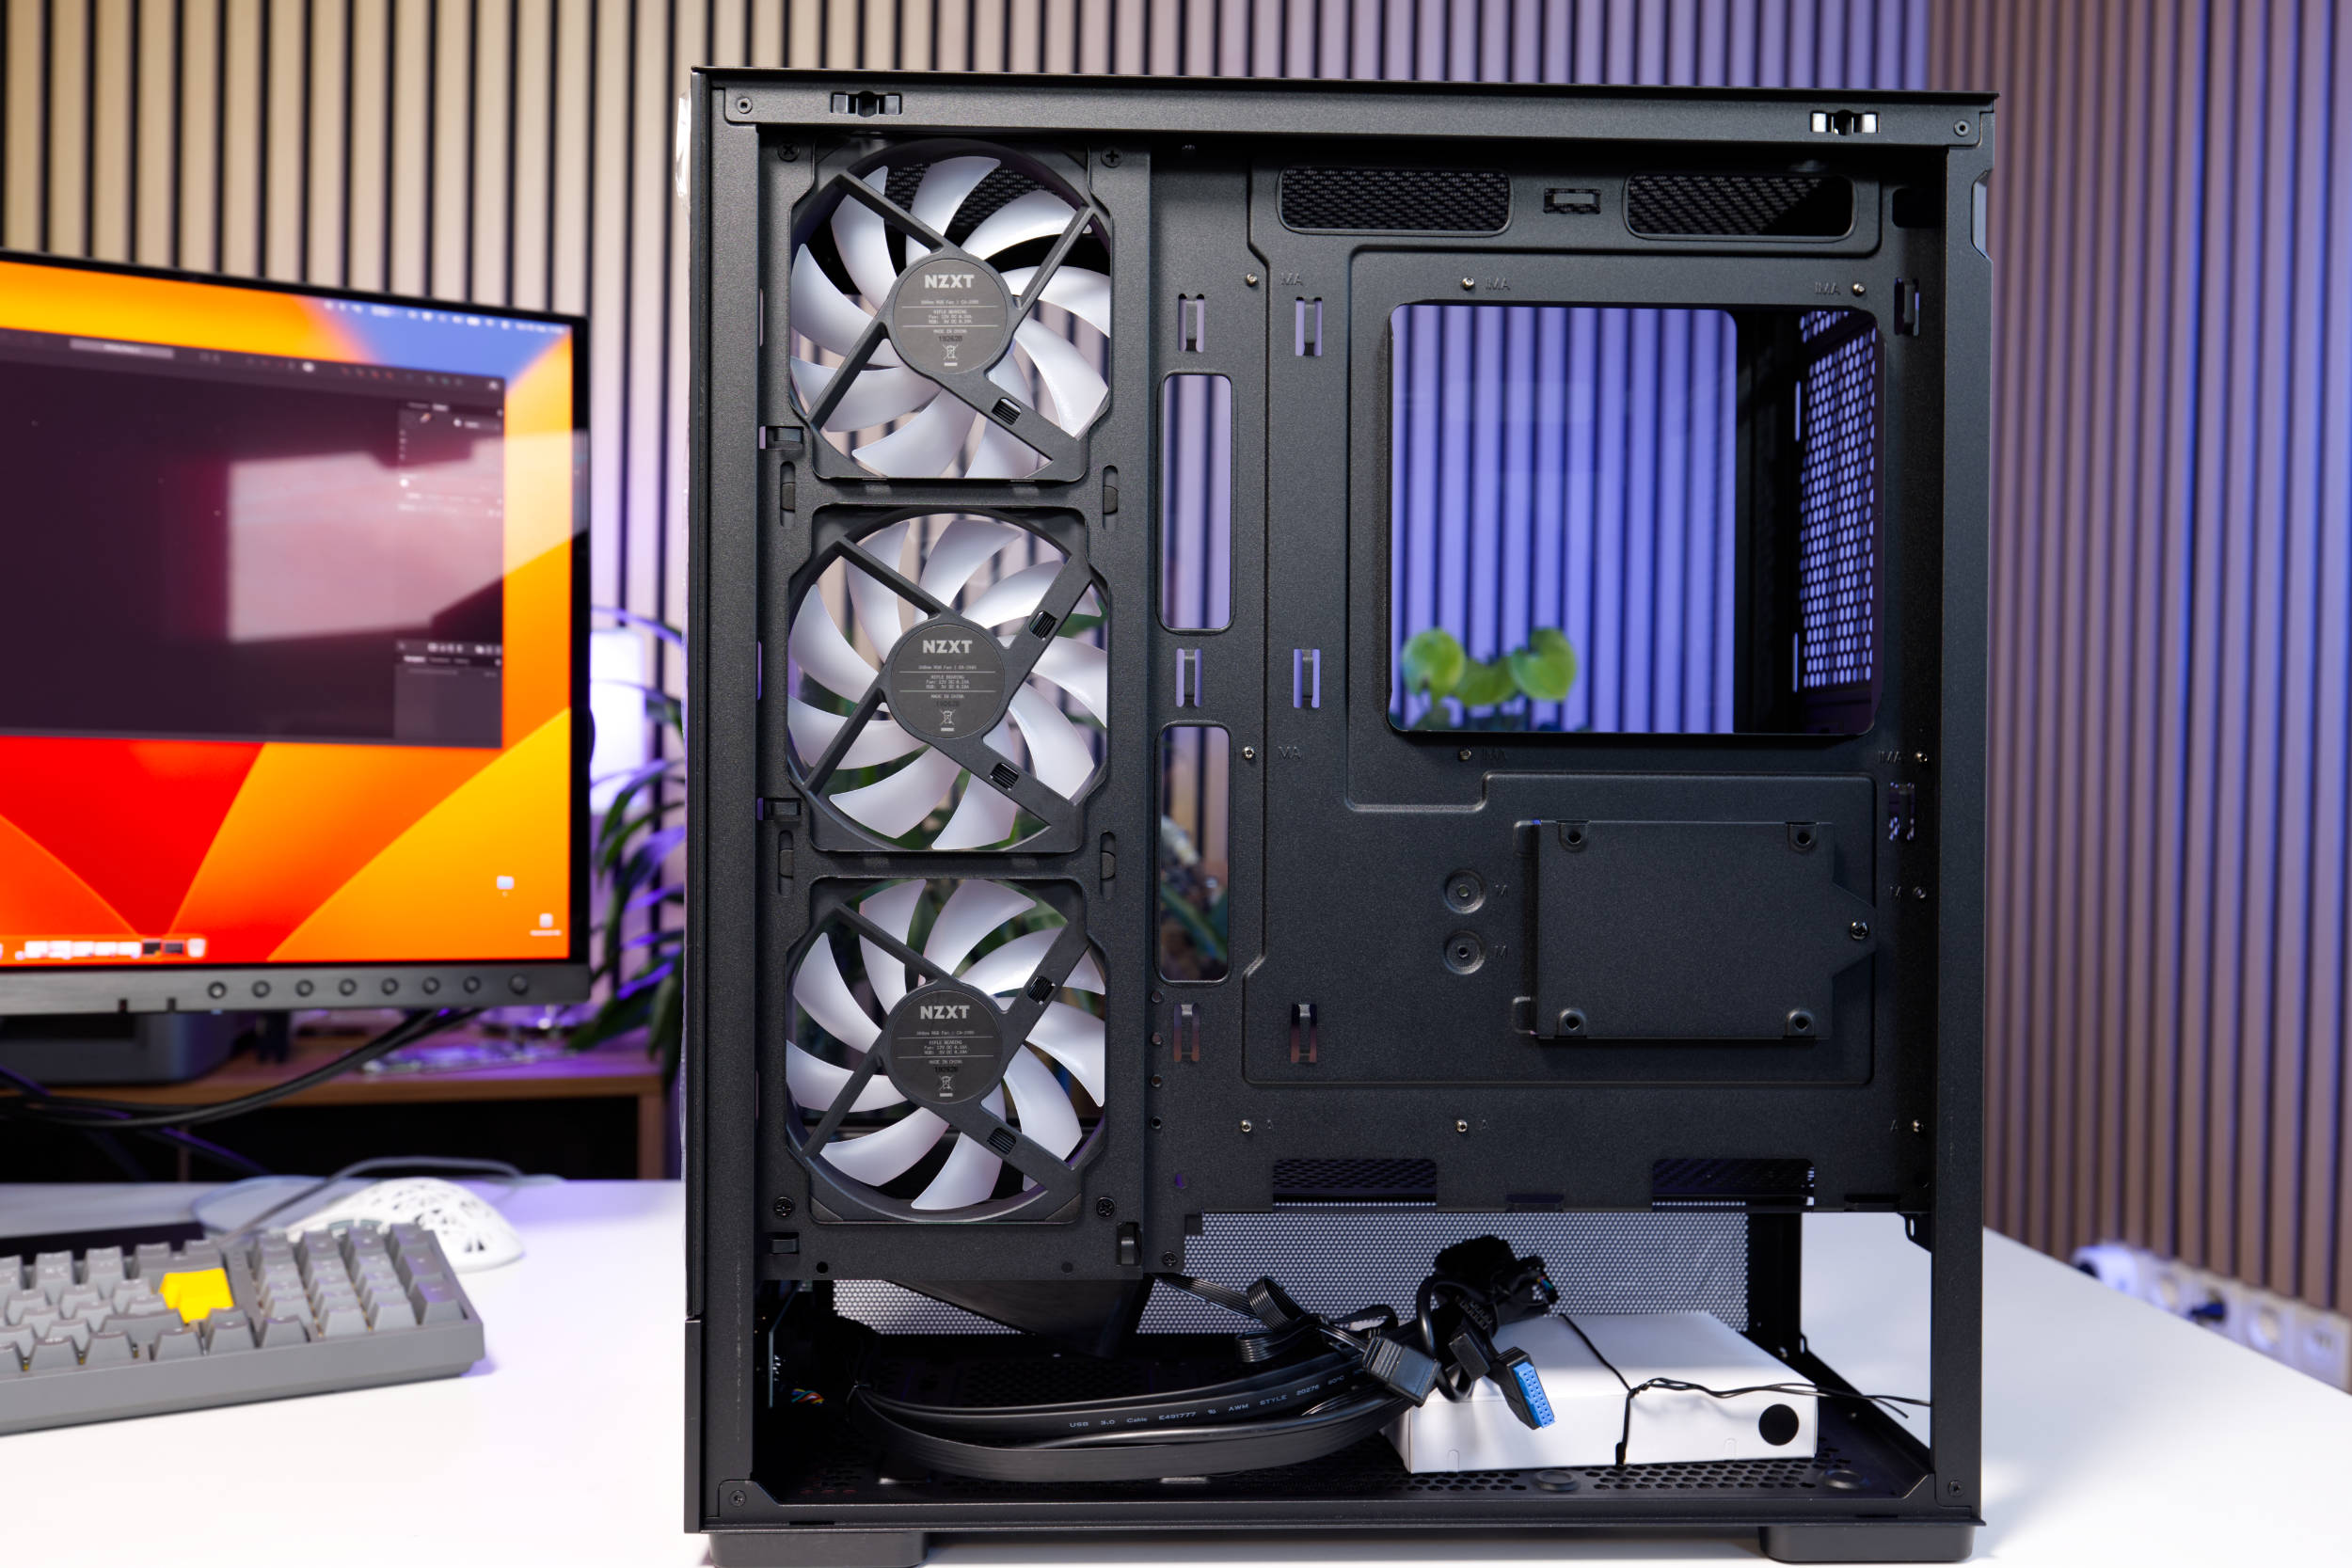 NZXT S5 RGB with one side open (Image © PCMasters.de)
AIO water cooling radiators can be installed at the top of the case, but there is a major limitation here: even though the case has openings for 140mm and 120mm mounting holes, 280mm and 420mm radiators will not fit because they will interfere with most motherboards.
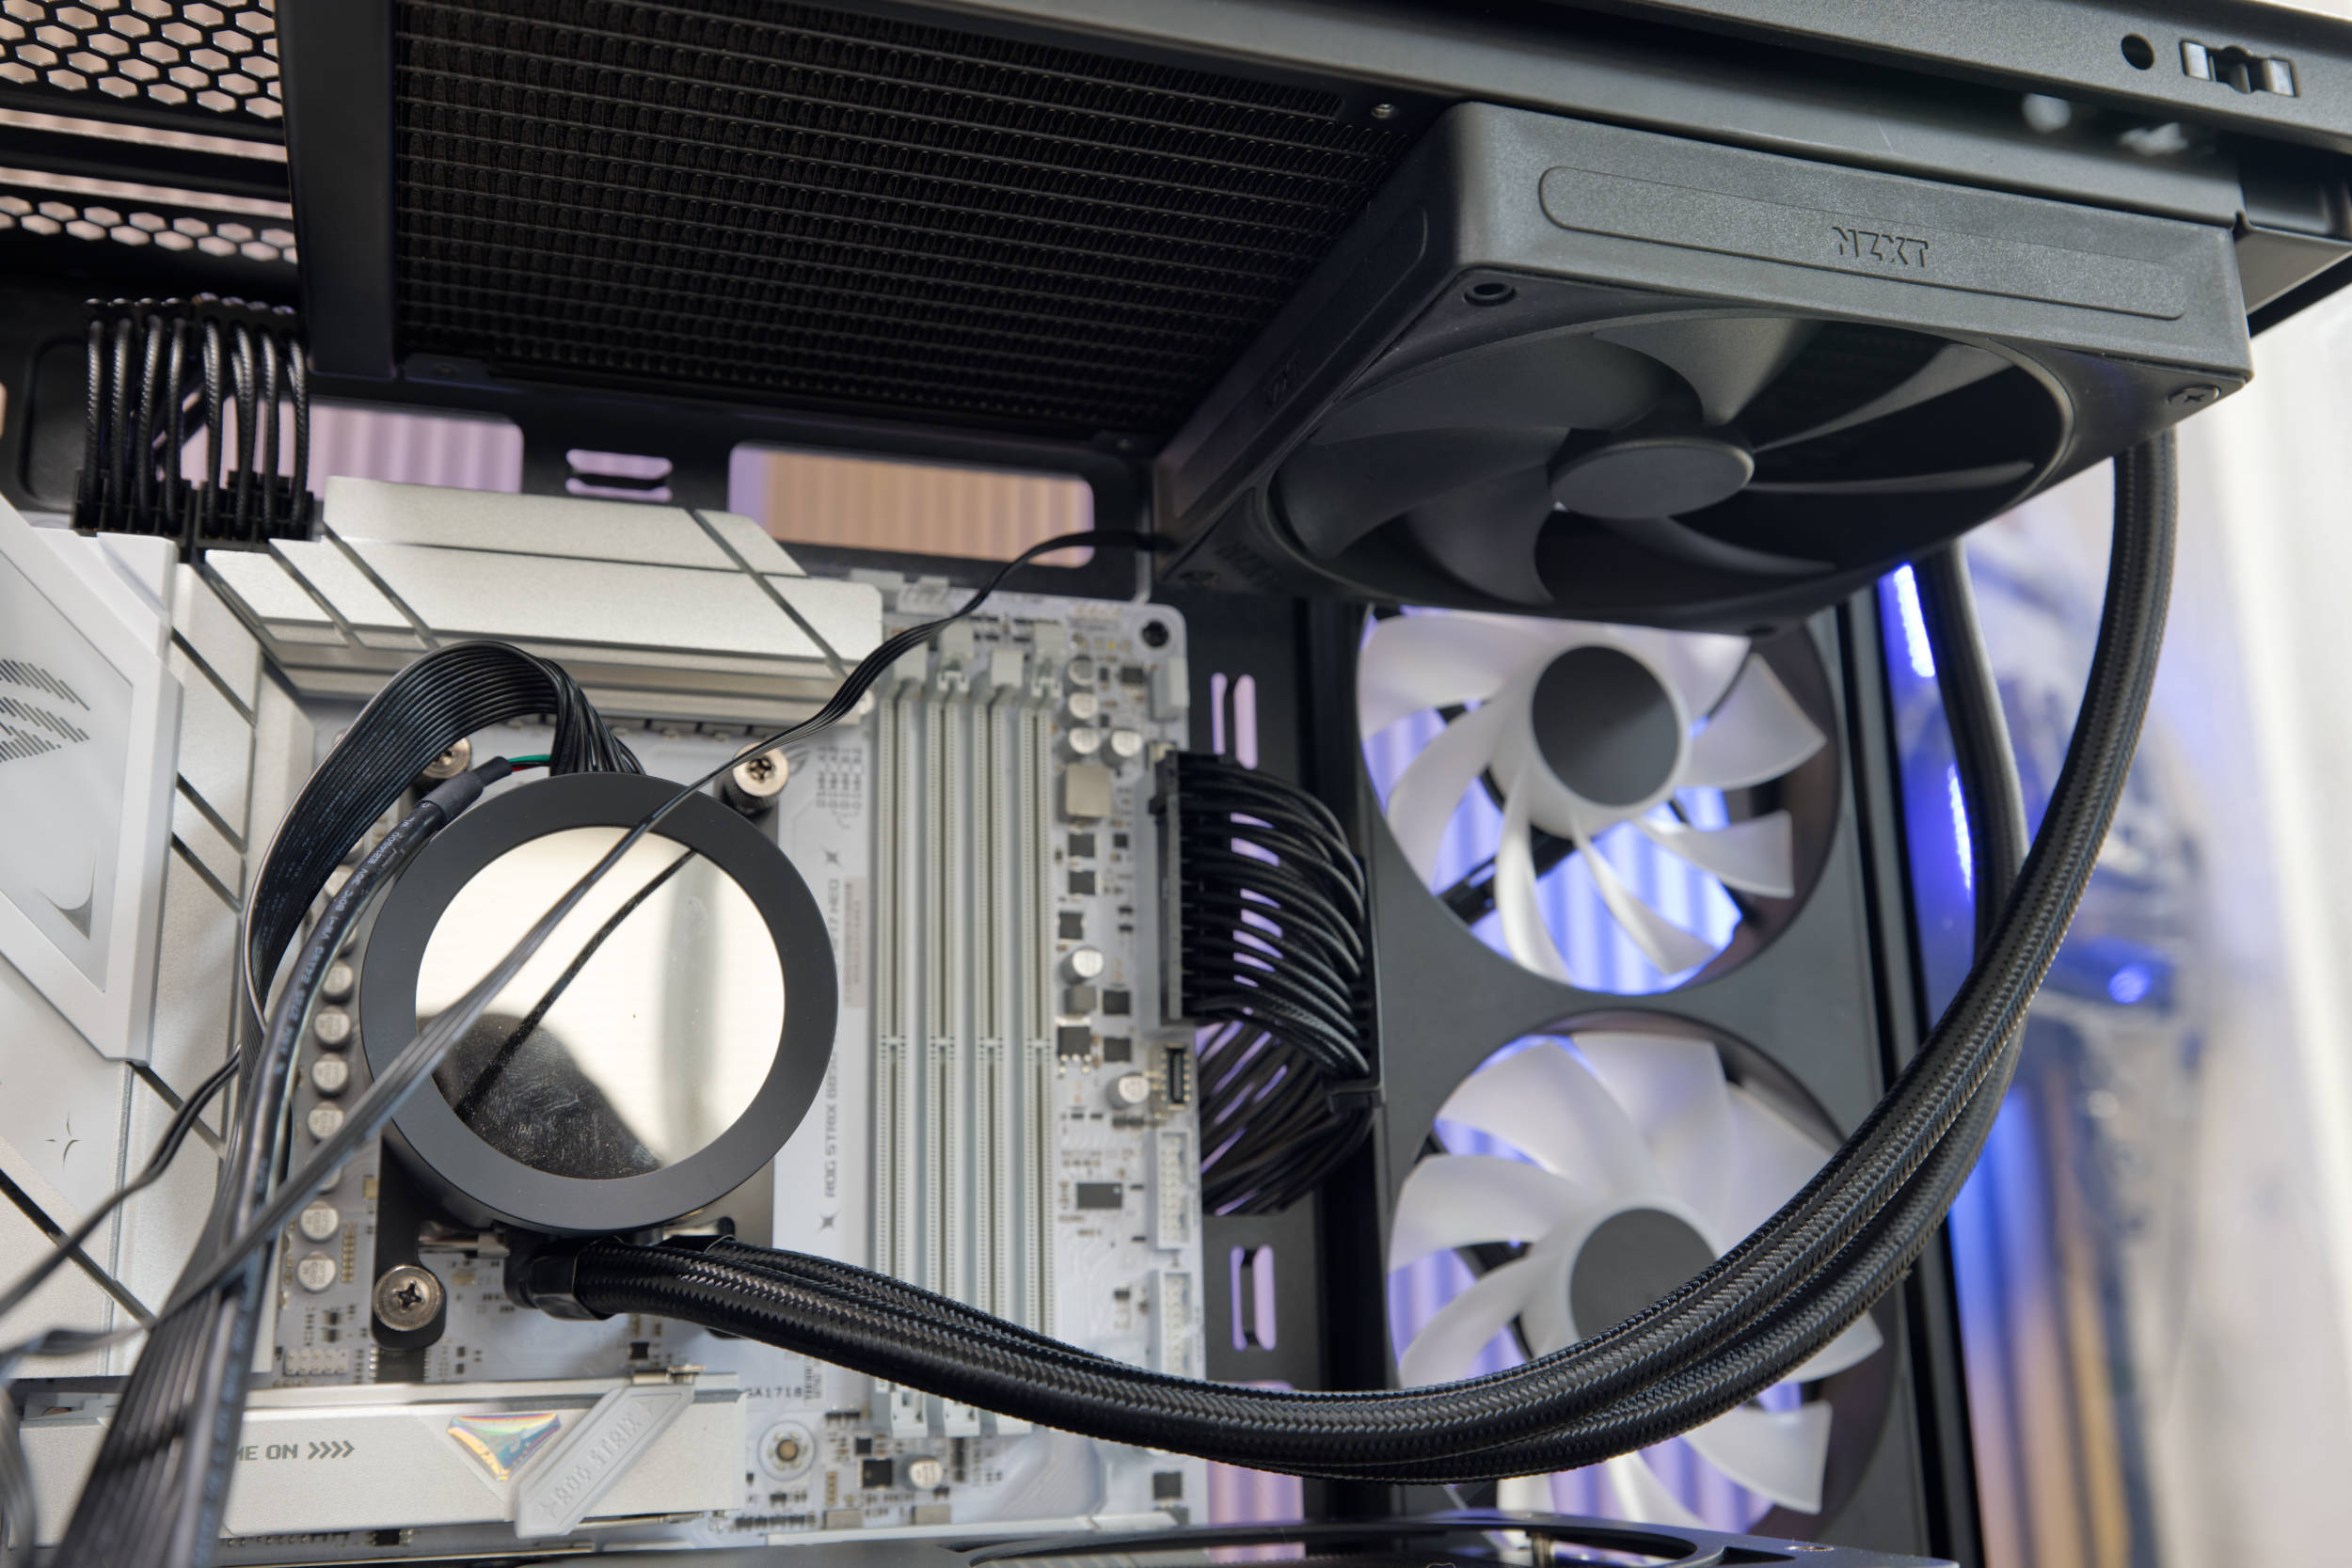 NZXT S5 RGB AIO Water Cooling Collision (Image © PCMasters.de)
Unfortunately, the clearance from the top to the motherboard is too small, which is why we couldn’t install the NZXT Kraken PLUS 280 and had to switch to a 360.
At the bottom, we find a dust filter, just as we did at the top. The lower section features numerous holes for airflow, allowing for airflow from two or three fans on the inner cover.
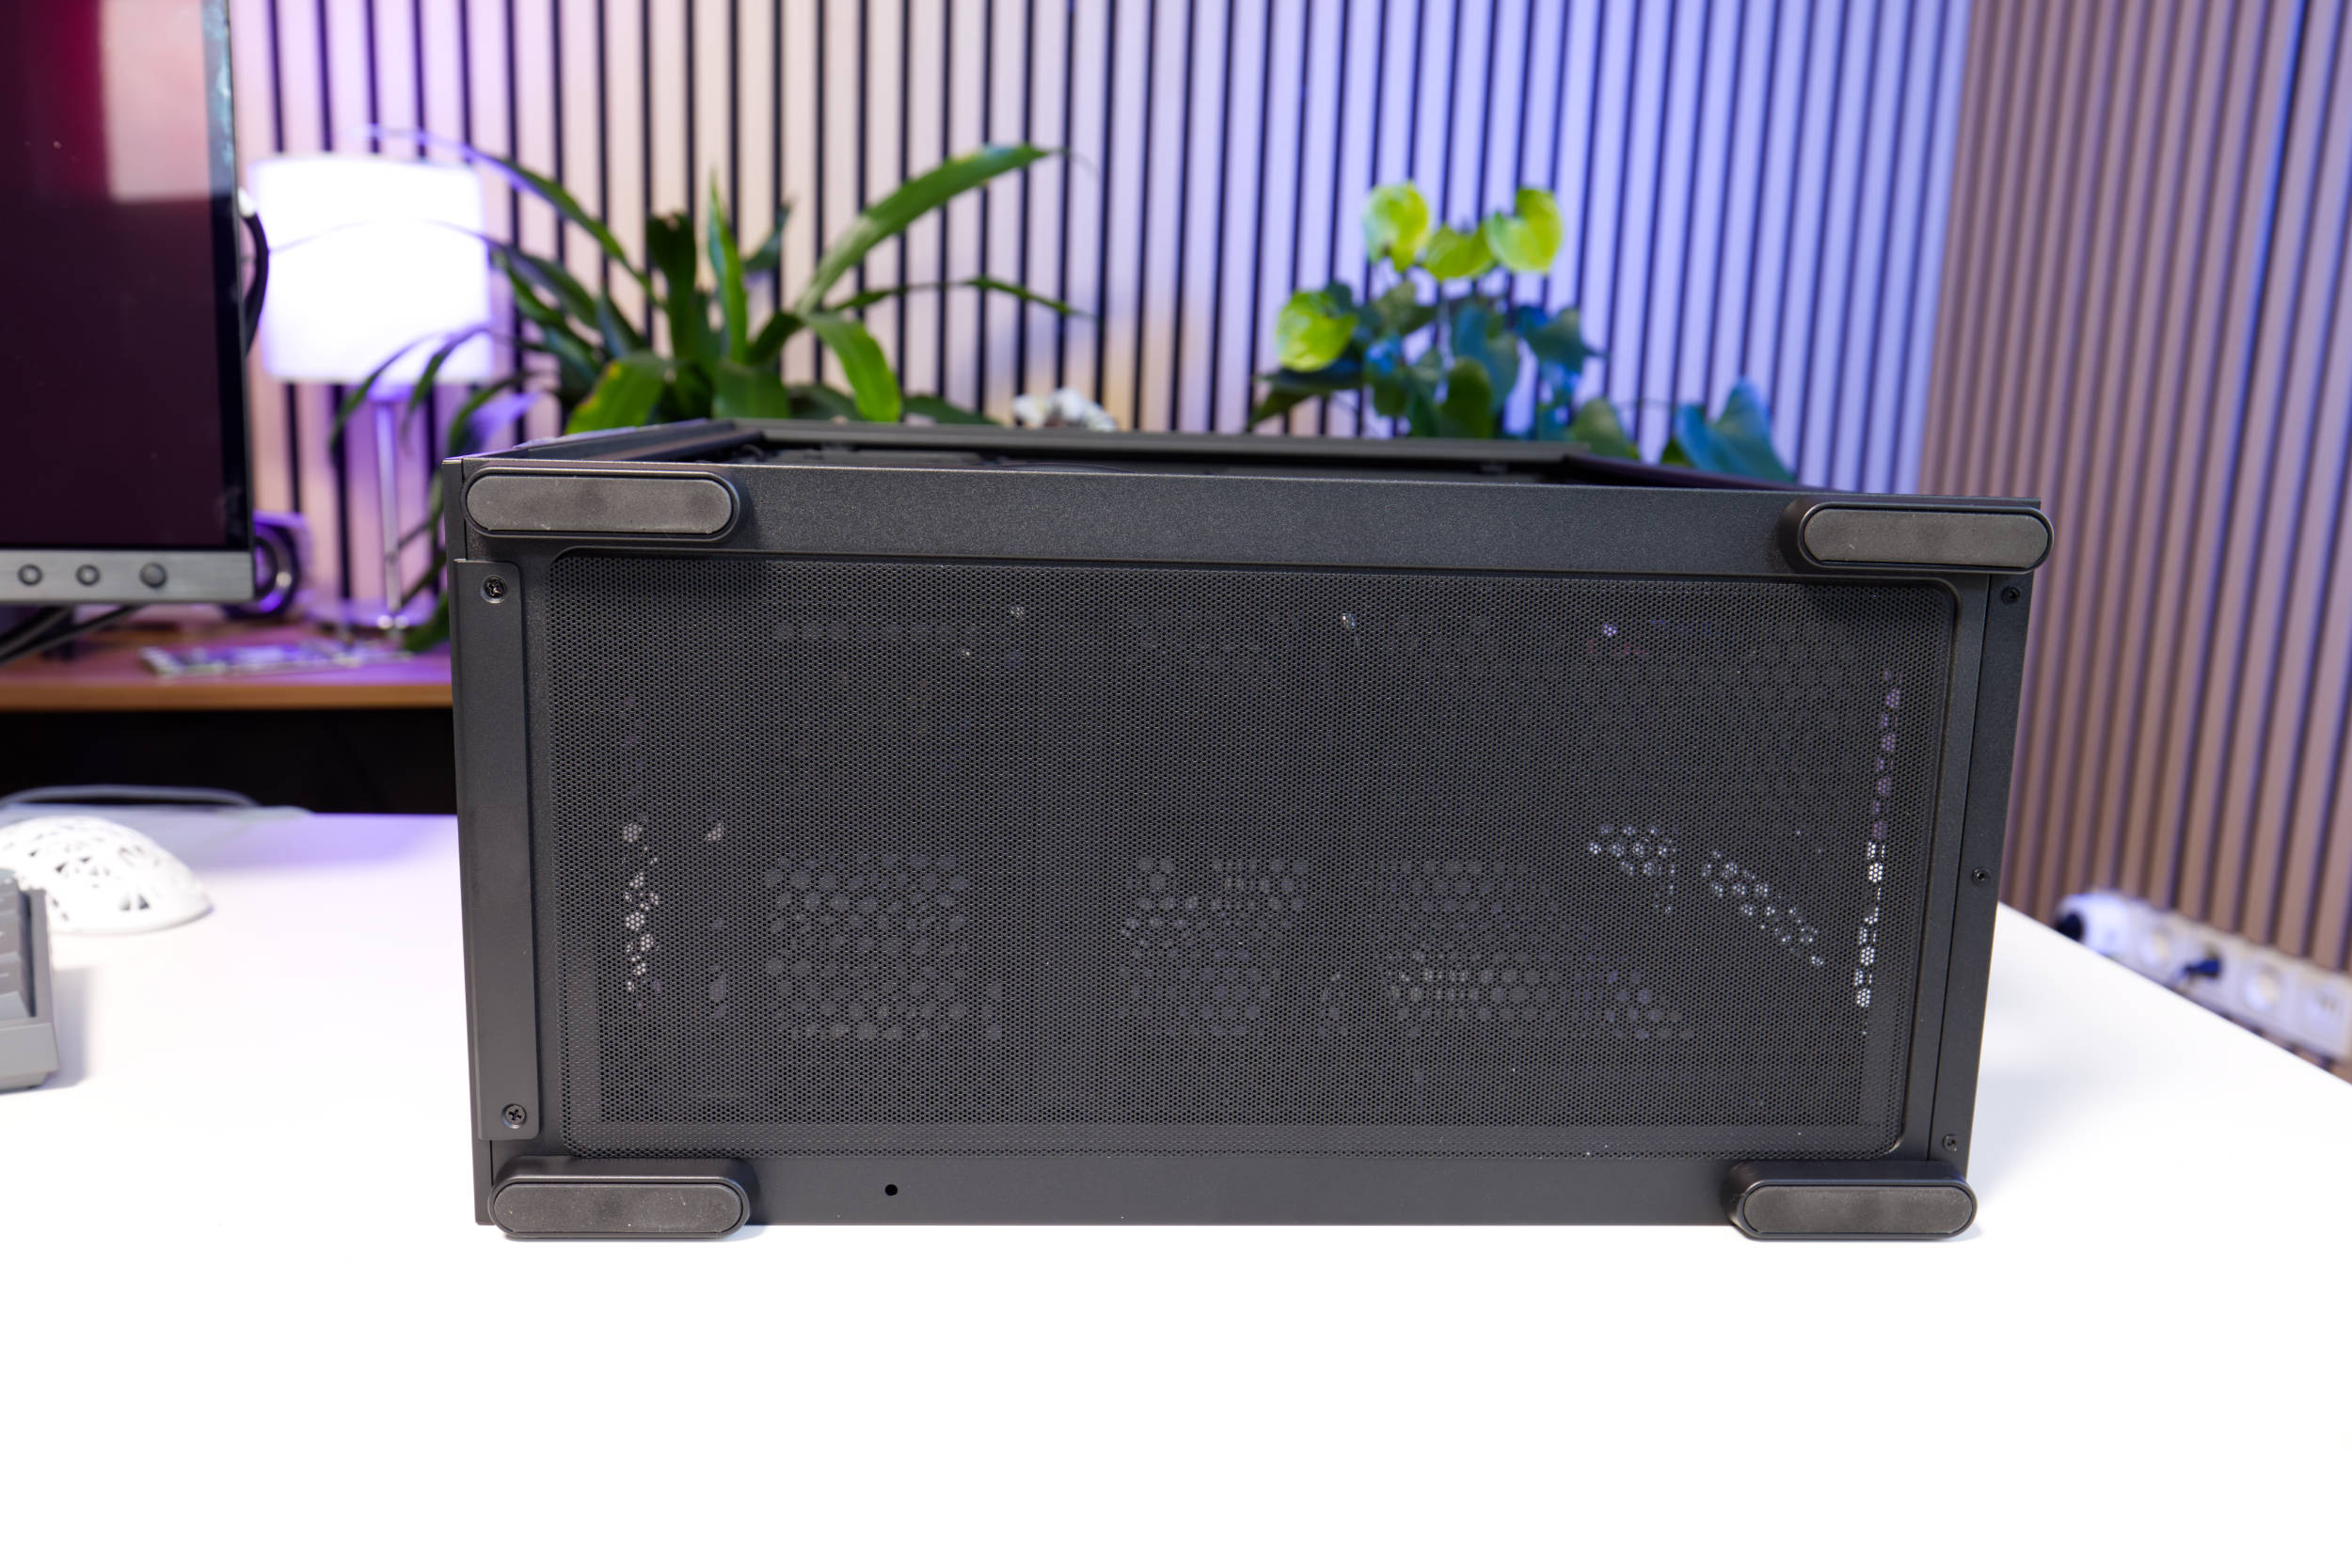 NZXT S5 RGB (bottom view) (Image © PCMasters.de)
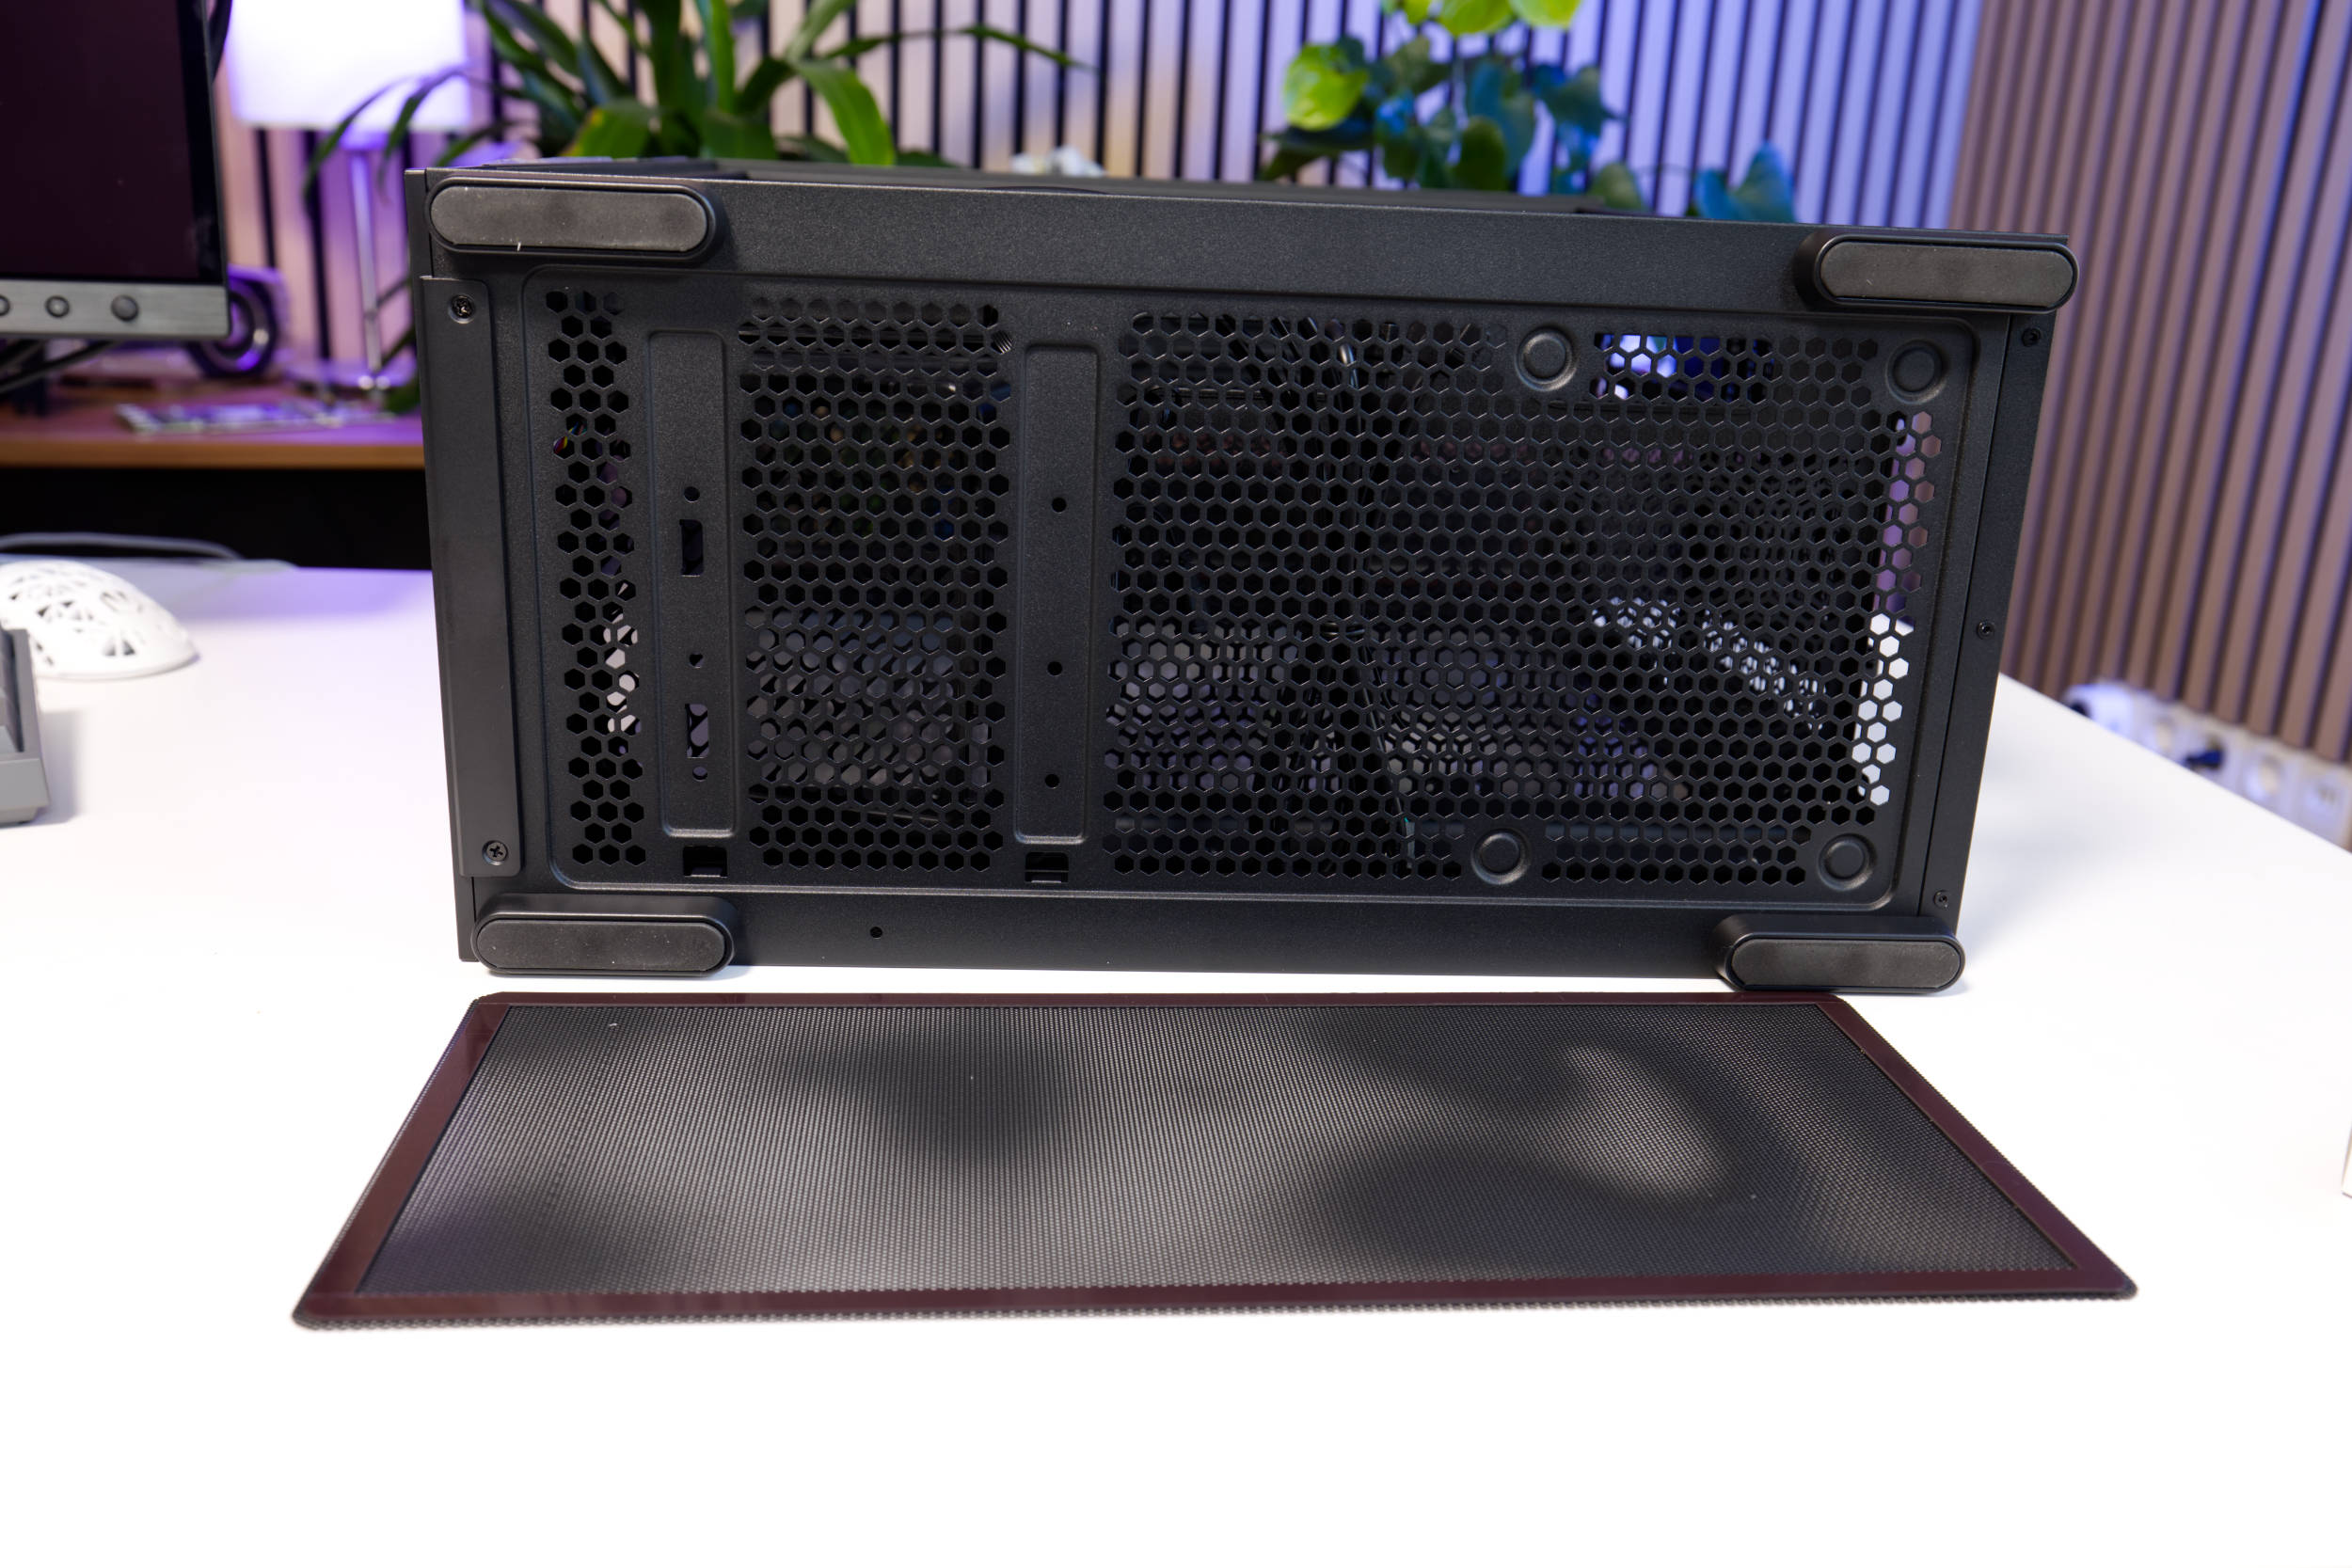 NZXT S5 RGB Bottom View (Image © PCMasters.de)
There is no fan on the back, and we find seven slot bezels. The design is very simple.
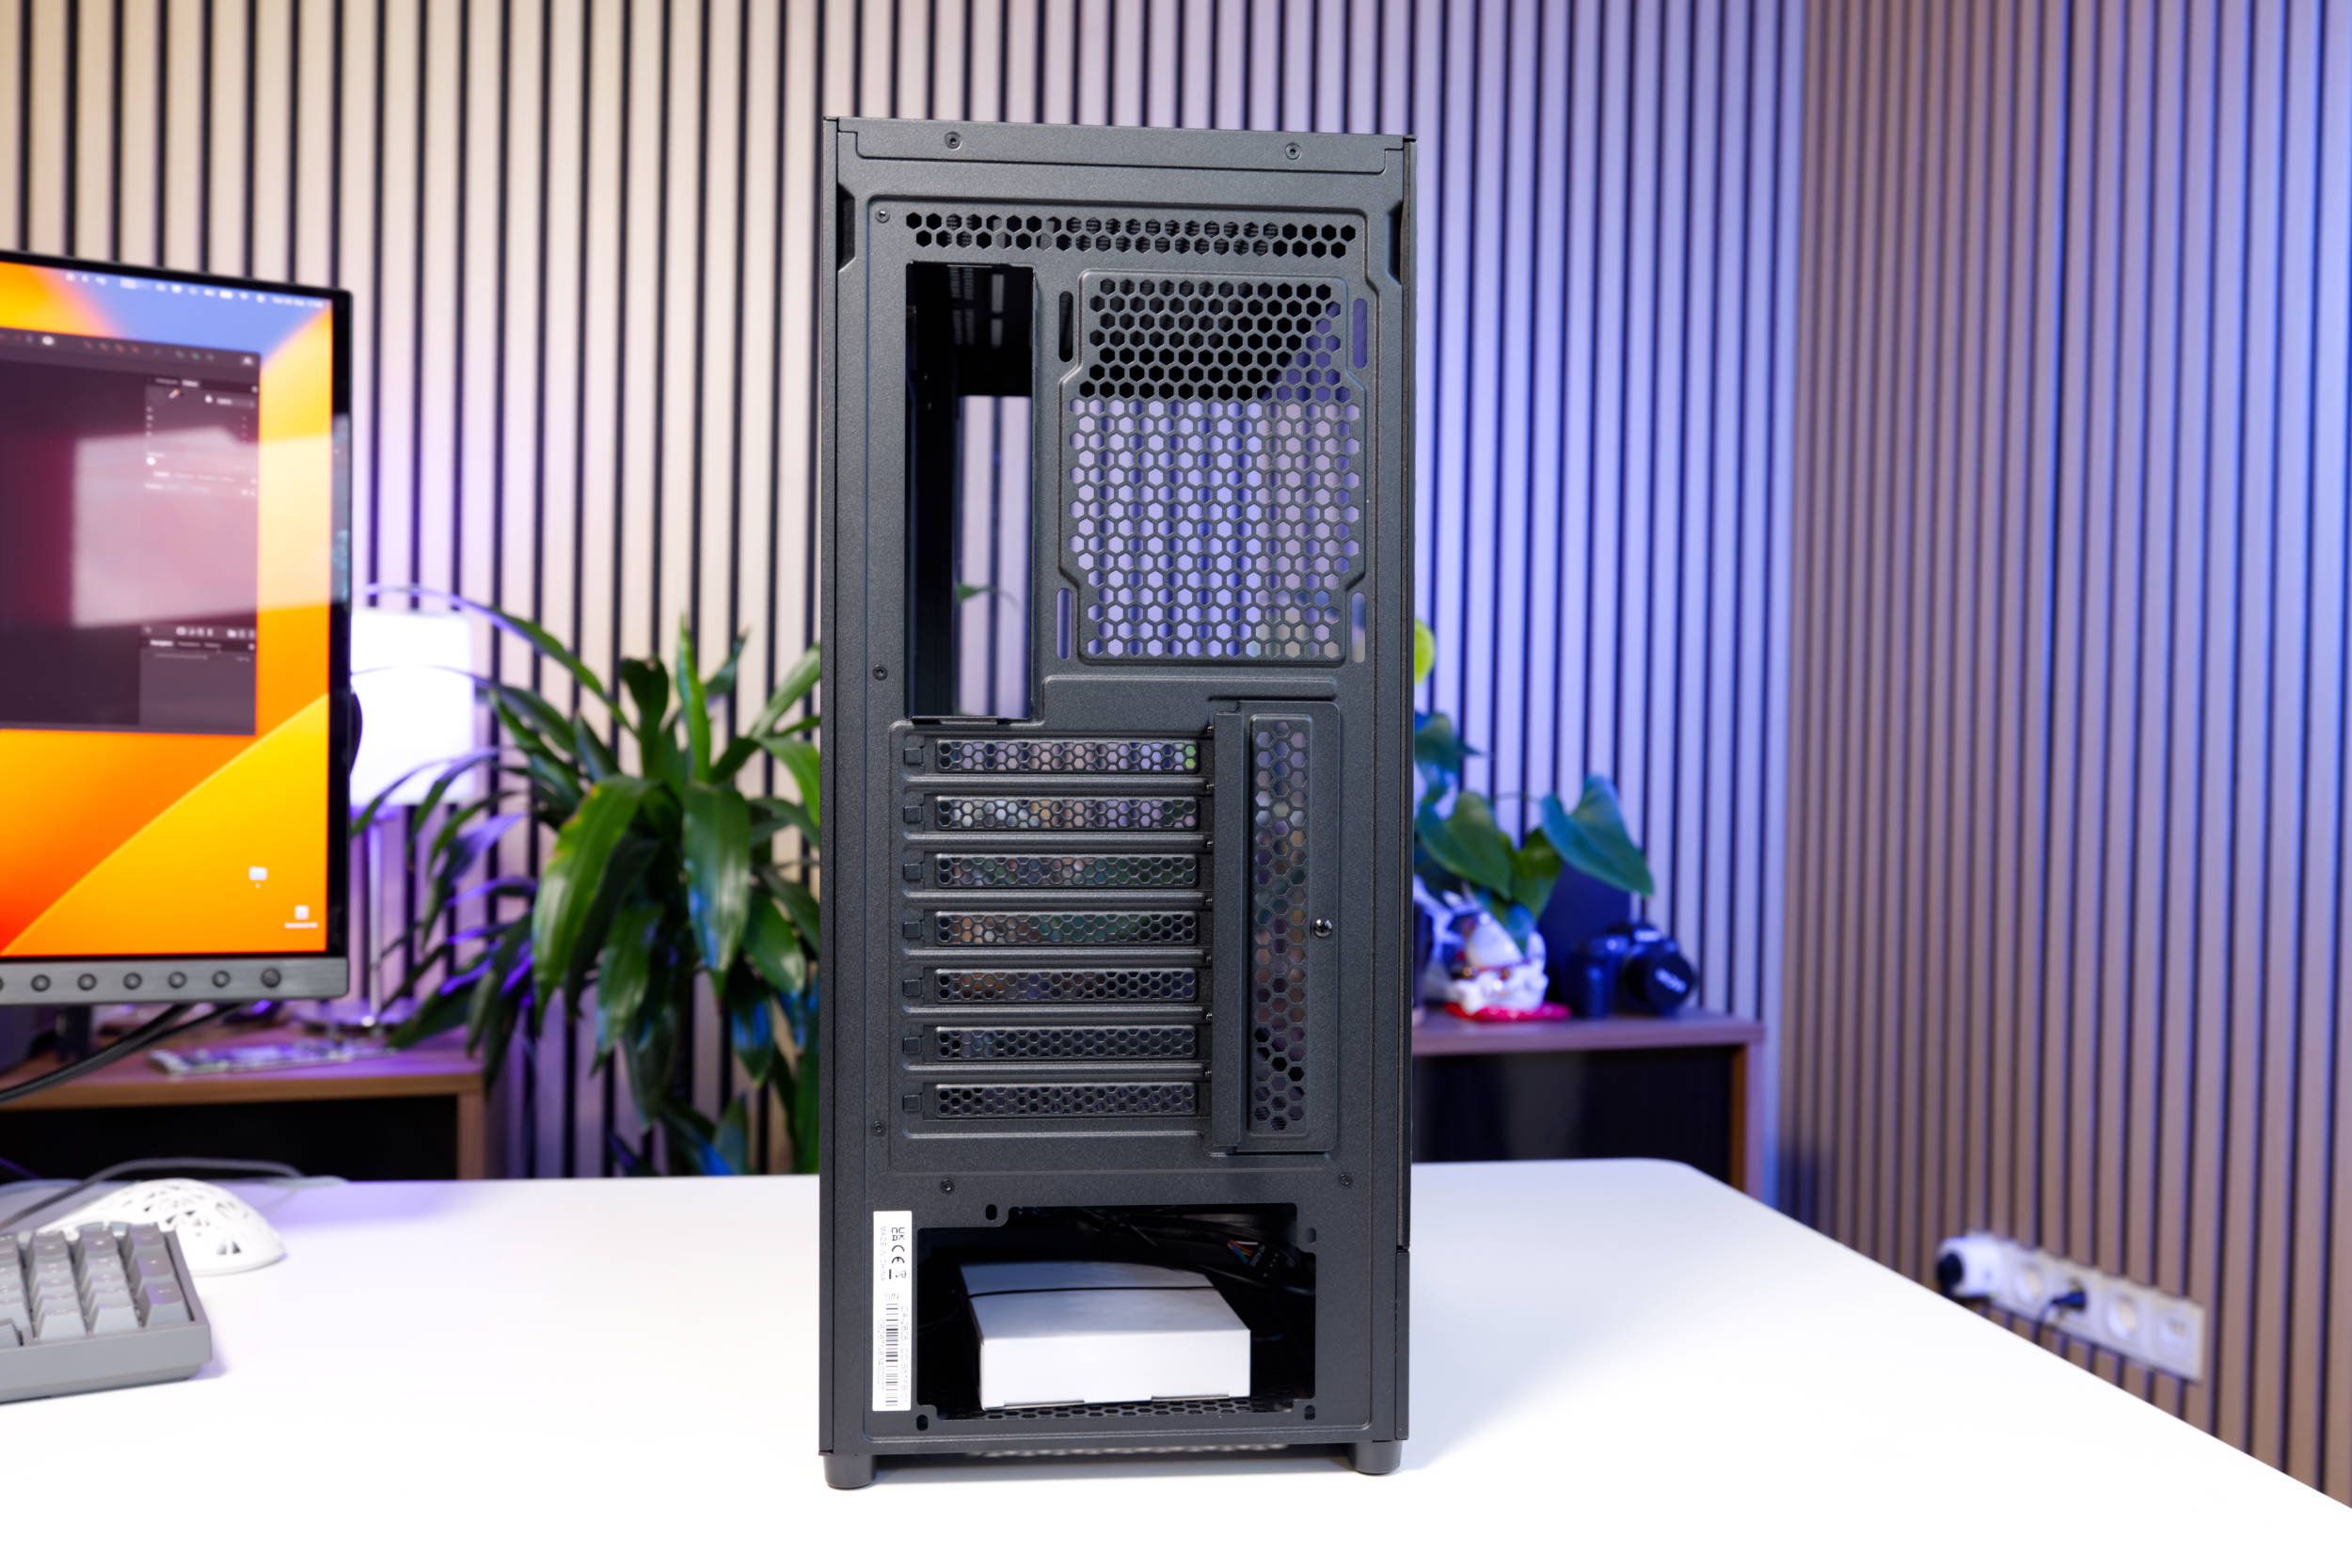 NZXT S5 RGB Back Panel (Image © PCMasters.de)
The screws for the bezels are secured by a cover. The cover is fastened with a single screw—not a knurled screw, but a standard Phillips-head screw.
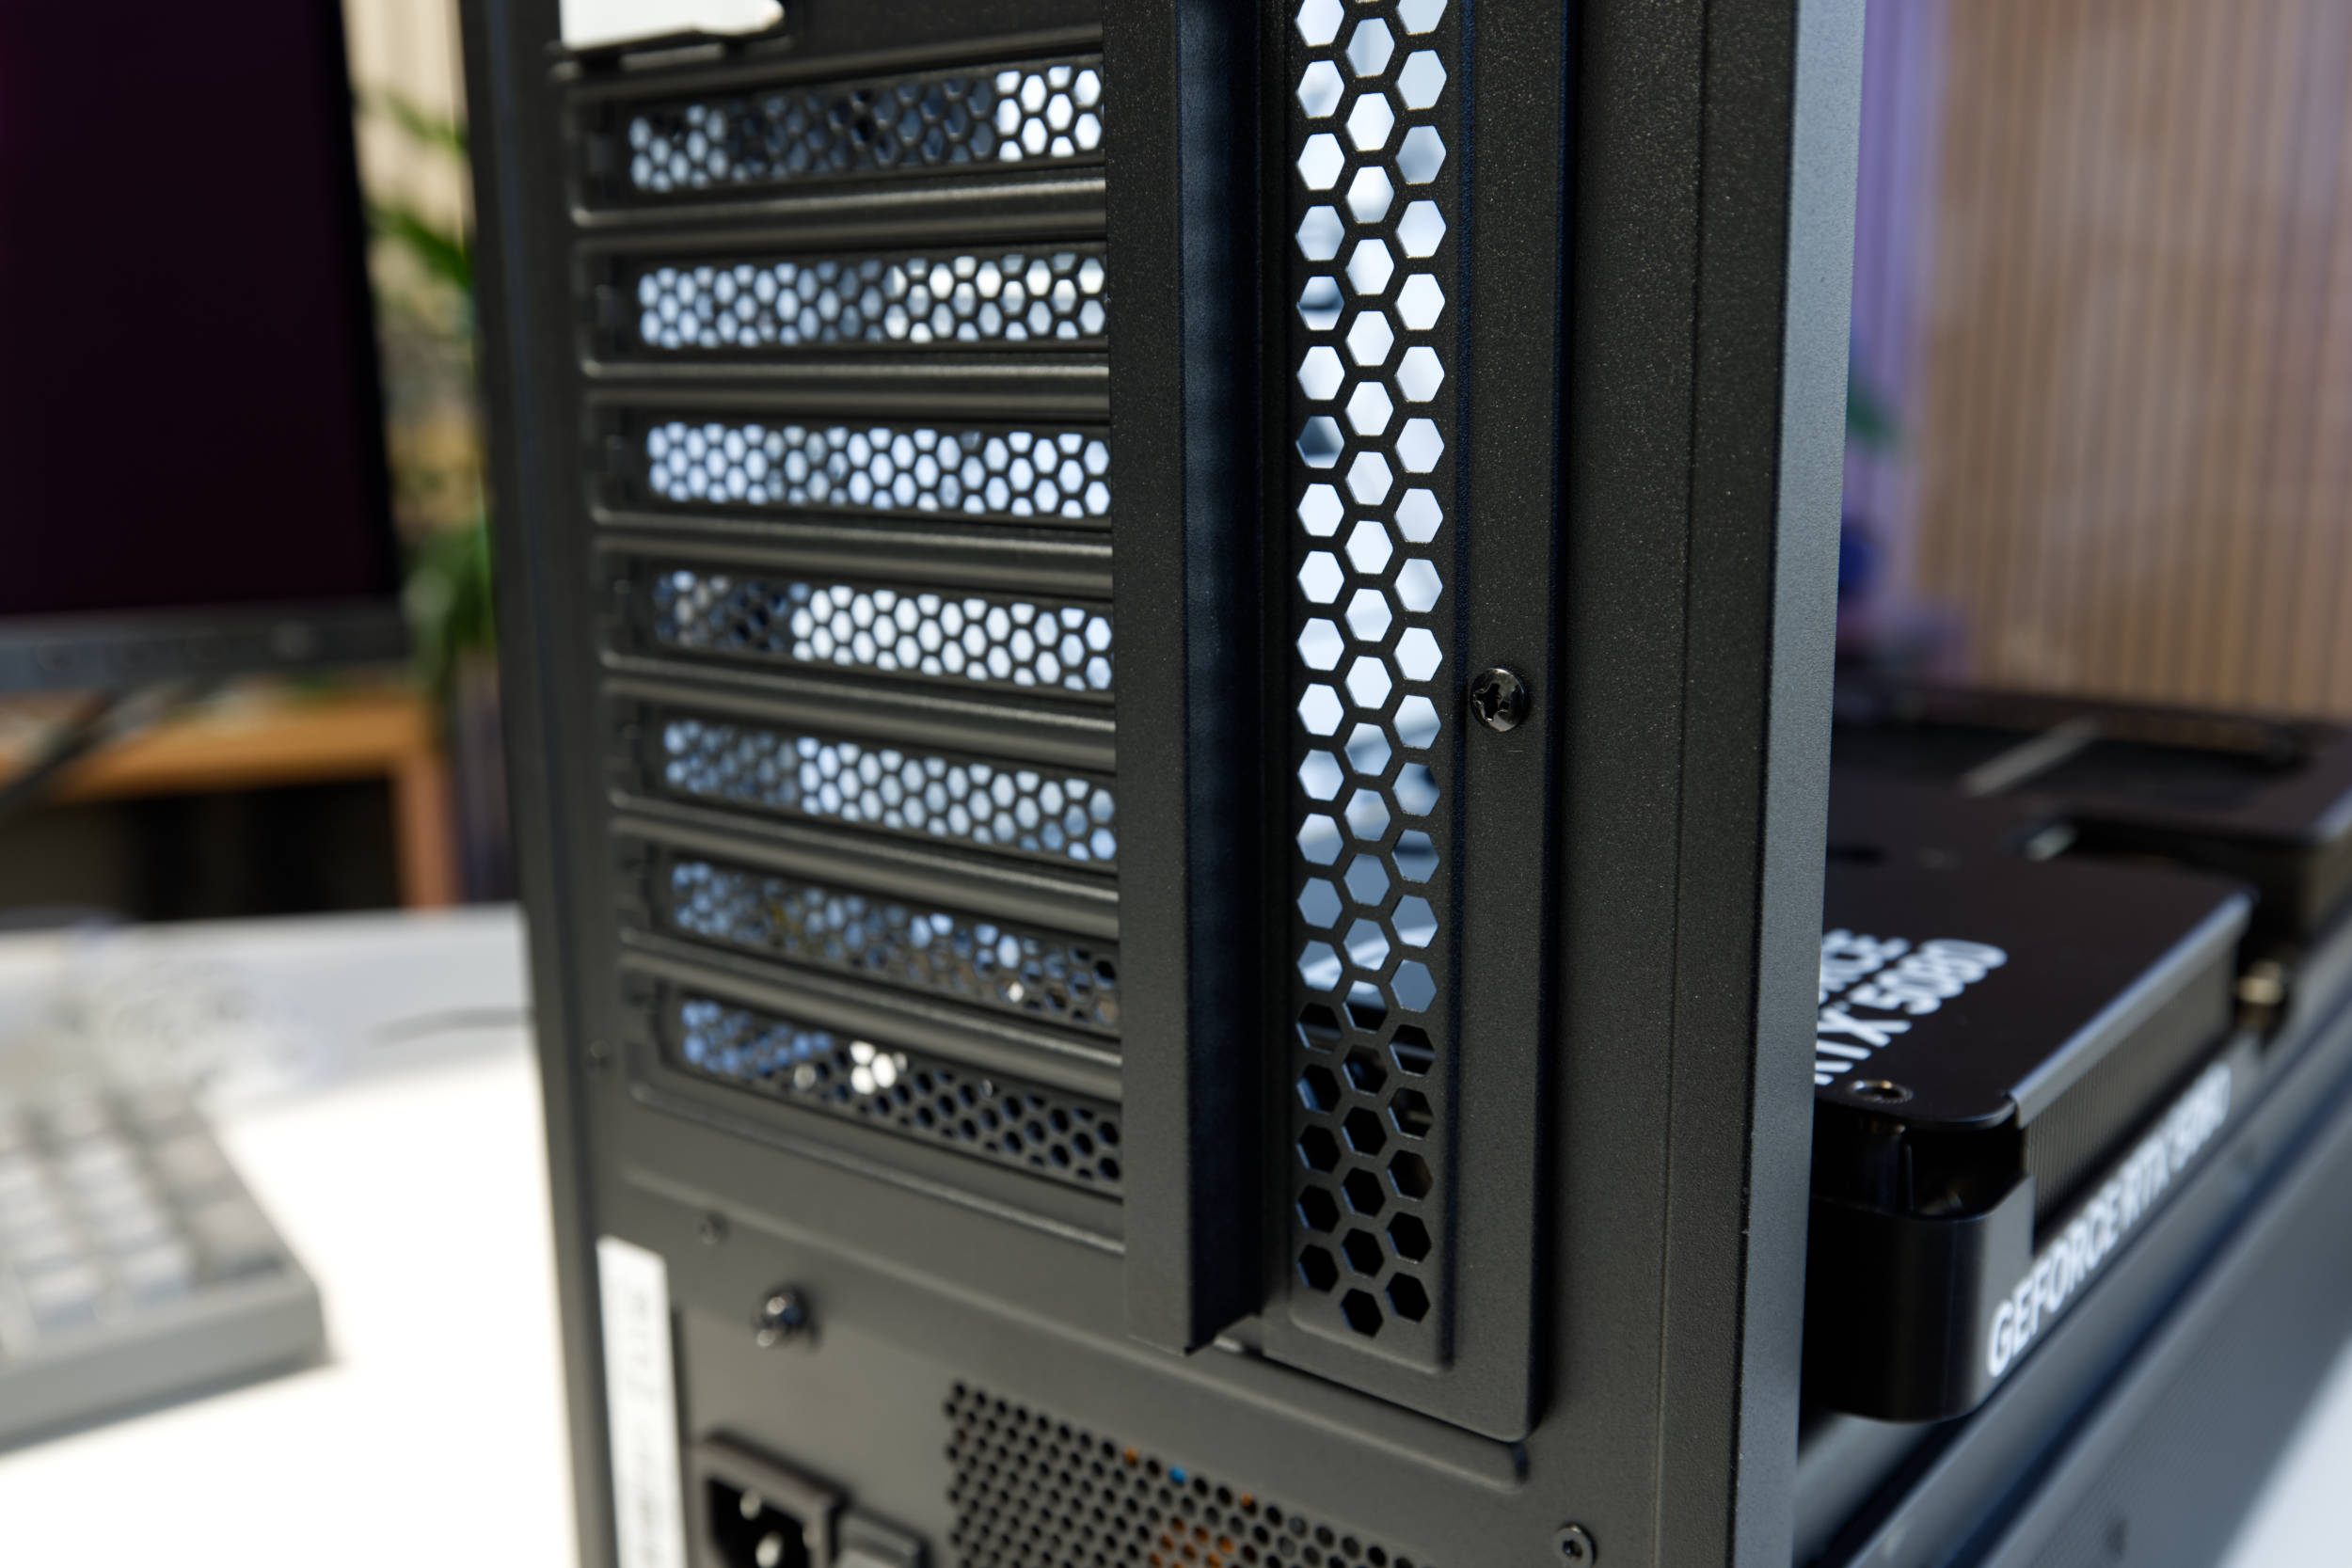 NZXT S5 RGB PCIe Brackets (Image © PCMasters.de)
Build Quality
Weighing approximately 6.1 kg and featuring a lightweight design, the S5 RGB unfortunately doesn’t feel as high-quality as NZXT’s other cases, though that was to be expected at this price point. We only found residue on the inside of one side panel, caused by friction from the I/O panel cables, which couldn’t be removed.
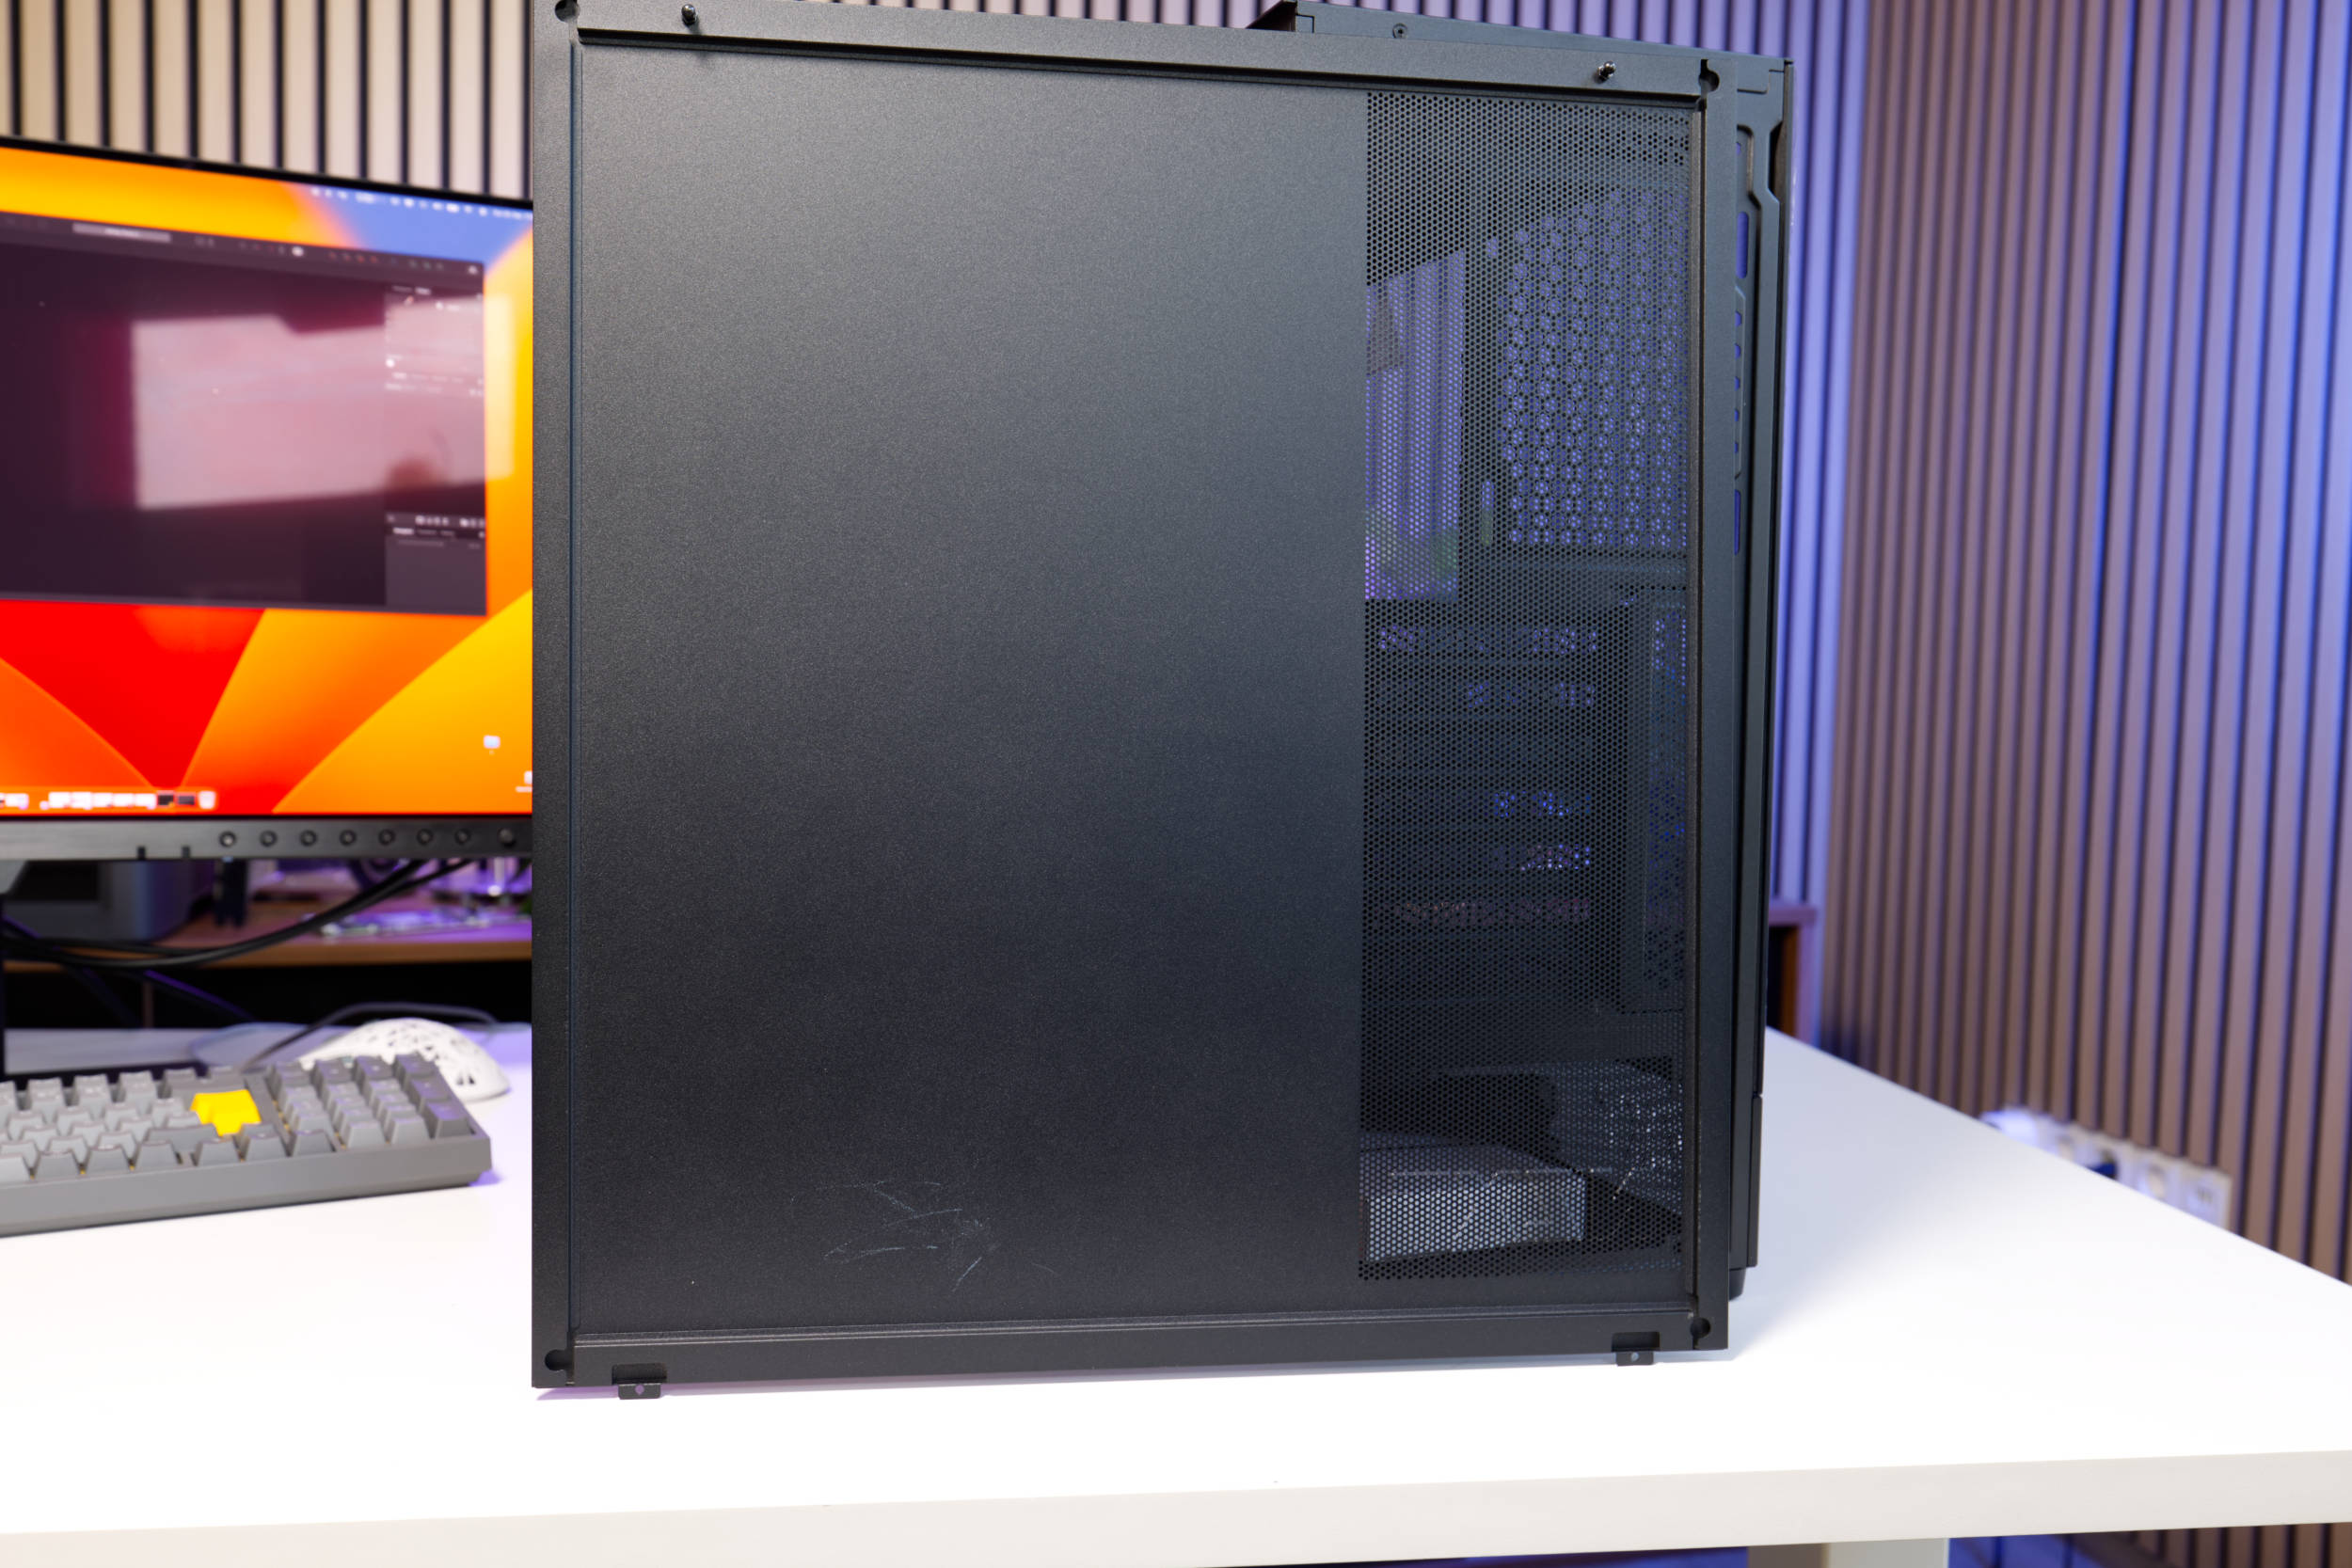 NZXT S5 RGB Side Panel (Image © PCMasters.de)
Otherwise, the build quality seemed acceptable to us for this price.
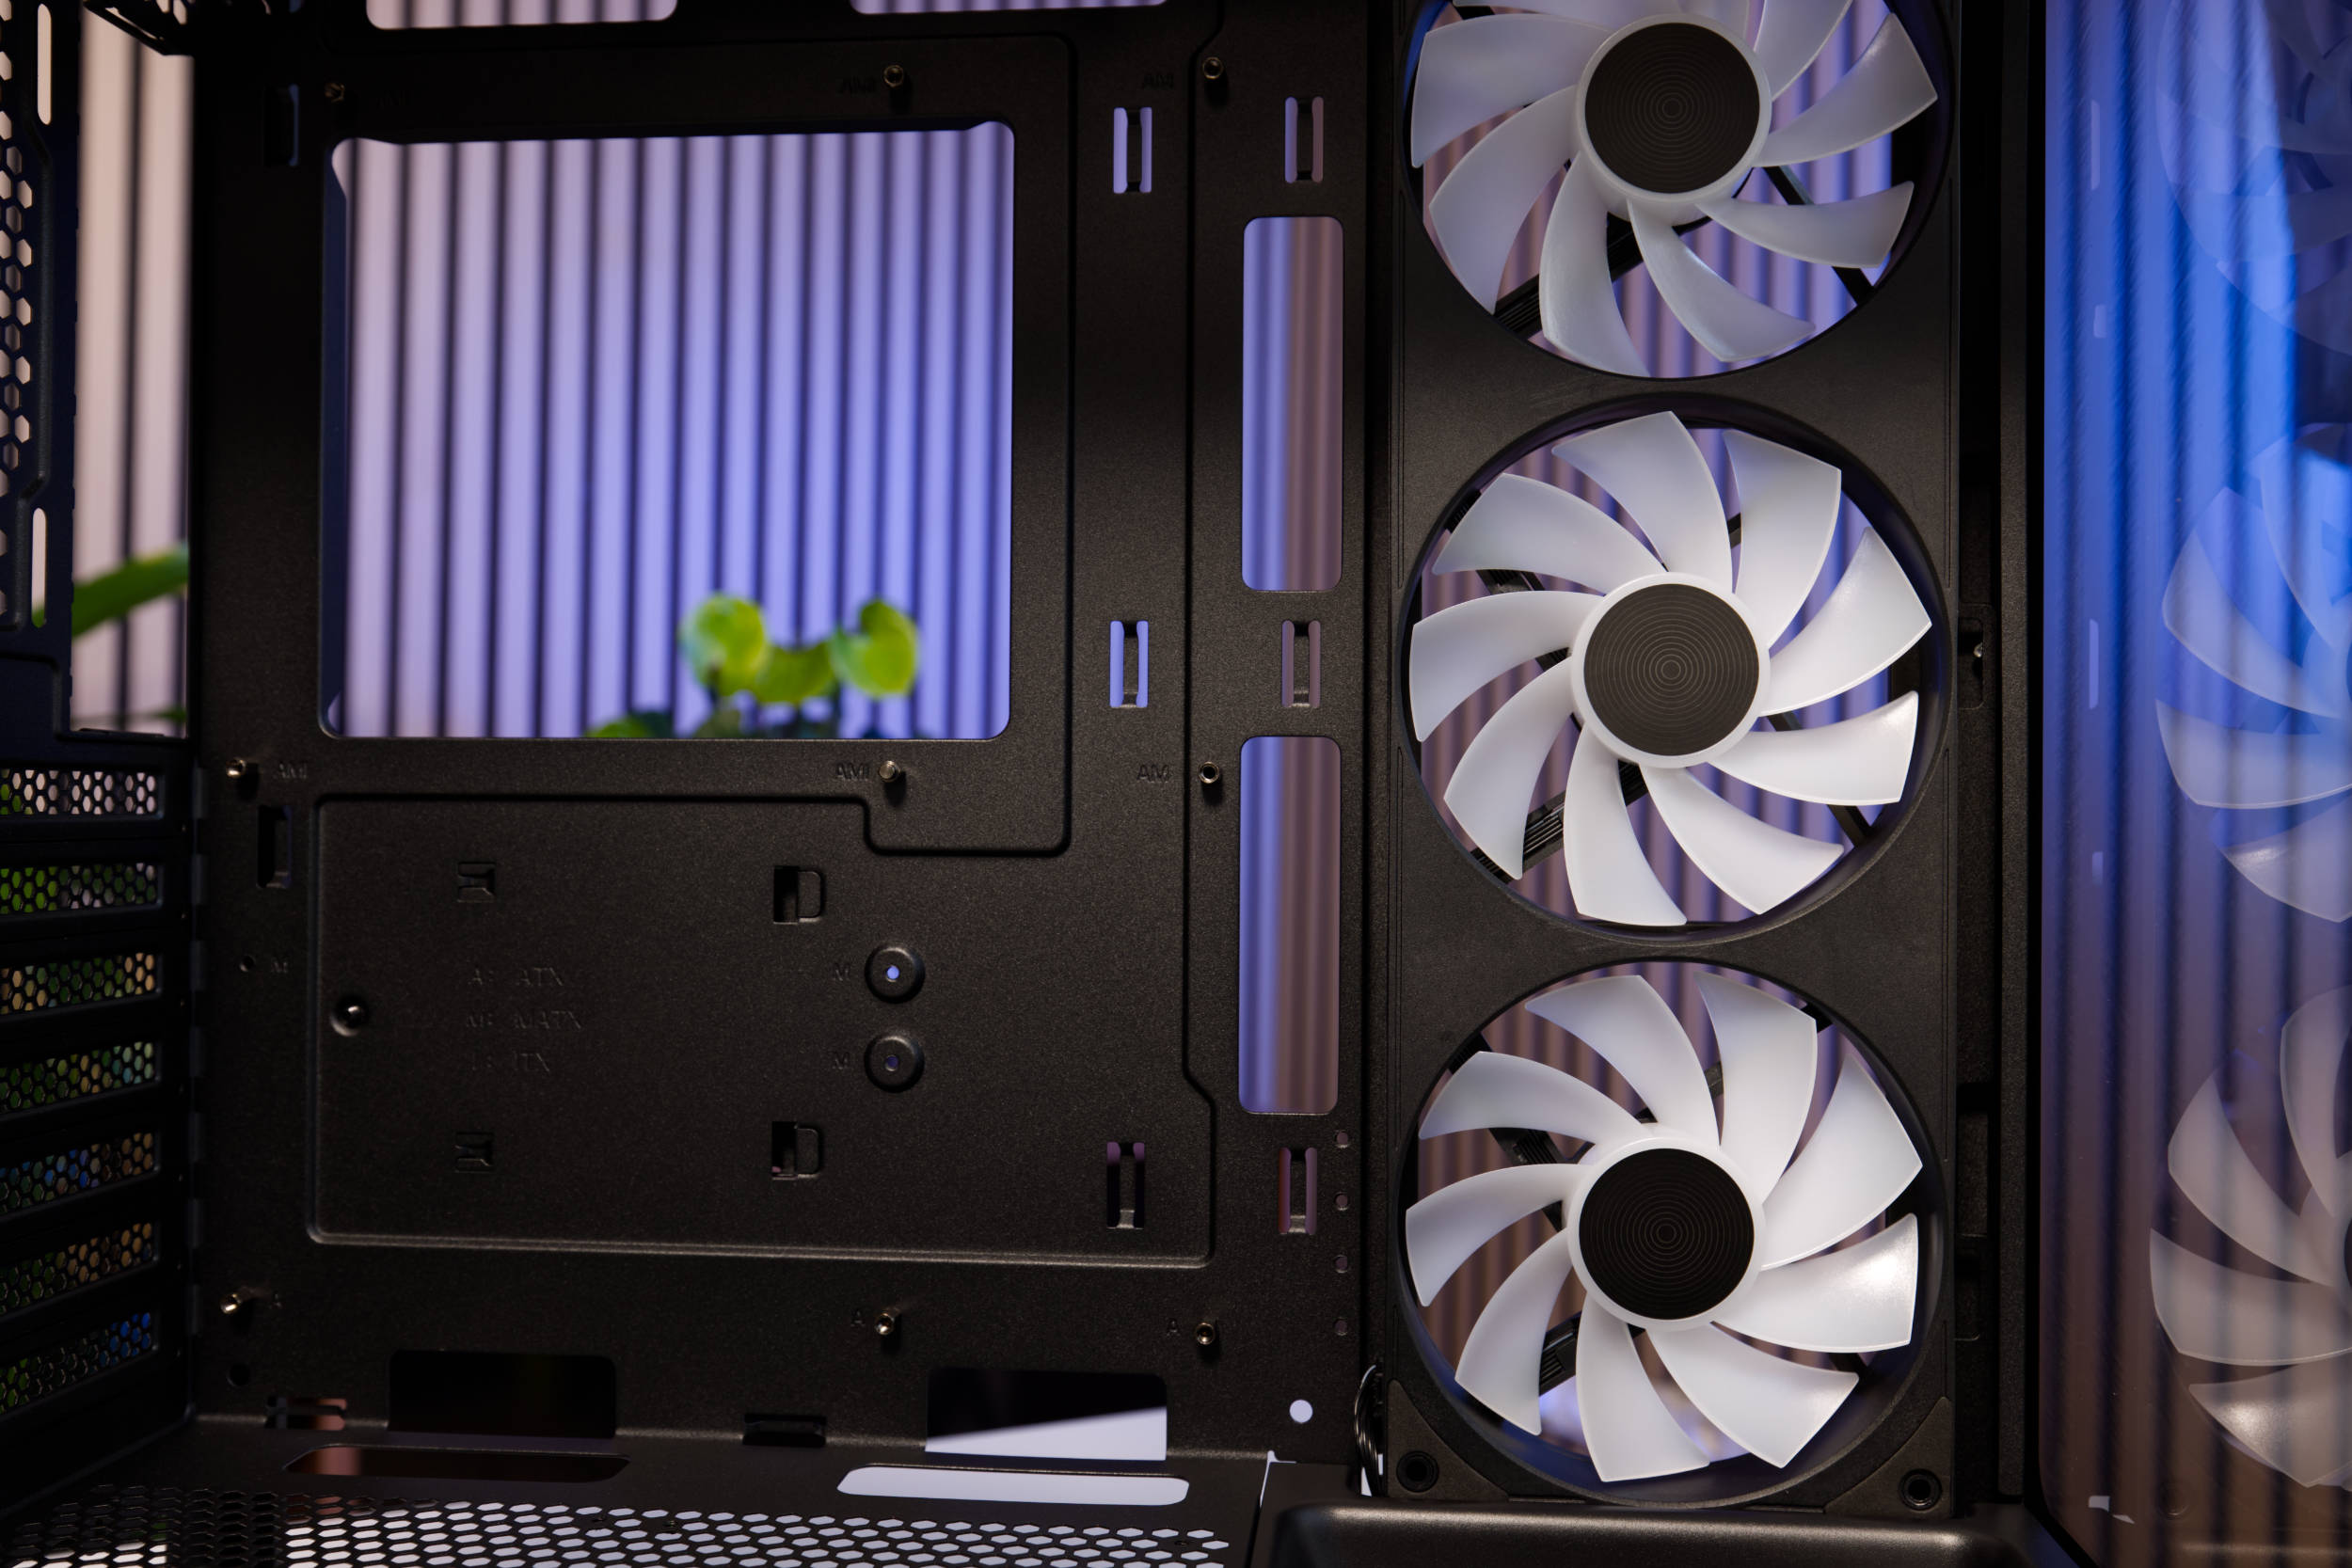 NZXT S5 RGB Single-Frame Fan (Image © PCMasters.de)
Fishbowl Design with Single-Frame Fan
Thanks to its two glass panels, the S5 RGB essentially features a fishbowl design, so we find the usual fans on the sides, which are intended to facilitate horizontal airflow. NZXT relies on its own F360 RGB Reverse Single-Frame fans and installs them right next to the front glass panel on the side. These are reverse-blade models, meaning the fan blades are oriented in the opposite direction. NZXT has included a subtle sticker on the visible side that otherwise matches the fans. Since the fans feature ARGB lighting, the fan blades are made of white plastic and serve as the light sources. They connect to the motherboard via a 4-pin PWM cable and a 5V ARGB cable, as there is no dedicated controller here.
These fans differ significantly from those we found in the NZXT H6 RGB+. Instead of operating at a maximum of 2,200 RPM, they reach a maximum of 1,500 RPM. In addition, the minimum speed is just under 200 RPM, which is surprisingly slow—most fans would already shut off at that speed!
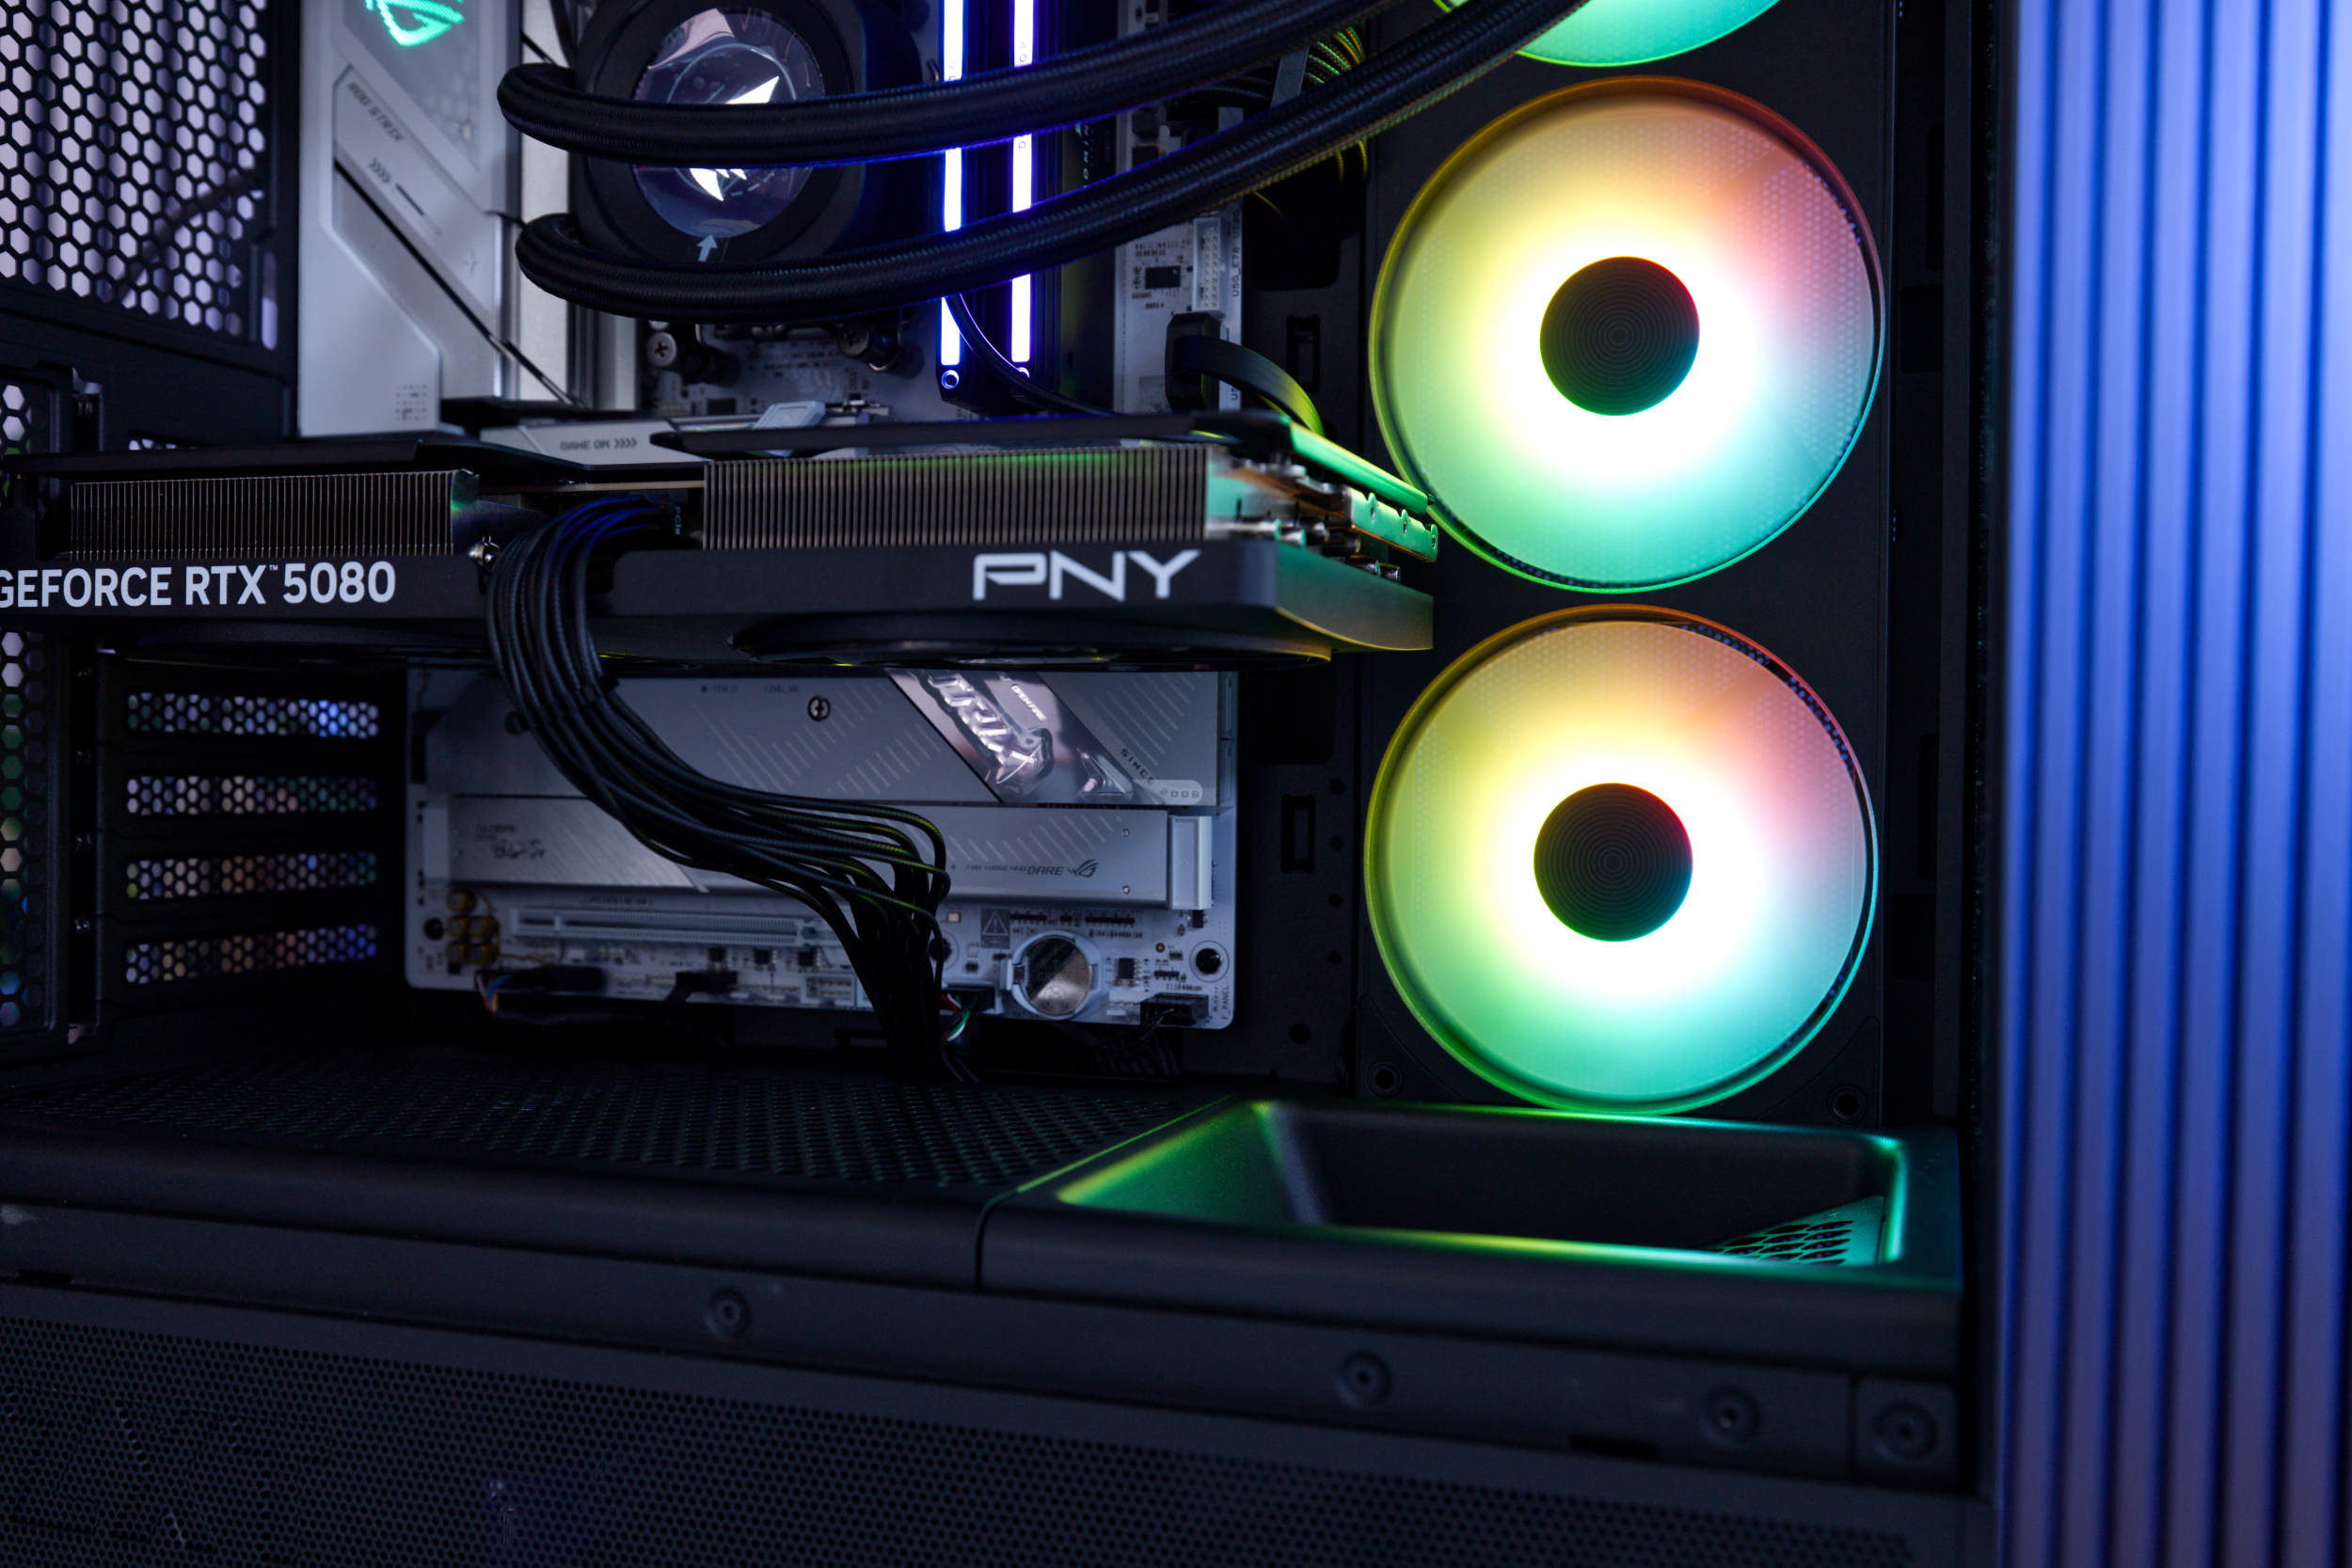 NZXT S5 RGB Single-Frame Fan with ARGB (Image © PCMasters.de)
It’s unclear at what distance and speed the specified 30.1 dBA was measured, but the fans are far too loud above 1,400 RPM. The airflow is specified at 50.46 CFM per fan at 0.76 mmH₂O.
NZXT S5 RGB Fan Mounts (Bottom) (Image © PCMasters.de)
Sound Level Measurement
We measured the sound level of the fans individually inside the closed case at a distance of 20 cm. The single-frame fans then had to be evaluated as a whole. The following chart visually represents the measurements, and the individual measurements are listed below.
Measurement Data and Noise Level of the Front Single-Frame Fan
Measured with the glass panel and side panels closed.
- 100% PWM signal: 1,503 RPM, 50.1 dB(A), very loud
- 90% PWM signal: 1,410 RPM, 48.3 dB(A), very loud
- 80% PWM signal: 1,310 RPM, 46.3 dB(A), loud
- 70% PWM signal: 1,195 RPM, 43.5 dB(A), loud
- 60% PWM signal: 1,064 rpm, 40.4 dB(A), loud
- 50% PWM signal: 940 rpm, 37.9 dB(A), audible
- 40% PWM signal: 774 rpm, 35.2 dB(A), audible
- 30% PWM signal: 616 rpm, 33.8 dB(A), barely audible, room volume (office)
- 20% PWM signal: 417 rpm, 33.4 dB(A), quiet, room volume (office)
- 10% PWM signal: 232 RPM, 33.1 dB(A), quiet, normal room volume (office)
- Floor: 32.9 dB(A) (Ambient noise level with the PC turned off)
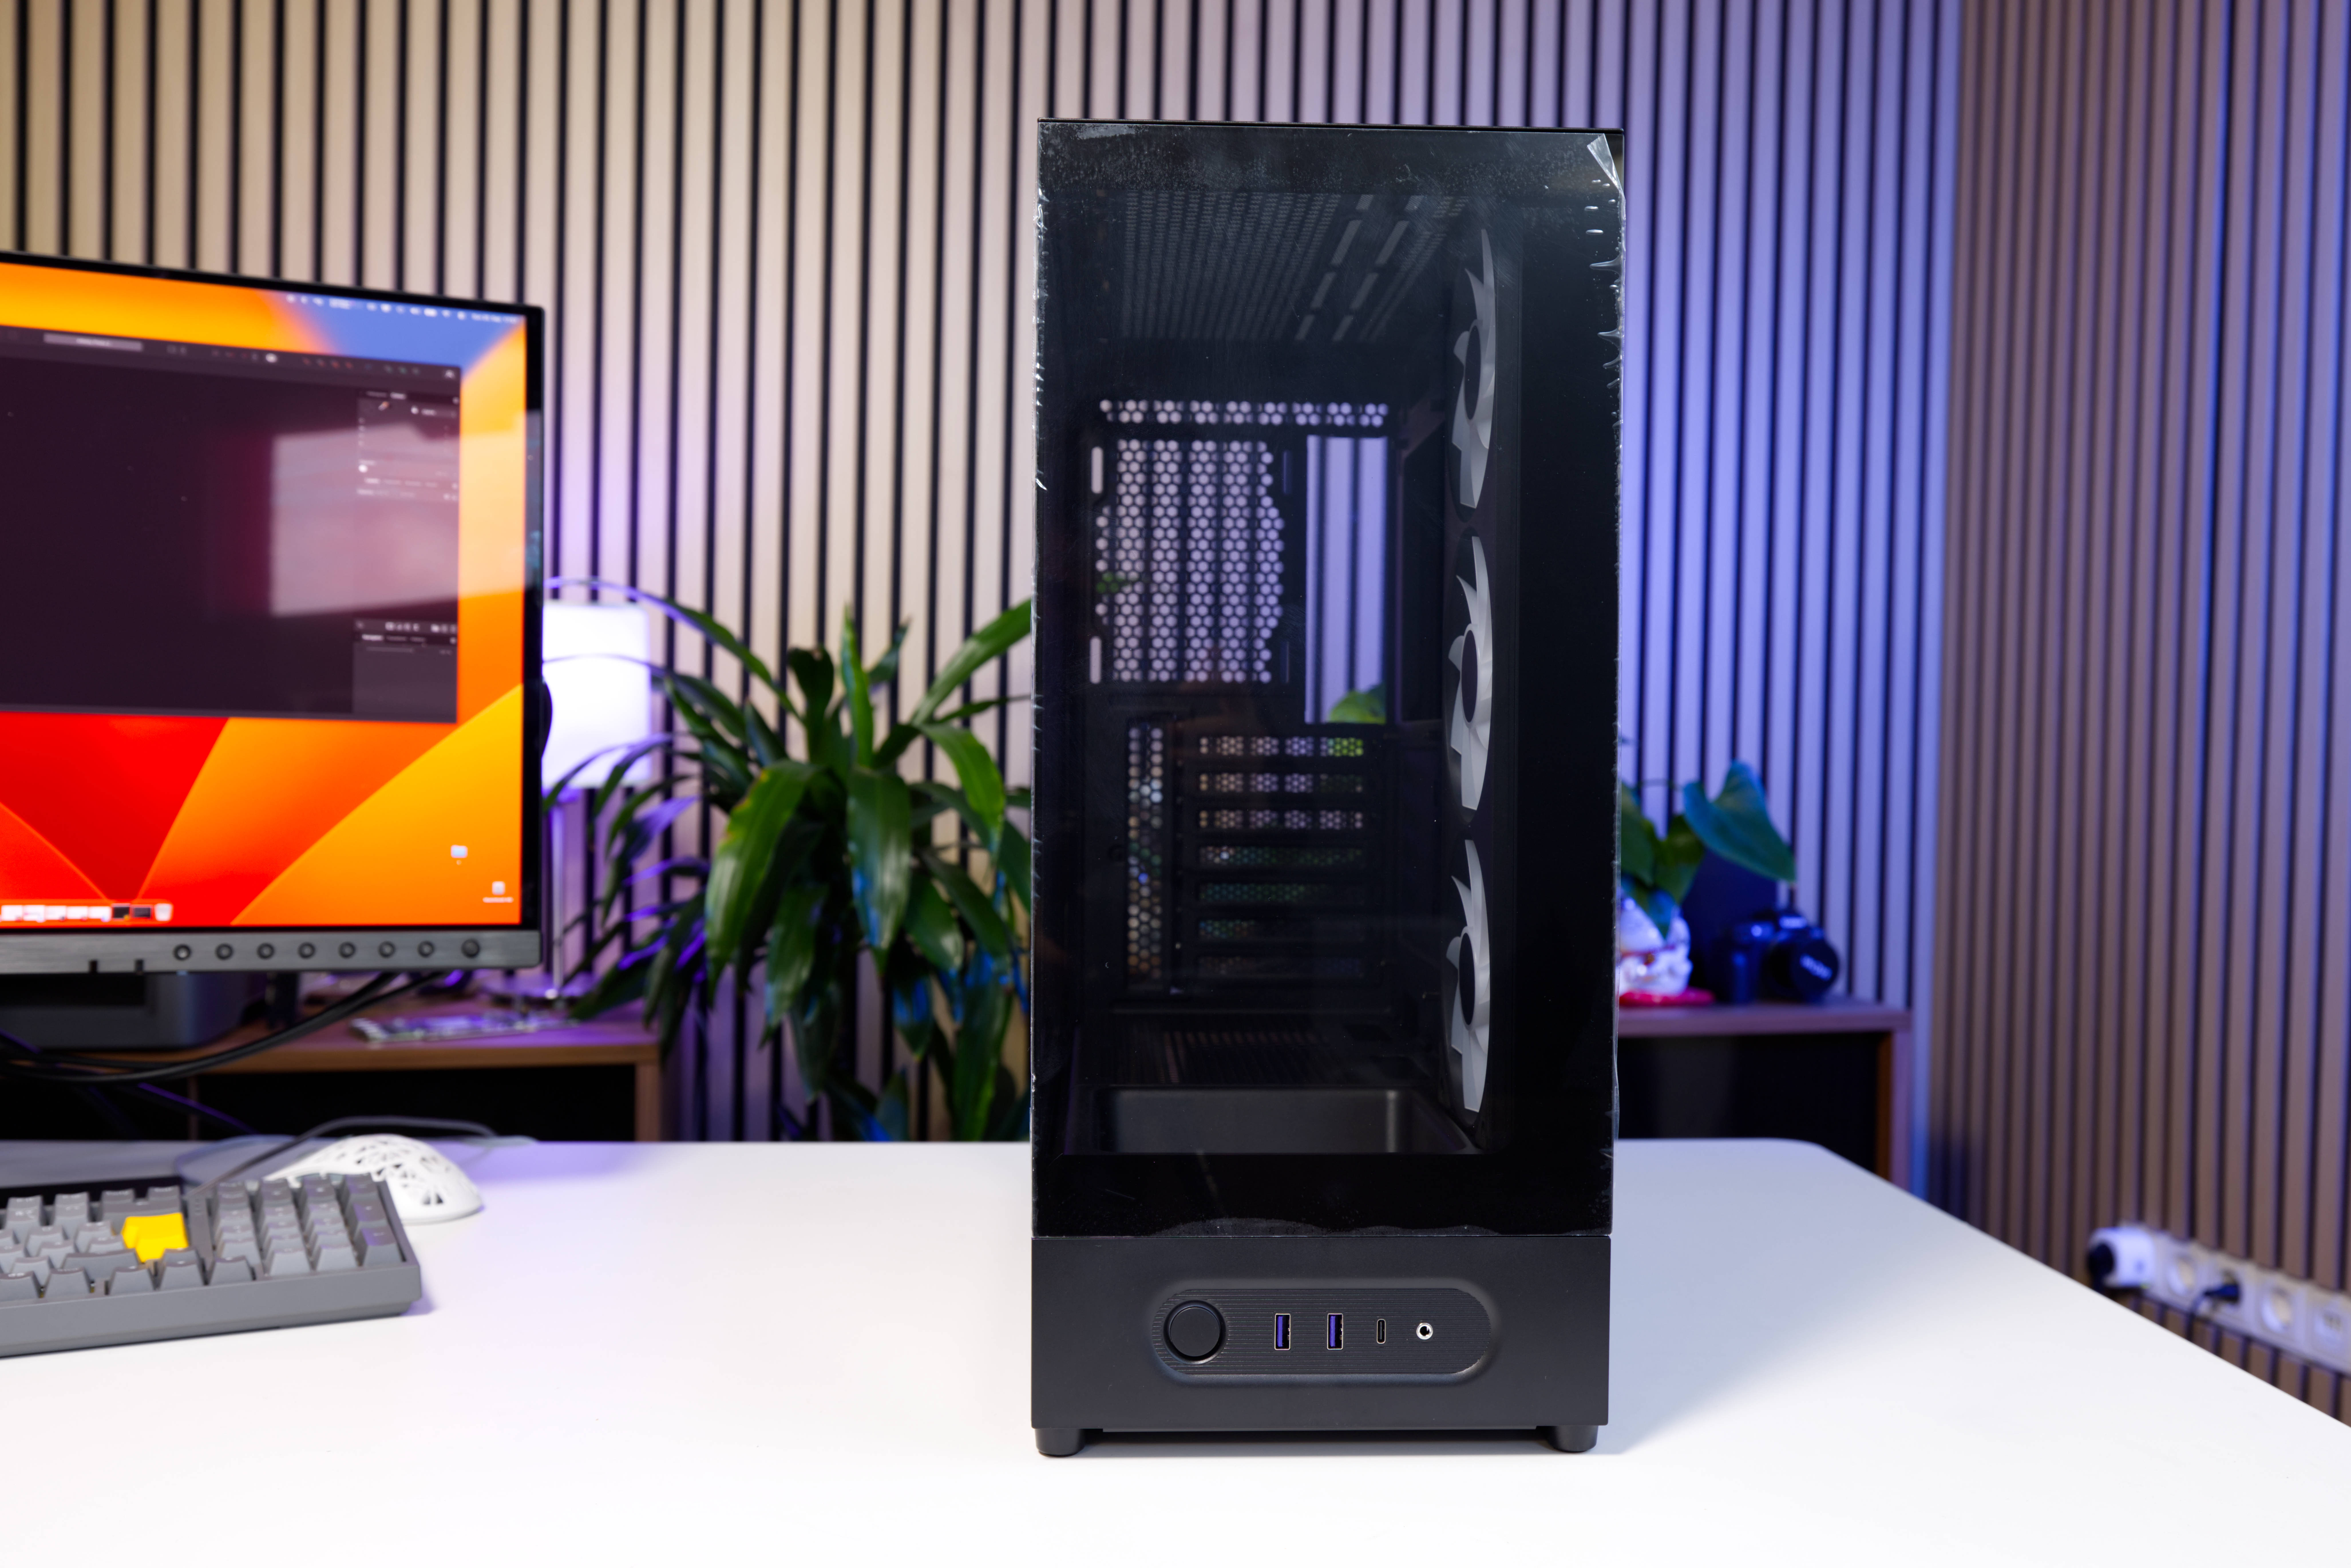 NZXT S5 RGB Front I/O (Image © PCMasters.de)
IO Panel
On the S5 RGB, the I/O panel is located at the bottom of the front panel. The power button is particularly striking, as it is surprisingly large. The panel is set back slightly in this area.
Right next to the power button, there are two USB 3.2 Gen 1 Type-A (5 Gbps) ports and a modern USB 3.2 Gen 2x2 Type-C port (20 Gbps) for connecting storage devices and peripherals. On the far right, there is a headphone combo jack. The included cables inside the case have black sheathing and can be easily routed to the motherboard.
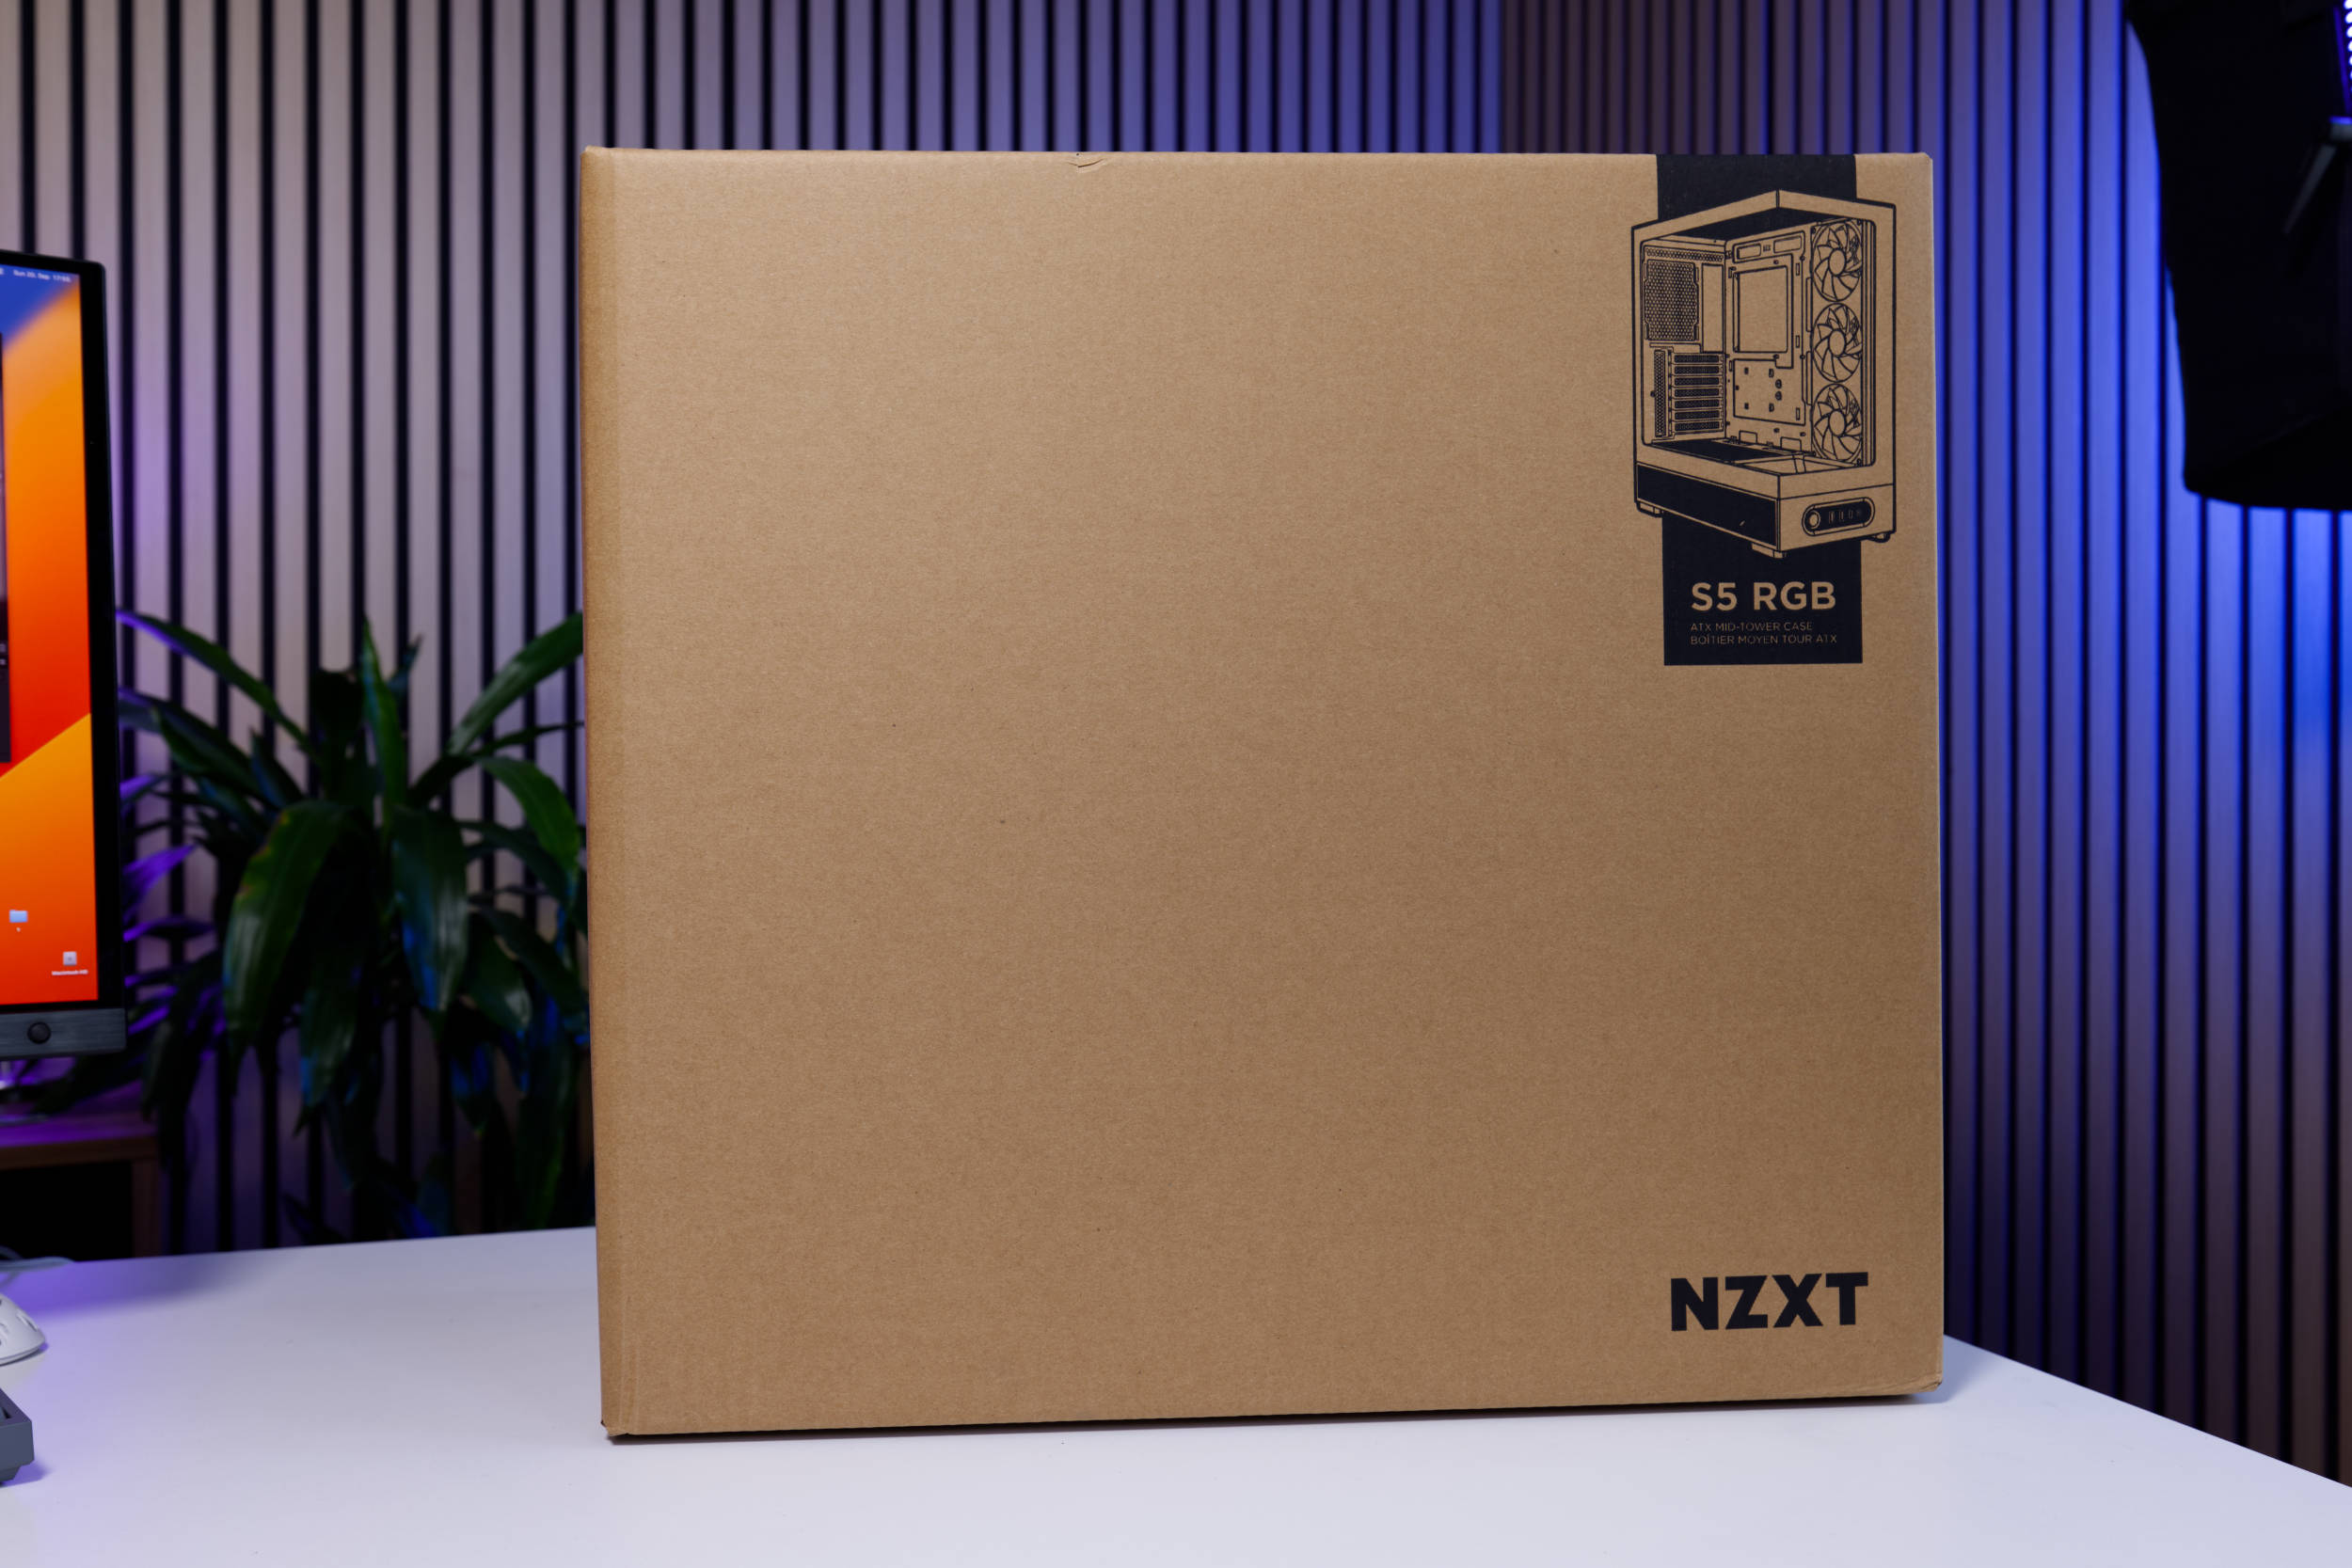 NZXT S5 RGB Packaging (Image © PCMasters.de)
Packaging & Contents
We definitely have to give NZXT credit for the packaging, as the outer box is sturdy and features minimalist printing. Inside, we find a thick protective layer that adequately protects the case.
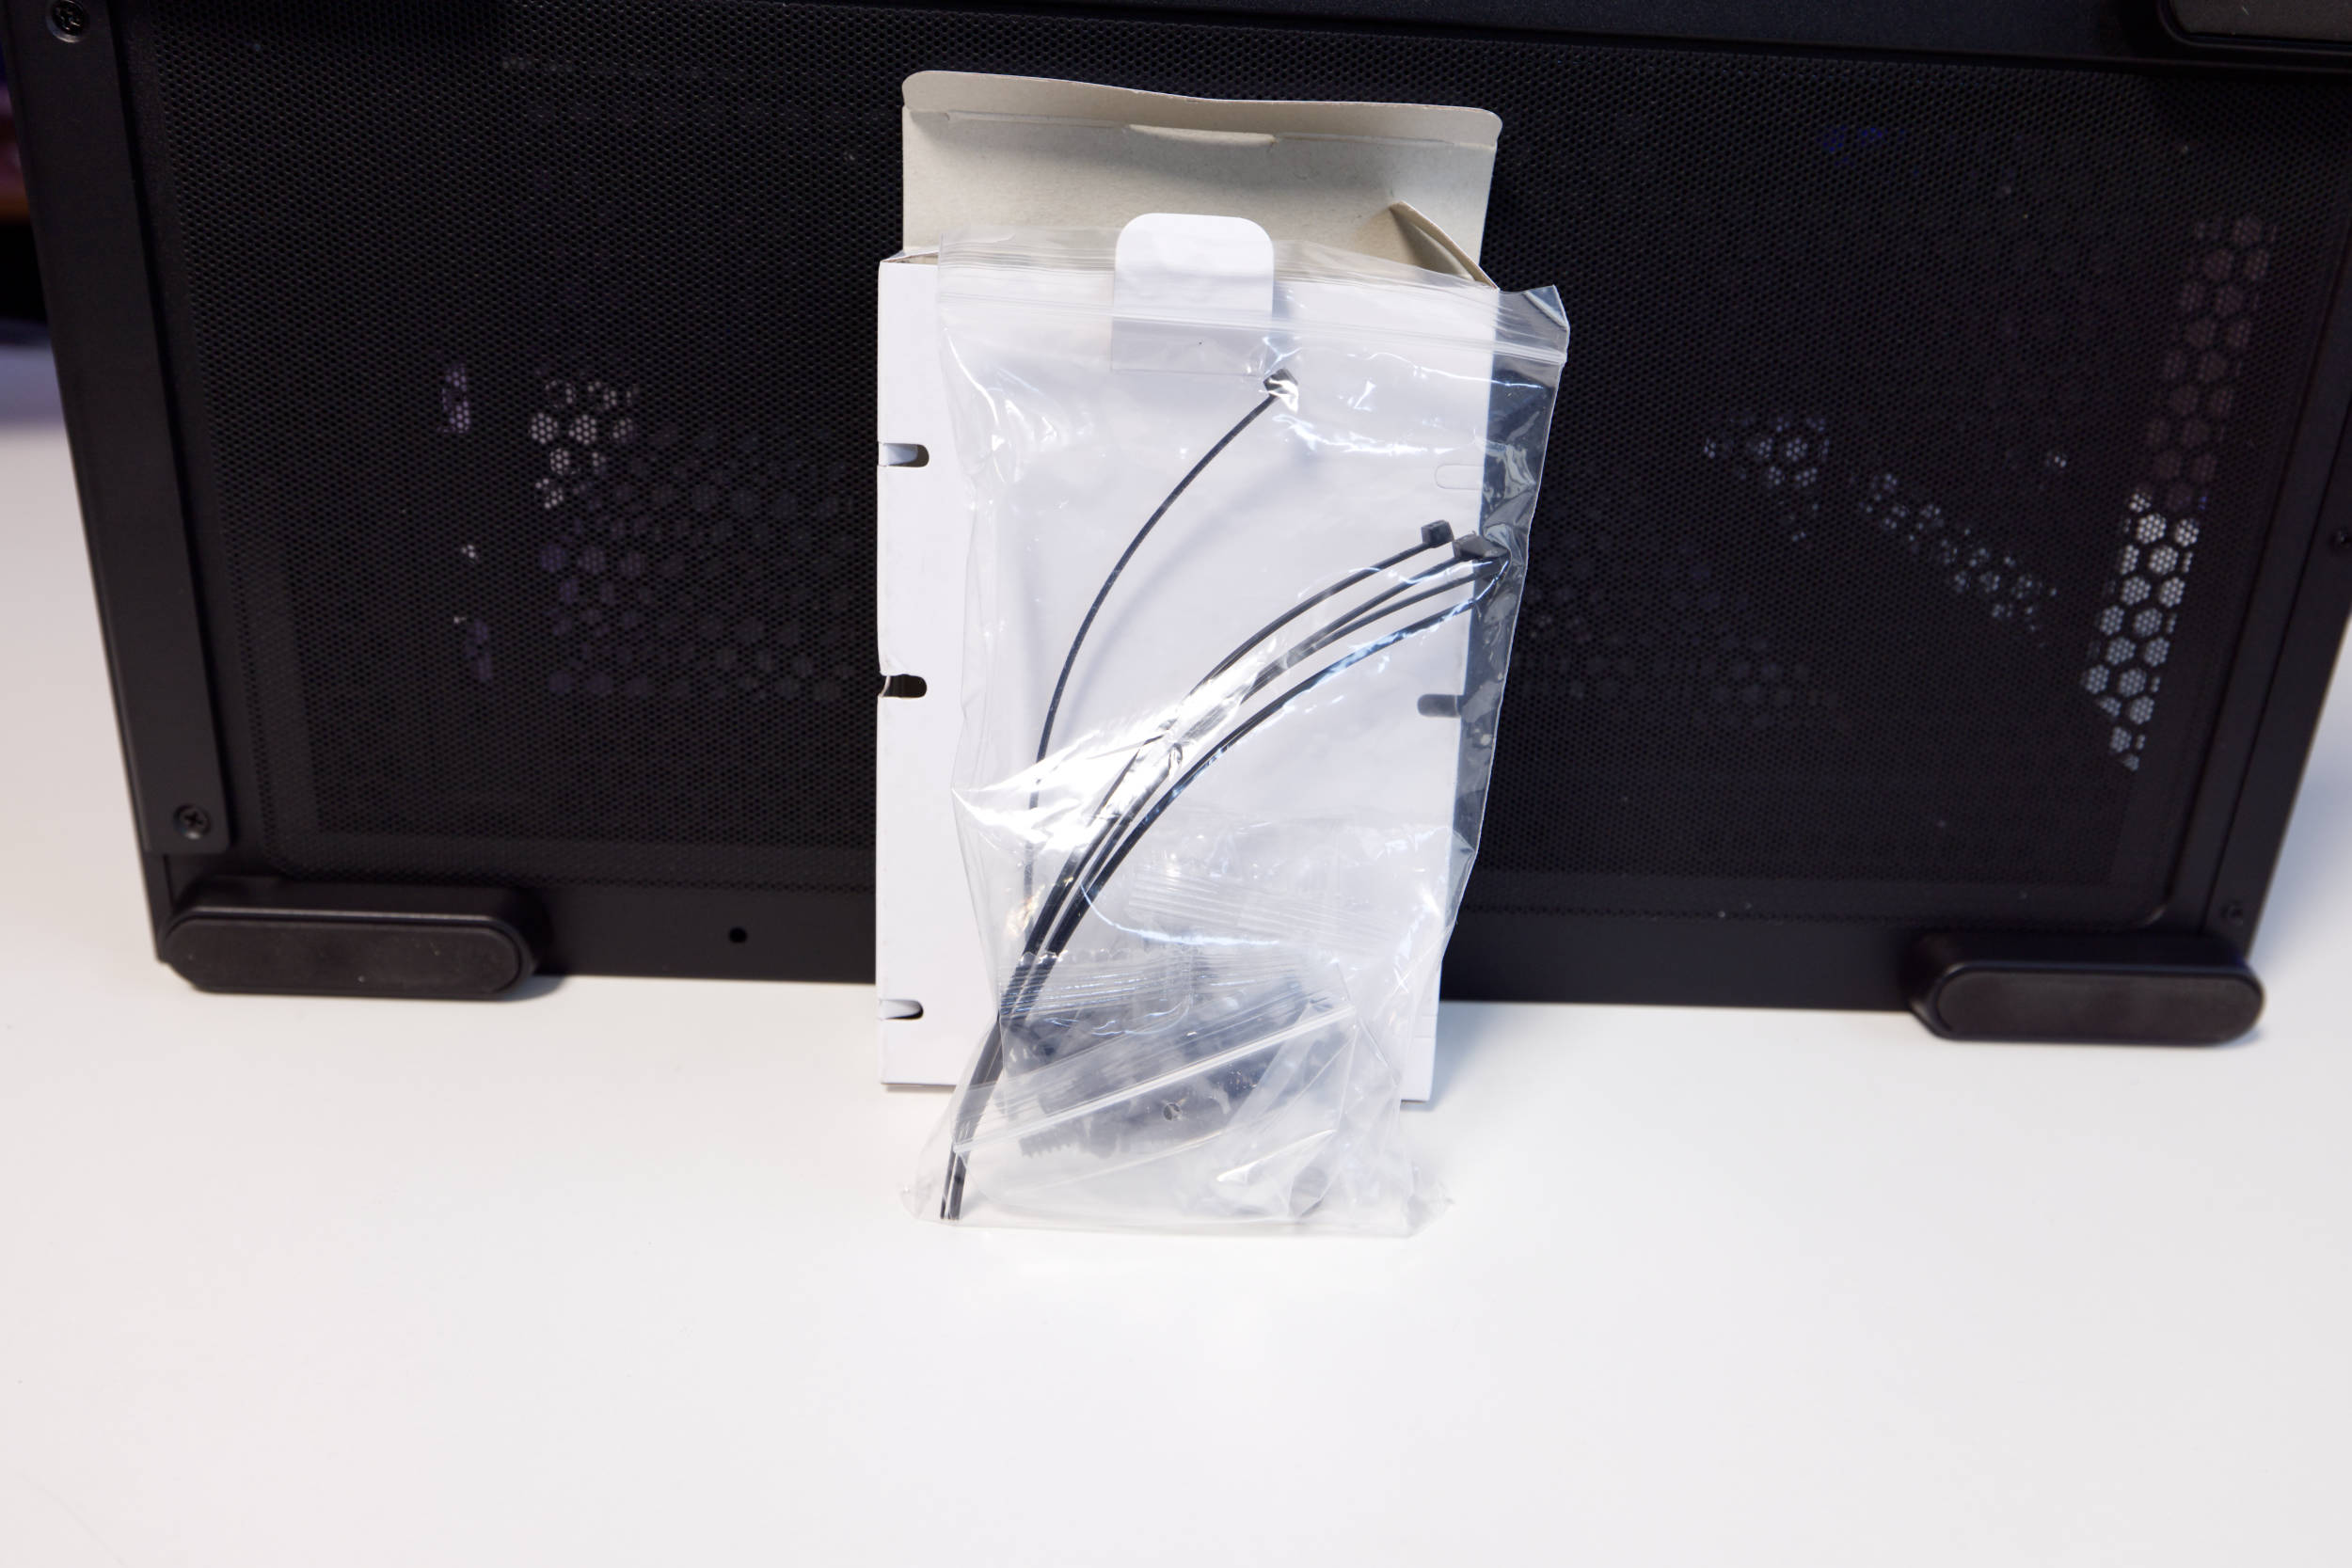 NZXT S5 RGB Package Contents (Image © PCMasters.de)
All the accessories are contained in a small cardboard box attached to the bottom of the case. Inside, you’ll find the necessary screws, just 5 cable ties, and a manual. Unfortunately, that’s all there is.
Technical Specifications
| NZXT S5 RGB Technical Specifications (Manufacturer’s Specifications) | |
|---|---|
| Case Type | Midi Tower |
| Material | Steel, Glass |
| Color (inside / outside) | White / Black |
| Dimensions | 210 x 482 x 423 mm |
| Motherboard Sizes | ATX, Mini-ITX, M-ATX |
| Weight | 6.14 kg |
| Max. CPU cooler height | 162 mm |
| Max. graphics card length | 415 mm |
| 3.5" drive bays | 1 |
| 2.5" drive bays | 1 |
| Fans, pre-installed | 1 x 360 RGB Reverse |
| Fans, optional | Up to 10 in the case |
| PCIe slots | 7 |
| I/O panel | 1x USB-C 3.2 via USB header Key-A (20 Gb/s), 2x USB-A 3.0 (5 Gb/s), 1x 3.5 mm jack Line-In/Out |
| Warranty | 2 years |
| Price | 59.90 € (Affiliate) |
Test Setup
We are using the following components for our test system. The setup is as follows:
- CPU: AMD Ryzen 7 9700X
- CPU Cooler: Corsair Nautilus 360 RS LCD - Motherboard: ASUS ROG STRIX B850-A GAMING WIFI7 NEO
- RAM: Corsair Dominator Titanium RGB 48 GB Kit DDR5-6000
- SSD: 2 x NVMe SSDs
- Graphics Card: PNY GeForce RTX 5080 Slim OC
- Power Supply: NZXT C850 Core
[end of page]
System Build
The hands-on portion of the case review involves installing PC components. We usually follow the same procedure. First, we remove all the side panels and then lay out the accessories. Since we can’t mount the radiator on the front, there’s no need to remove the front panel. We just take off the side panels.
The packaging of the screws is a bit annoying, since you can’t separate the little bags from one another—you just end up tearing off too many by accident.
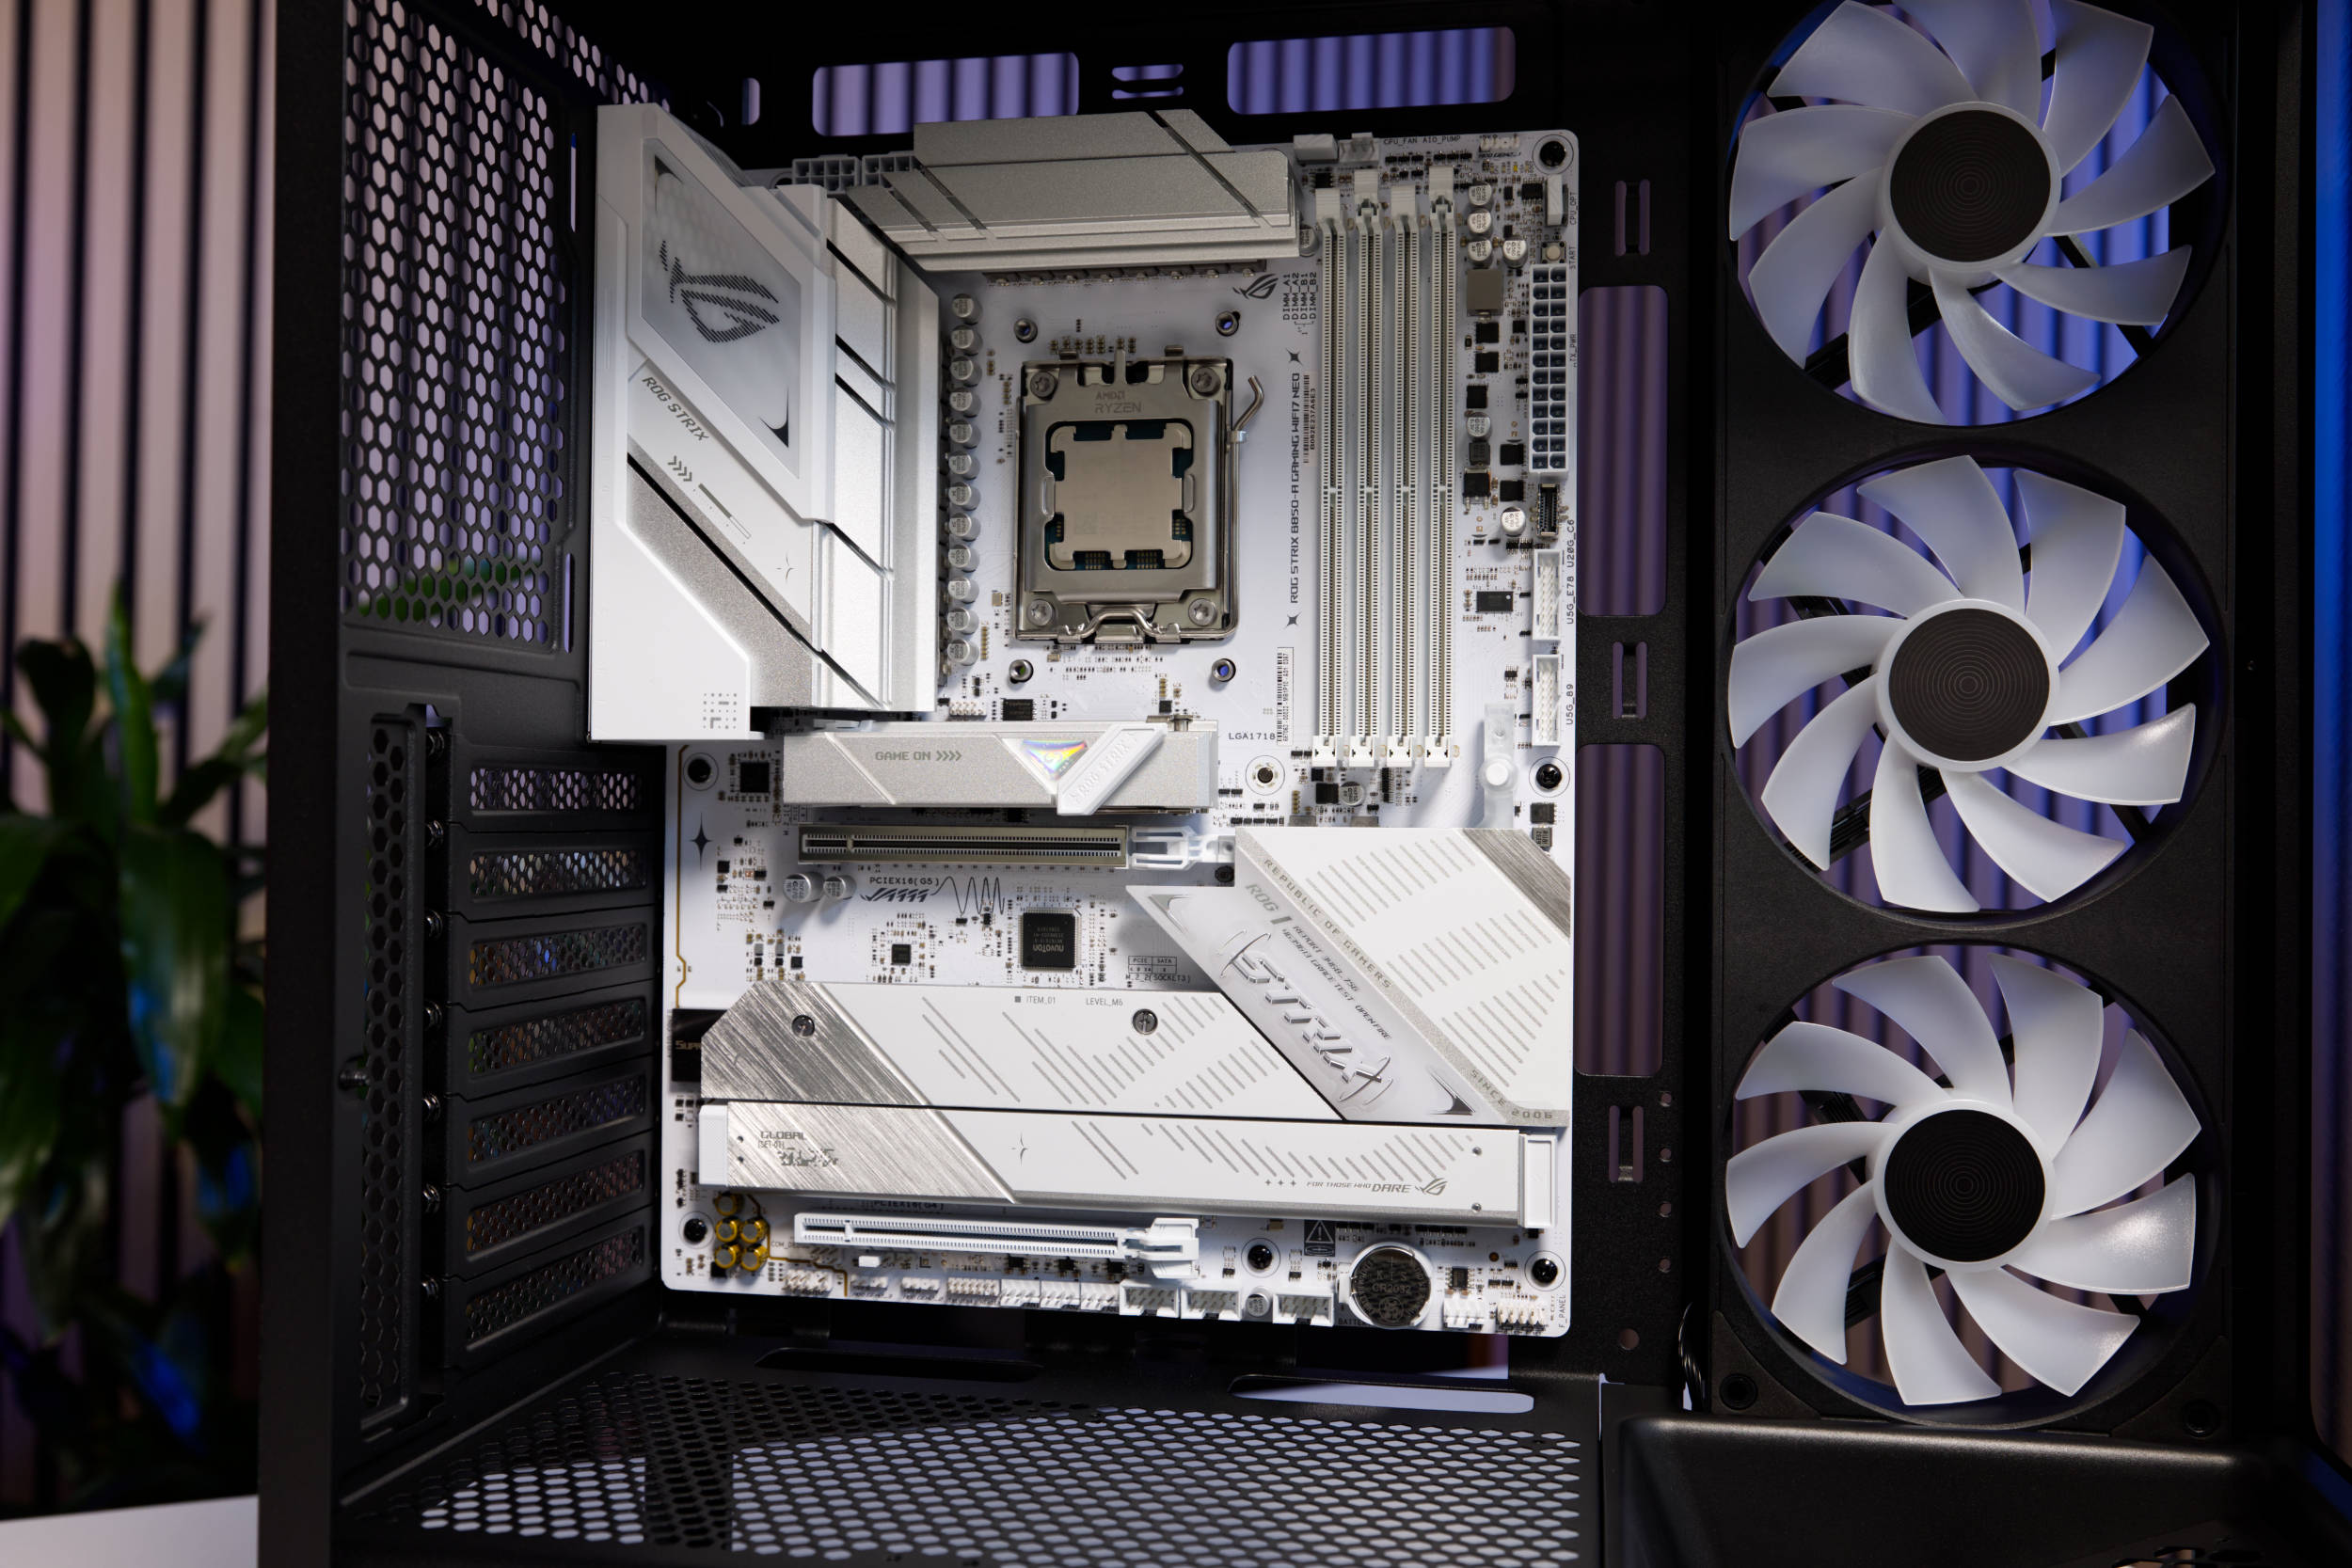 NZXT S5 RGB Motherboard Installation (Image © PCMasters.de)
Motherboard Installation
Since we have some concerns about radiator installation, we’ll install the motherboard first and then see how well everything fits. We secure the CPU in the socket and then mount the board in the case. The standard ATX screw positions are present here as well, so we have to secure the board with 9 screws.
The board isn’t black because we wanted to add some contrast to create a color accent against the fans. The rest of the components are black and match the main color scheme.
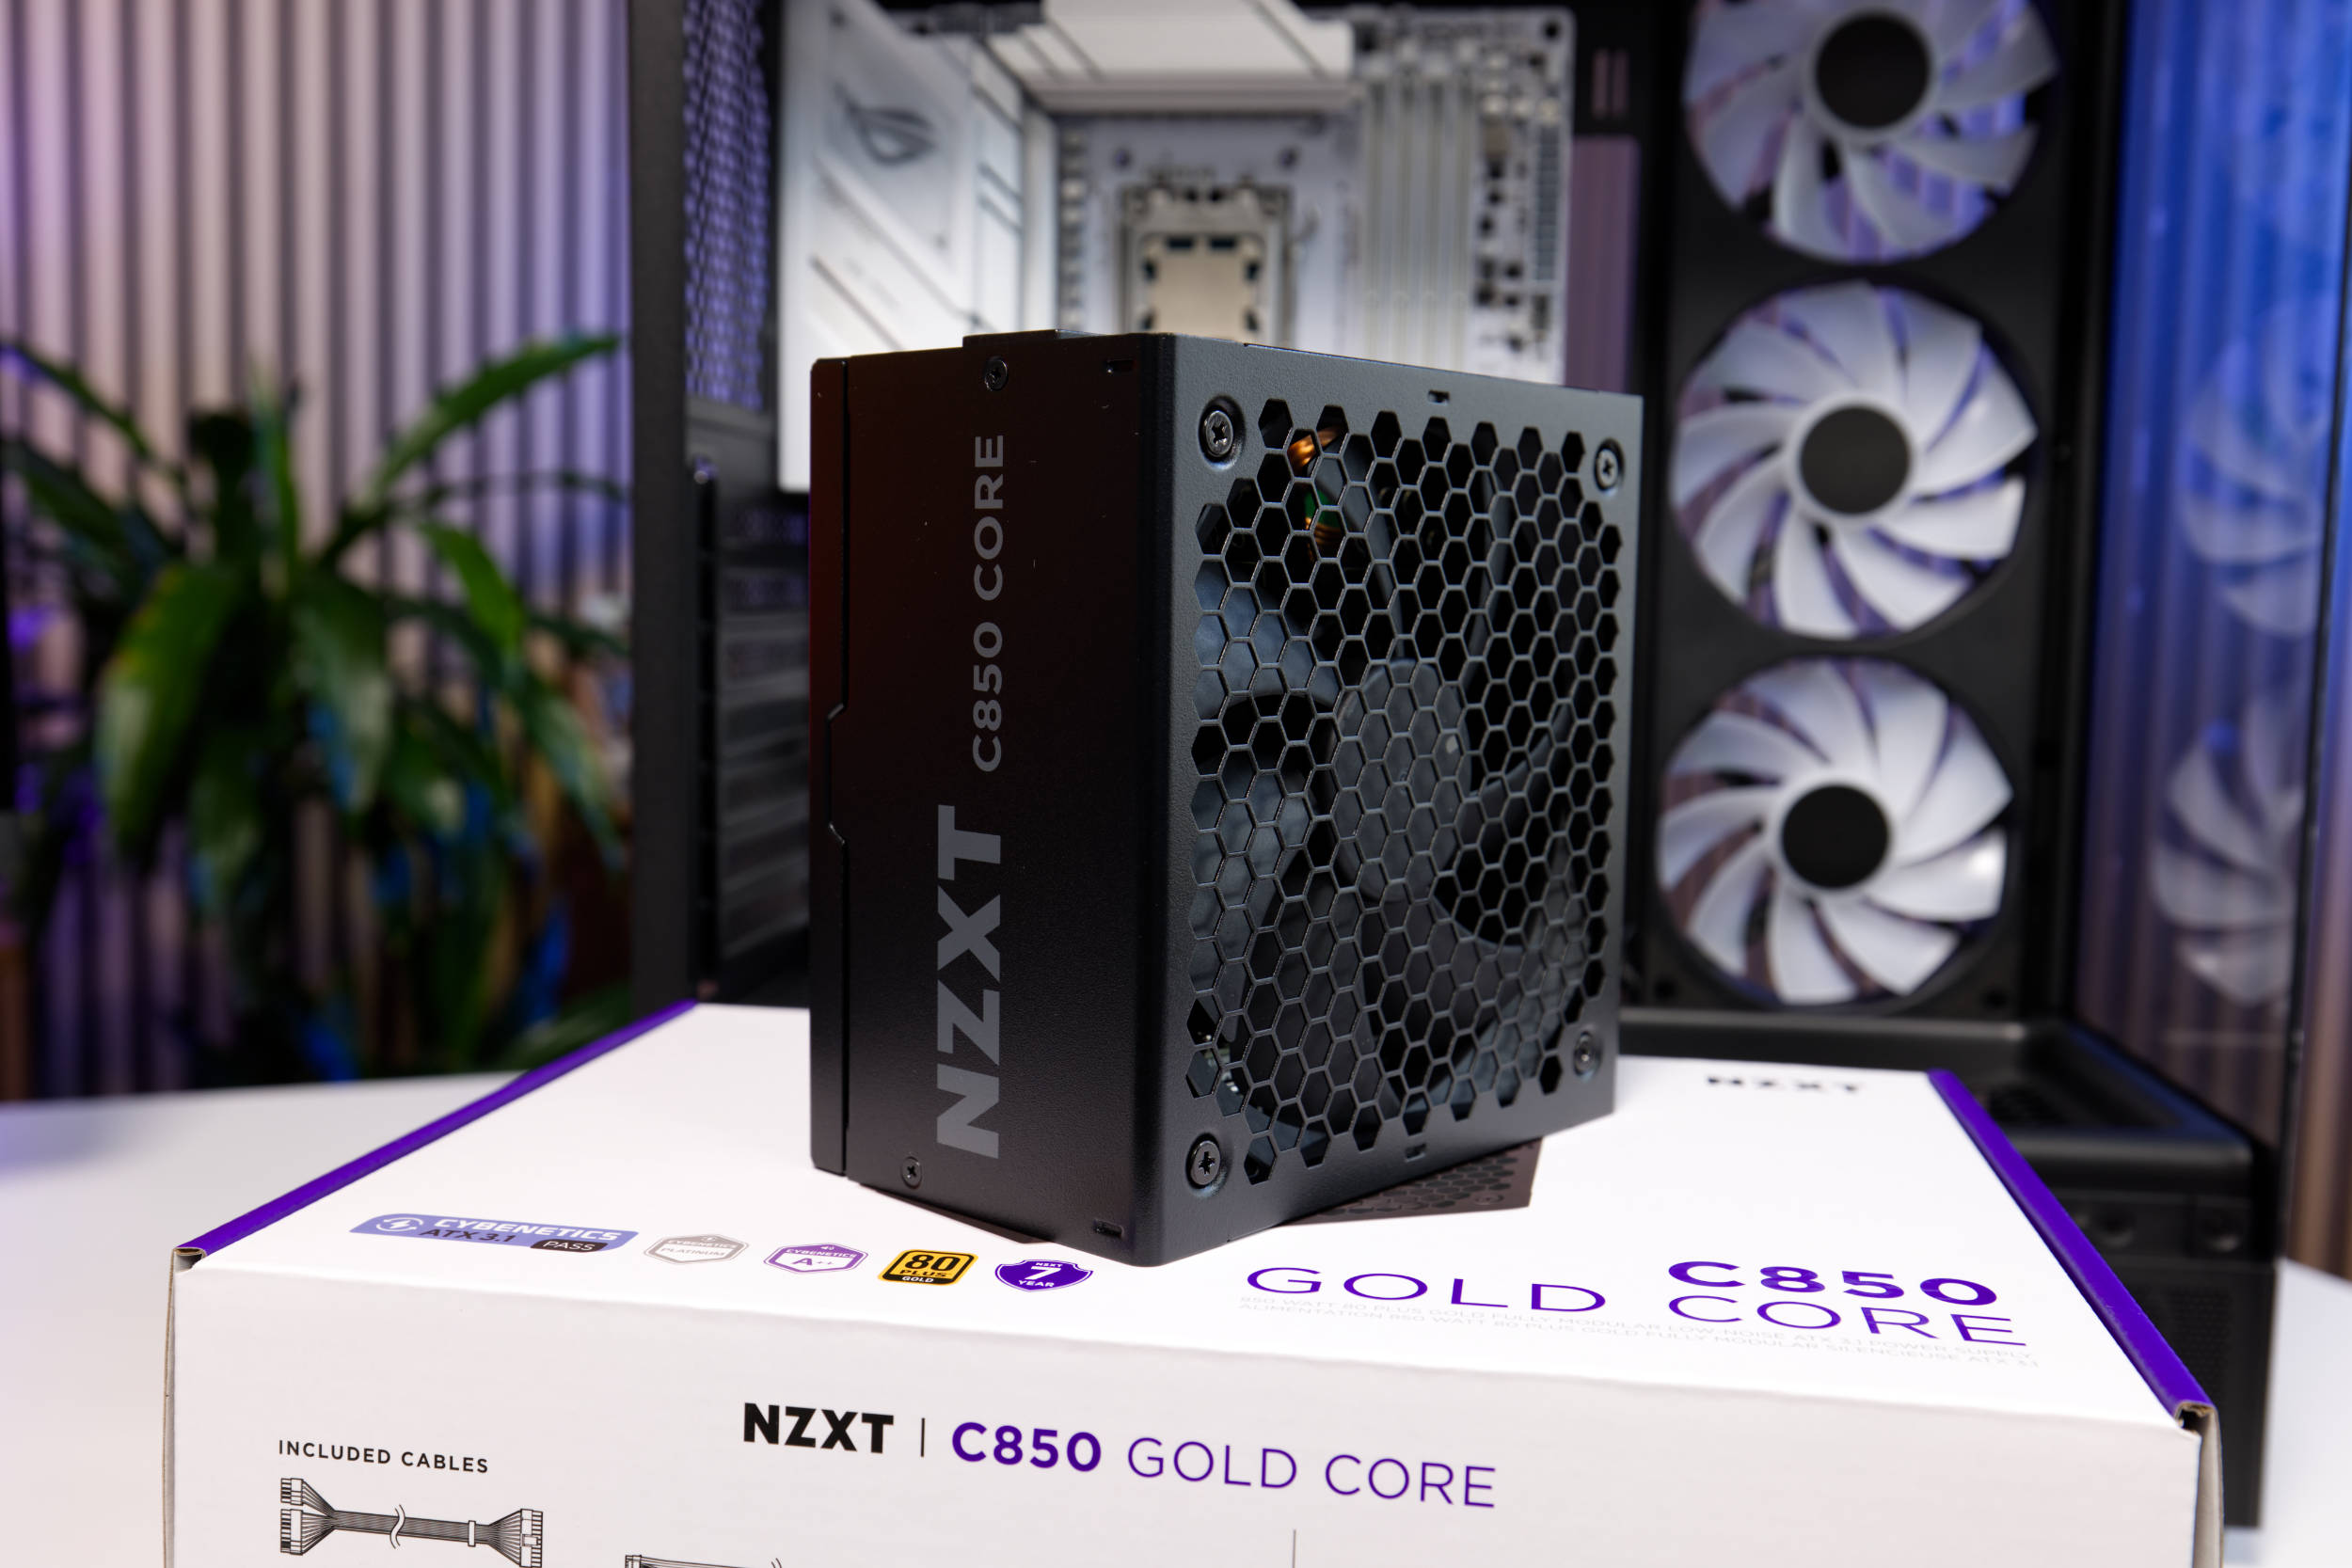 NZXT S5 RGB with C850 Core (Image © PCMasters.de)
Power Supply
For this build, we’re using a black NZXT C850 Core power supply, which is a suitable budget option that fits well with the rest of the system. It often makes sense to install the power supply first so you can route all the necessary cables right away. You can also install it after the motherboard and the AIO, but we prefer to install and route the CPU EPS and ATX cables before installing the AIO. If you don’t have enough space at the top later on, it will be difficult to plug in the cables.
It’s also a good idea to plug the appropriate cables into the power supply now, so you don’t have to do it laboriously inside the drive bay later.
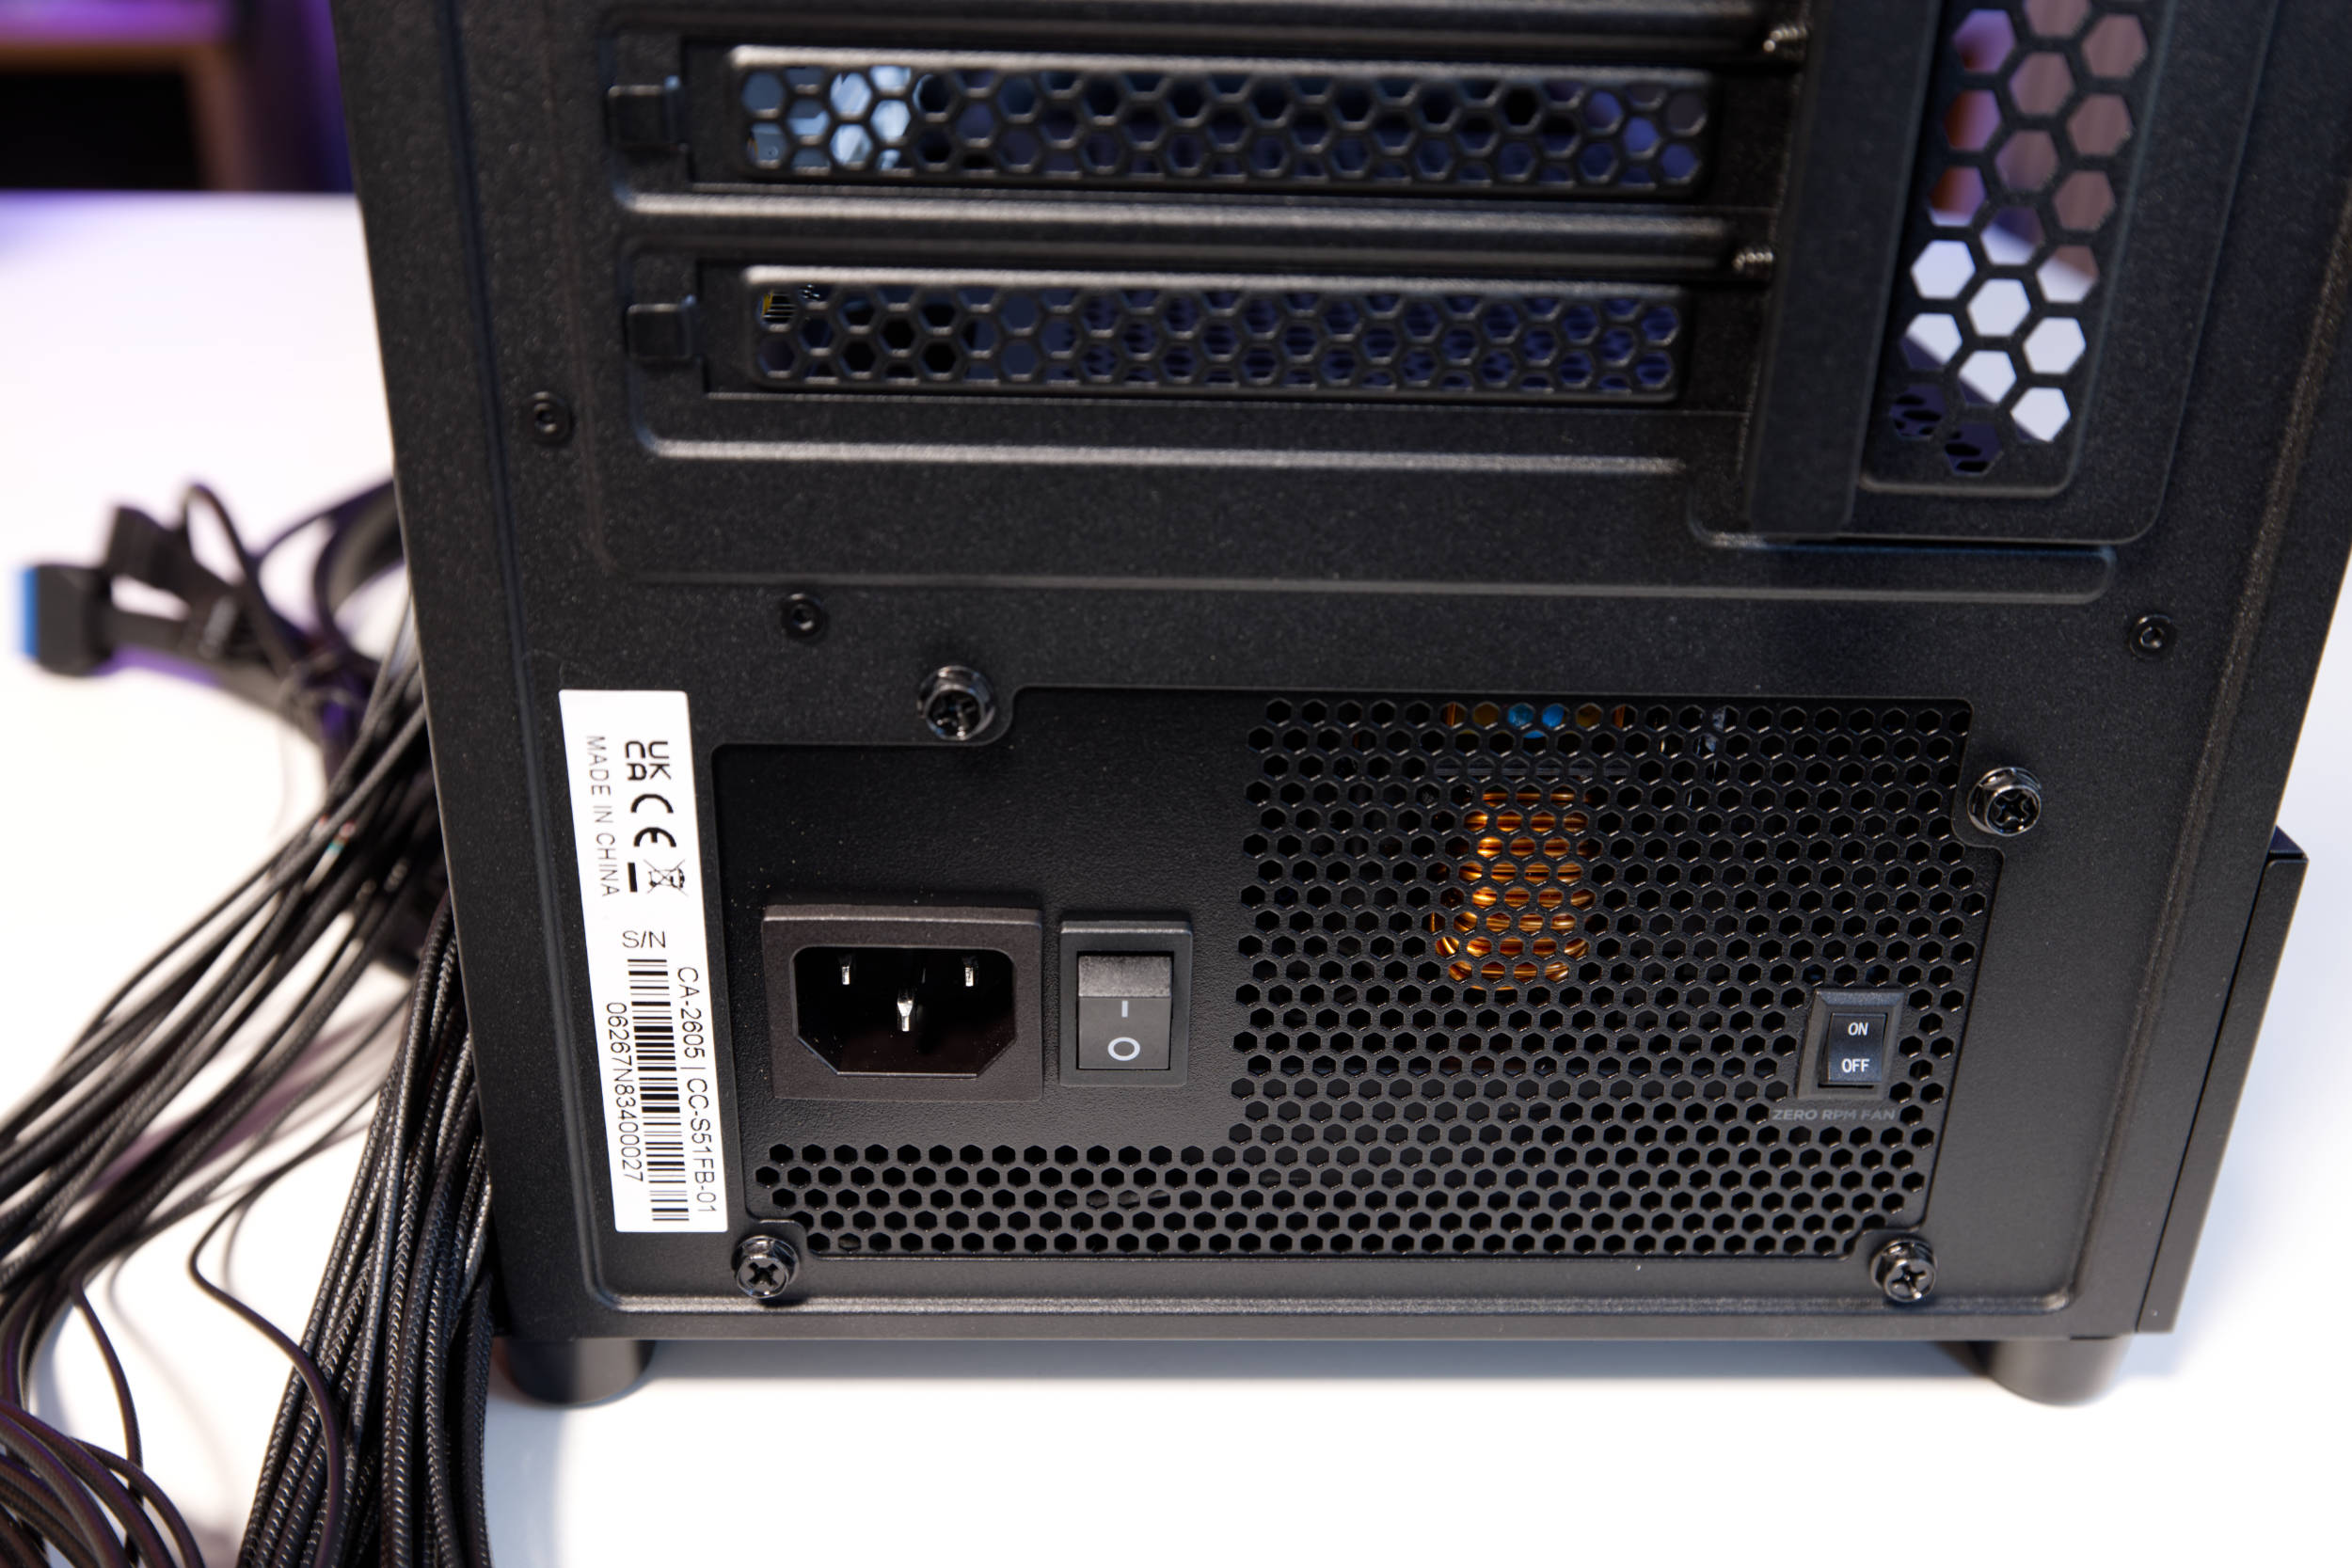 NZXT S5 RGB Power Supply Installation (Image © PCMasters.de)
The power supply is mounted at the bottom of the chassis. We use the four screws included in the package to secure it. You can also route the cables for the fans and the I/O panel through the chassis now and connect them to the motherboard.
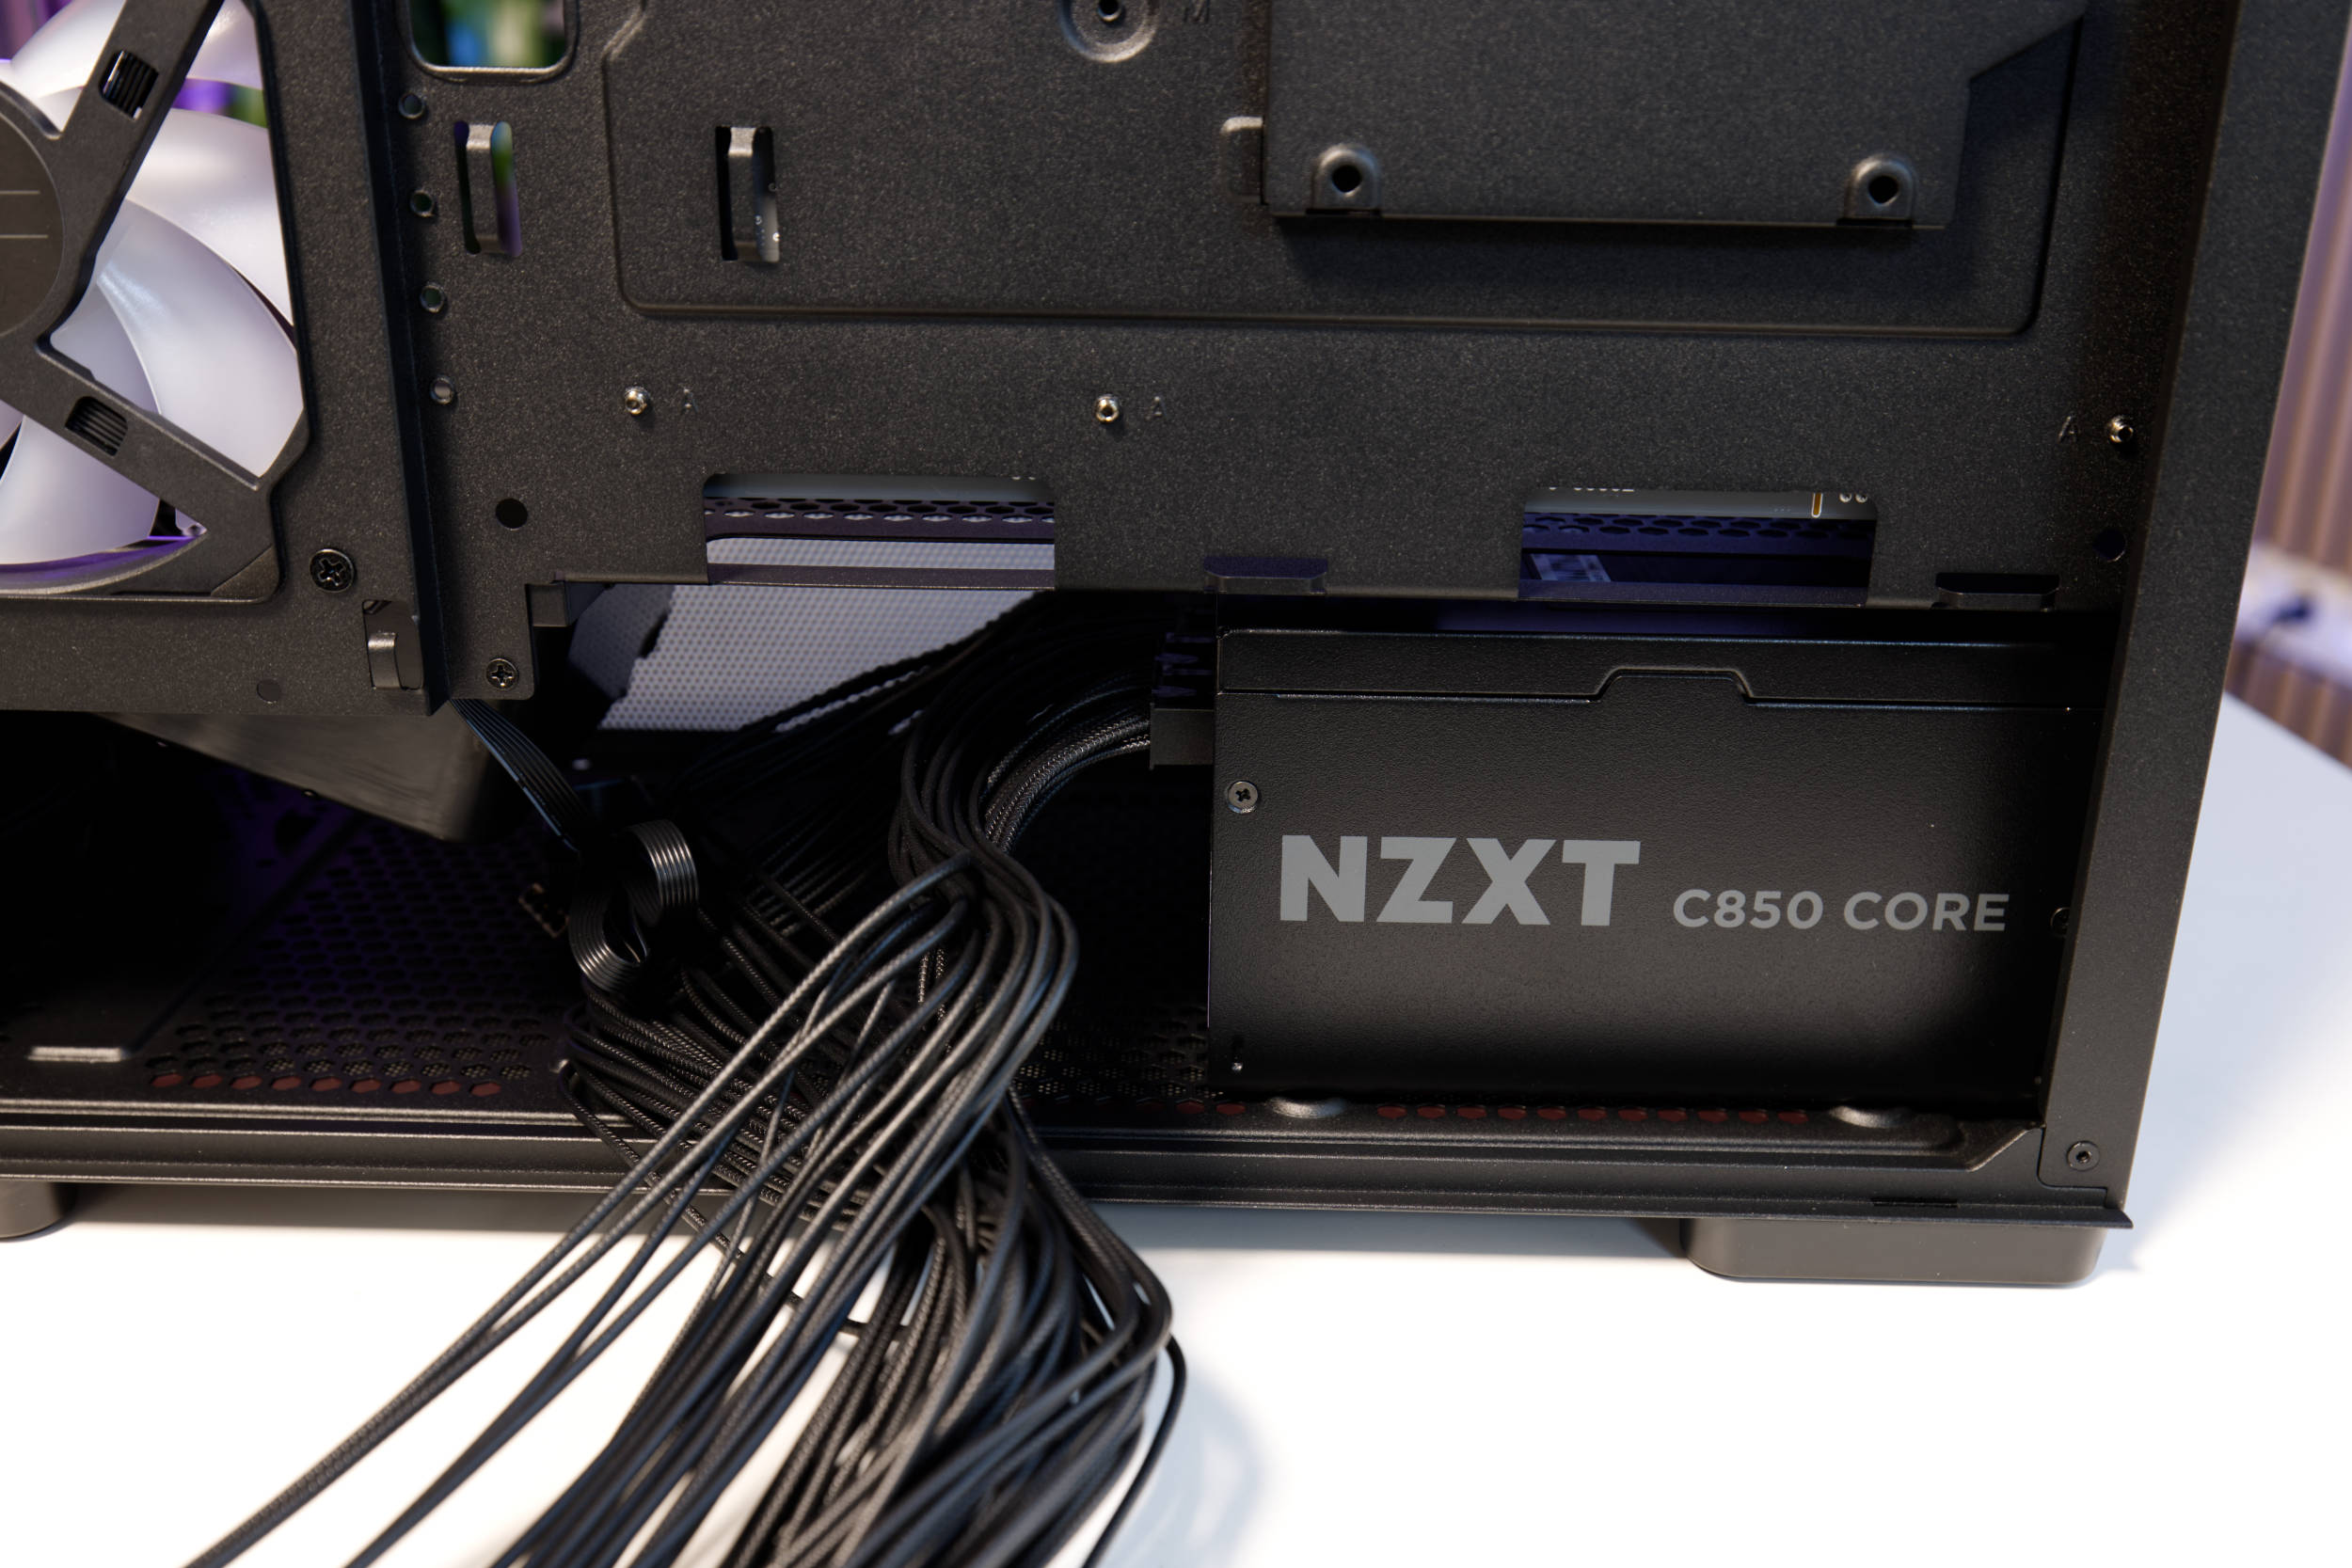 NZXT S5 RGB Power Supply mounting (Image © PCMasters.de)
The 850-watt output is sufficient for this build and should be more than enough even for a GeForce RTX 5080. The cables are not sleeved but are loose and separate in a bundle. They are held together by a movable cable comb.
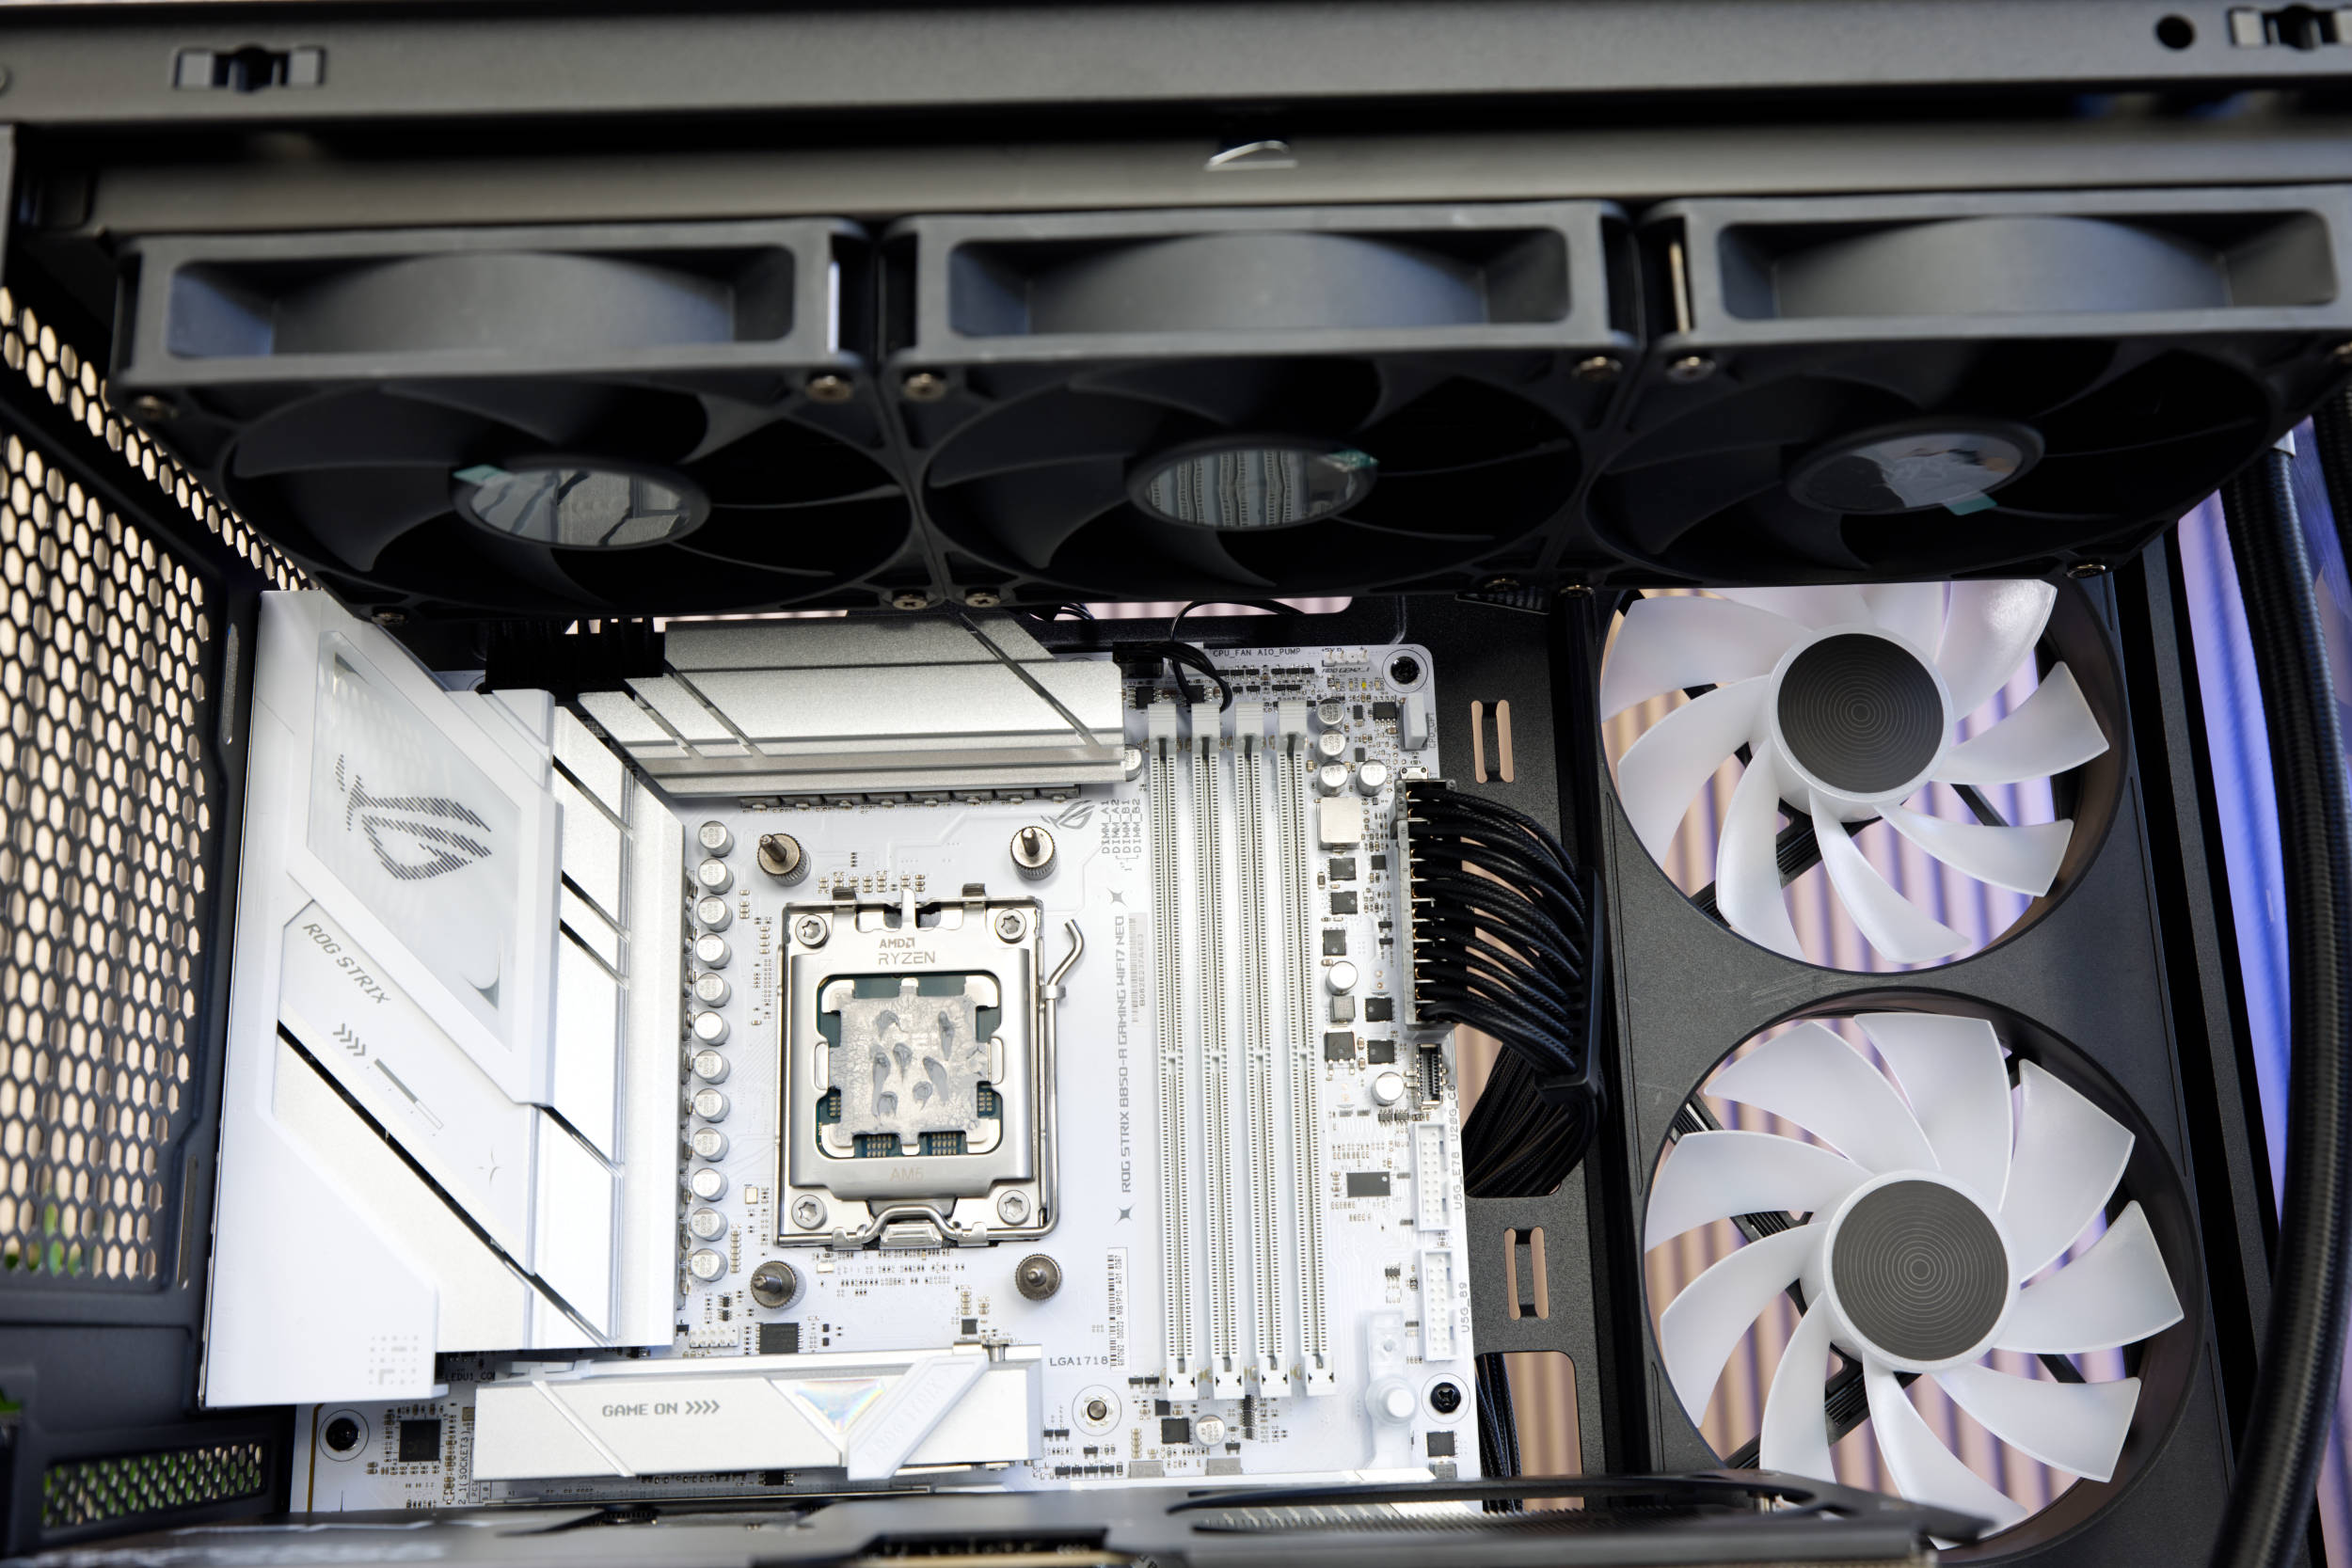 NZXT S5 RGB Motherboard installation (Image © PCMasters.de)
360mm AIO Liquid Cooling
Unfortunately, space at the top is very limited. We measured about 45 mm between the motherboard’s voltage regulator cooler and the top cover. Even though there are 140-mm mounting holes at the top, only a 360-mm radiator can be installed.
NZXT S5 RGB AIO Water Cooling Collision (Image © PCMasters.de)
We first tried an NZXT Kraken PLUS 280, but the second fan collided with the voltage regulator cooler, making installation impossible.
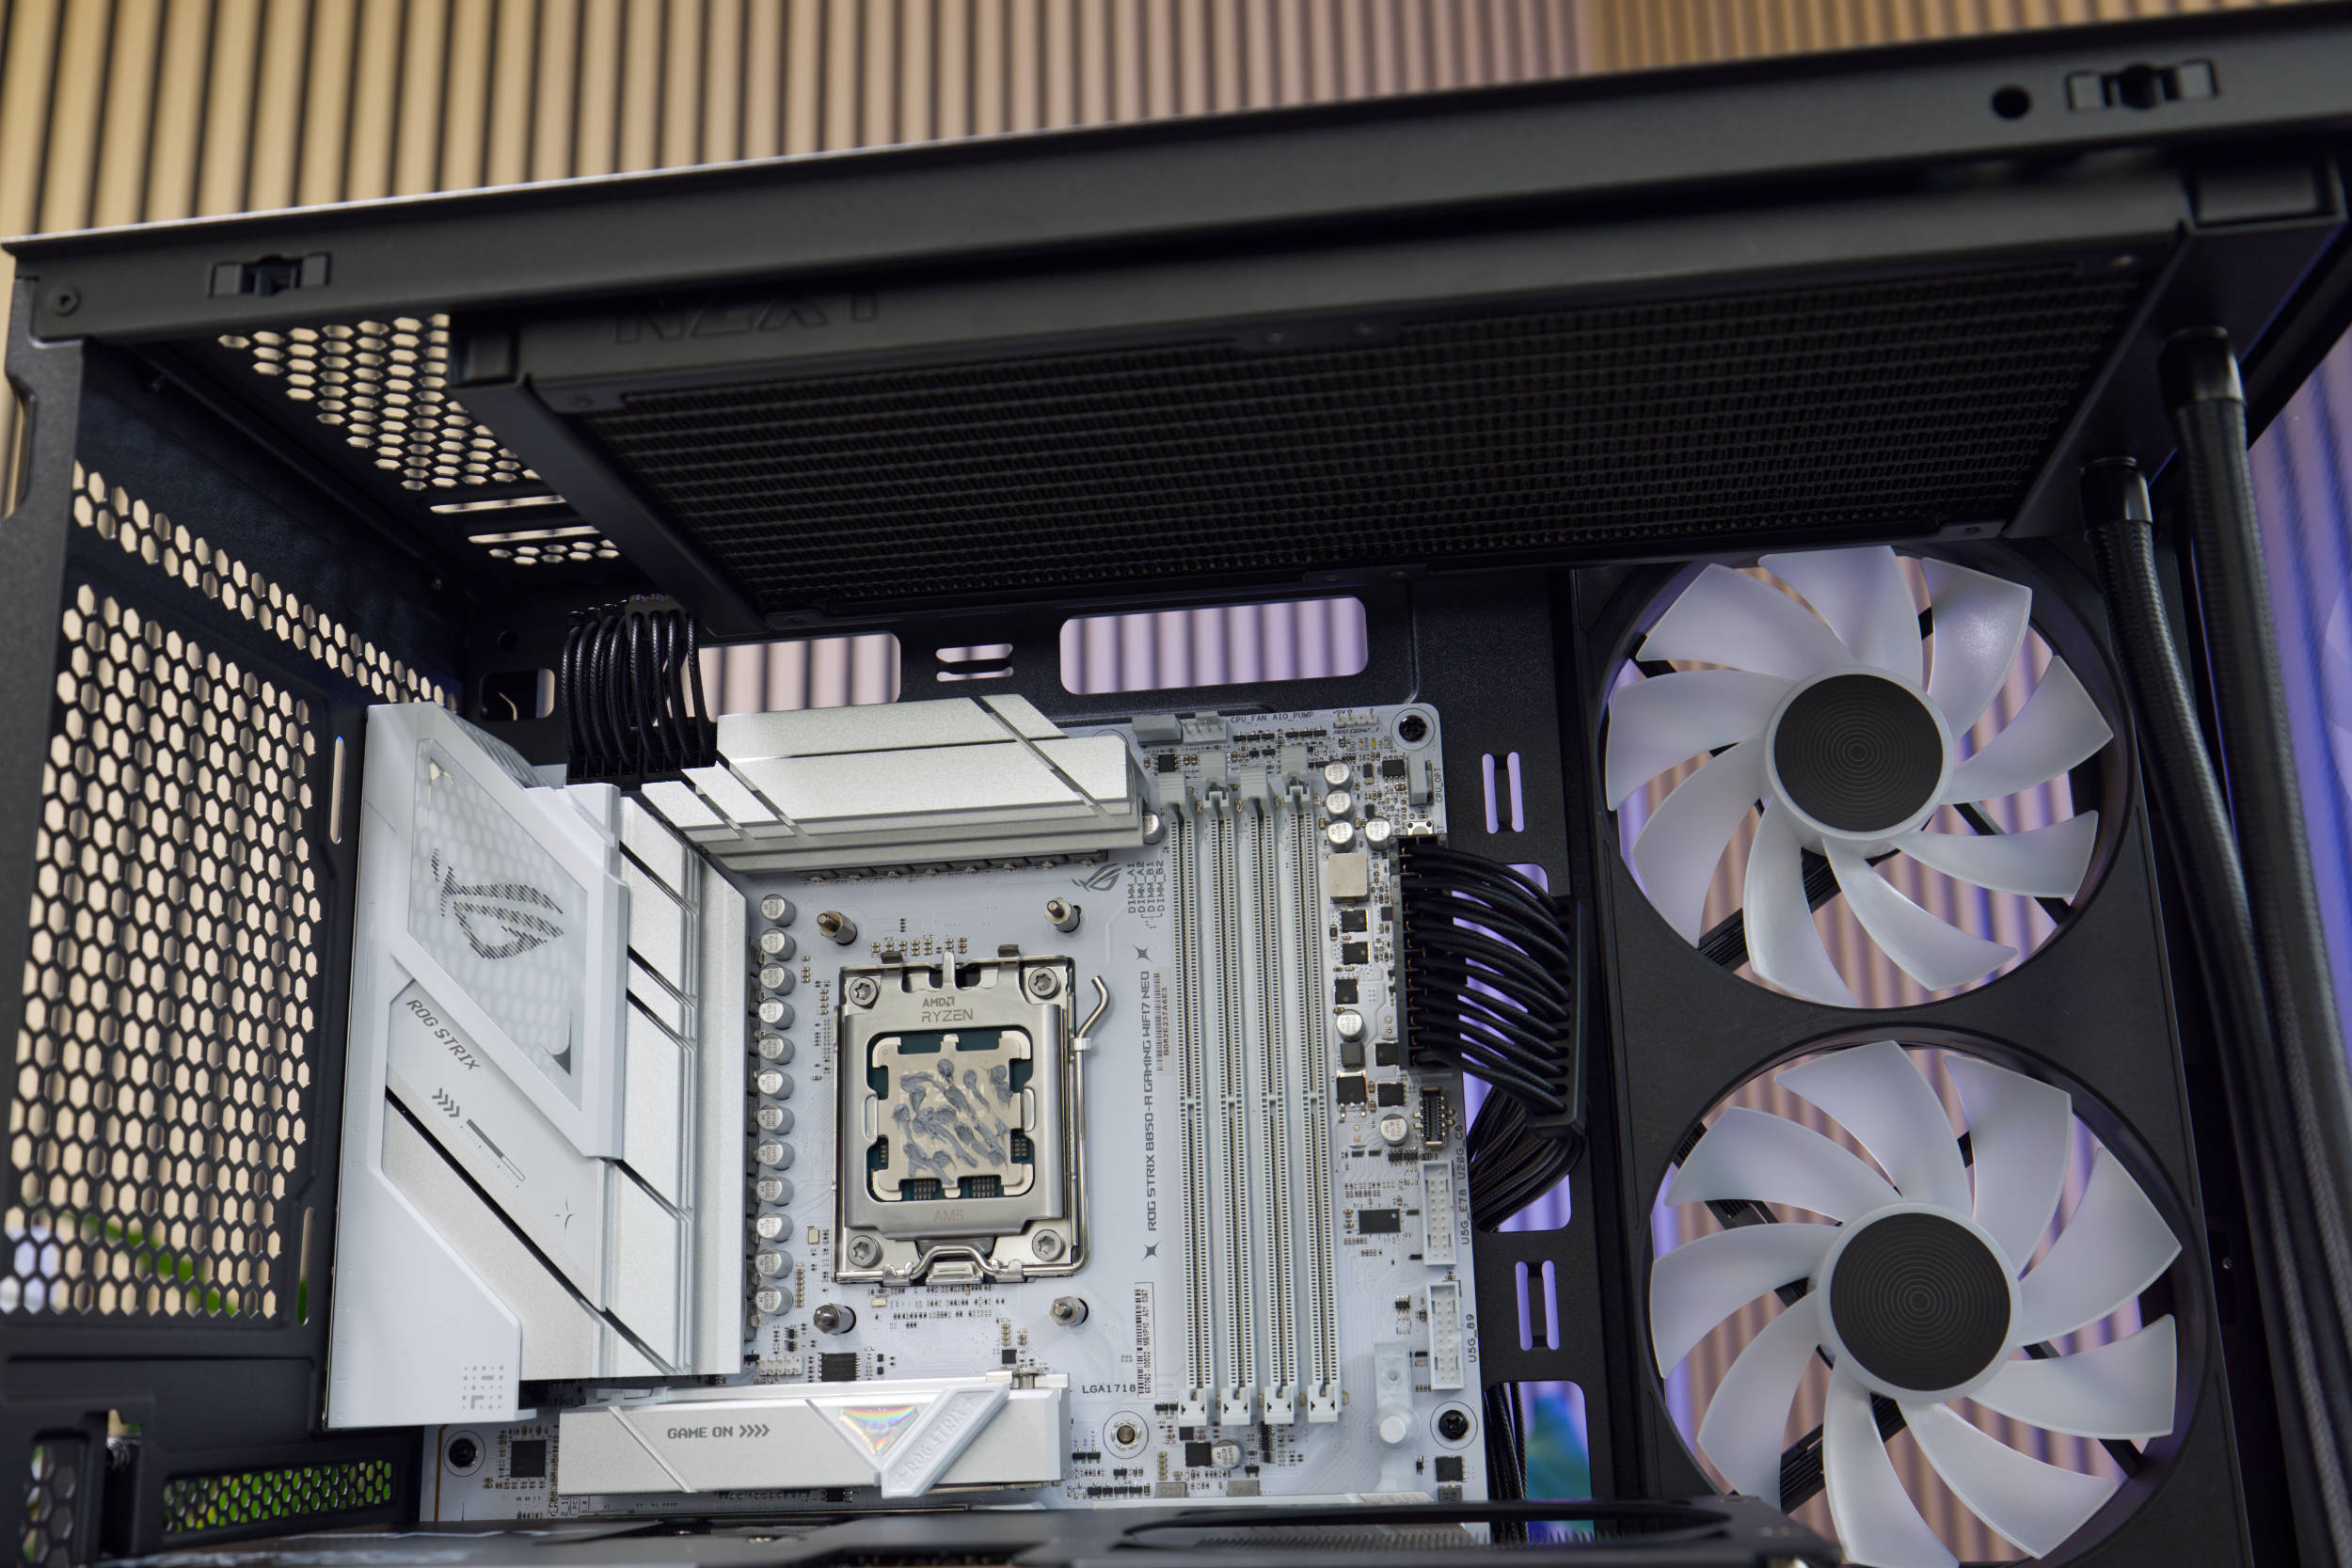 NZXT S5 RGB 280 Radiator (Image © PCMasters.de)
We then opted for the Corsair Nautilus 360 RS LCD, which fit well with its 360-mm radiator, and the 120-mm fans provided enough clearance from the motherboard. The AIO also complemented the rest of the build, and you can even have fun with animations on the integrated LCD.
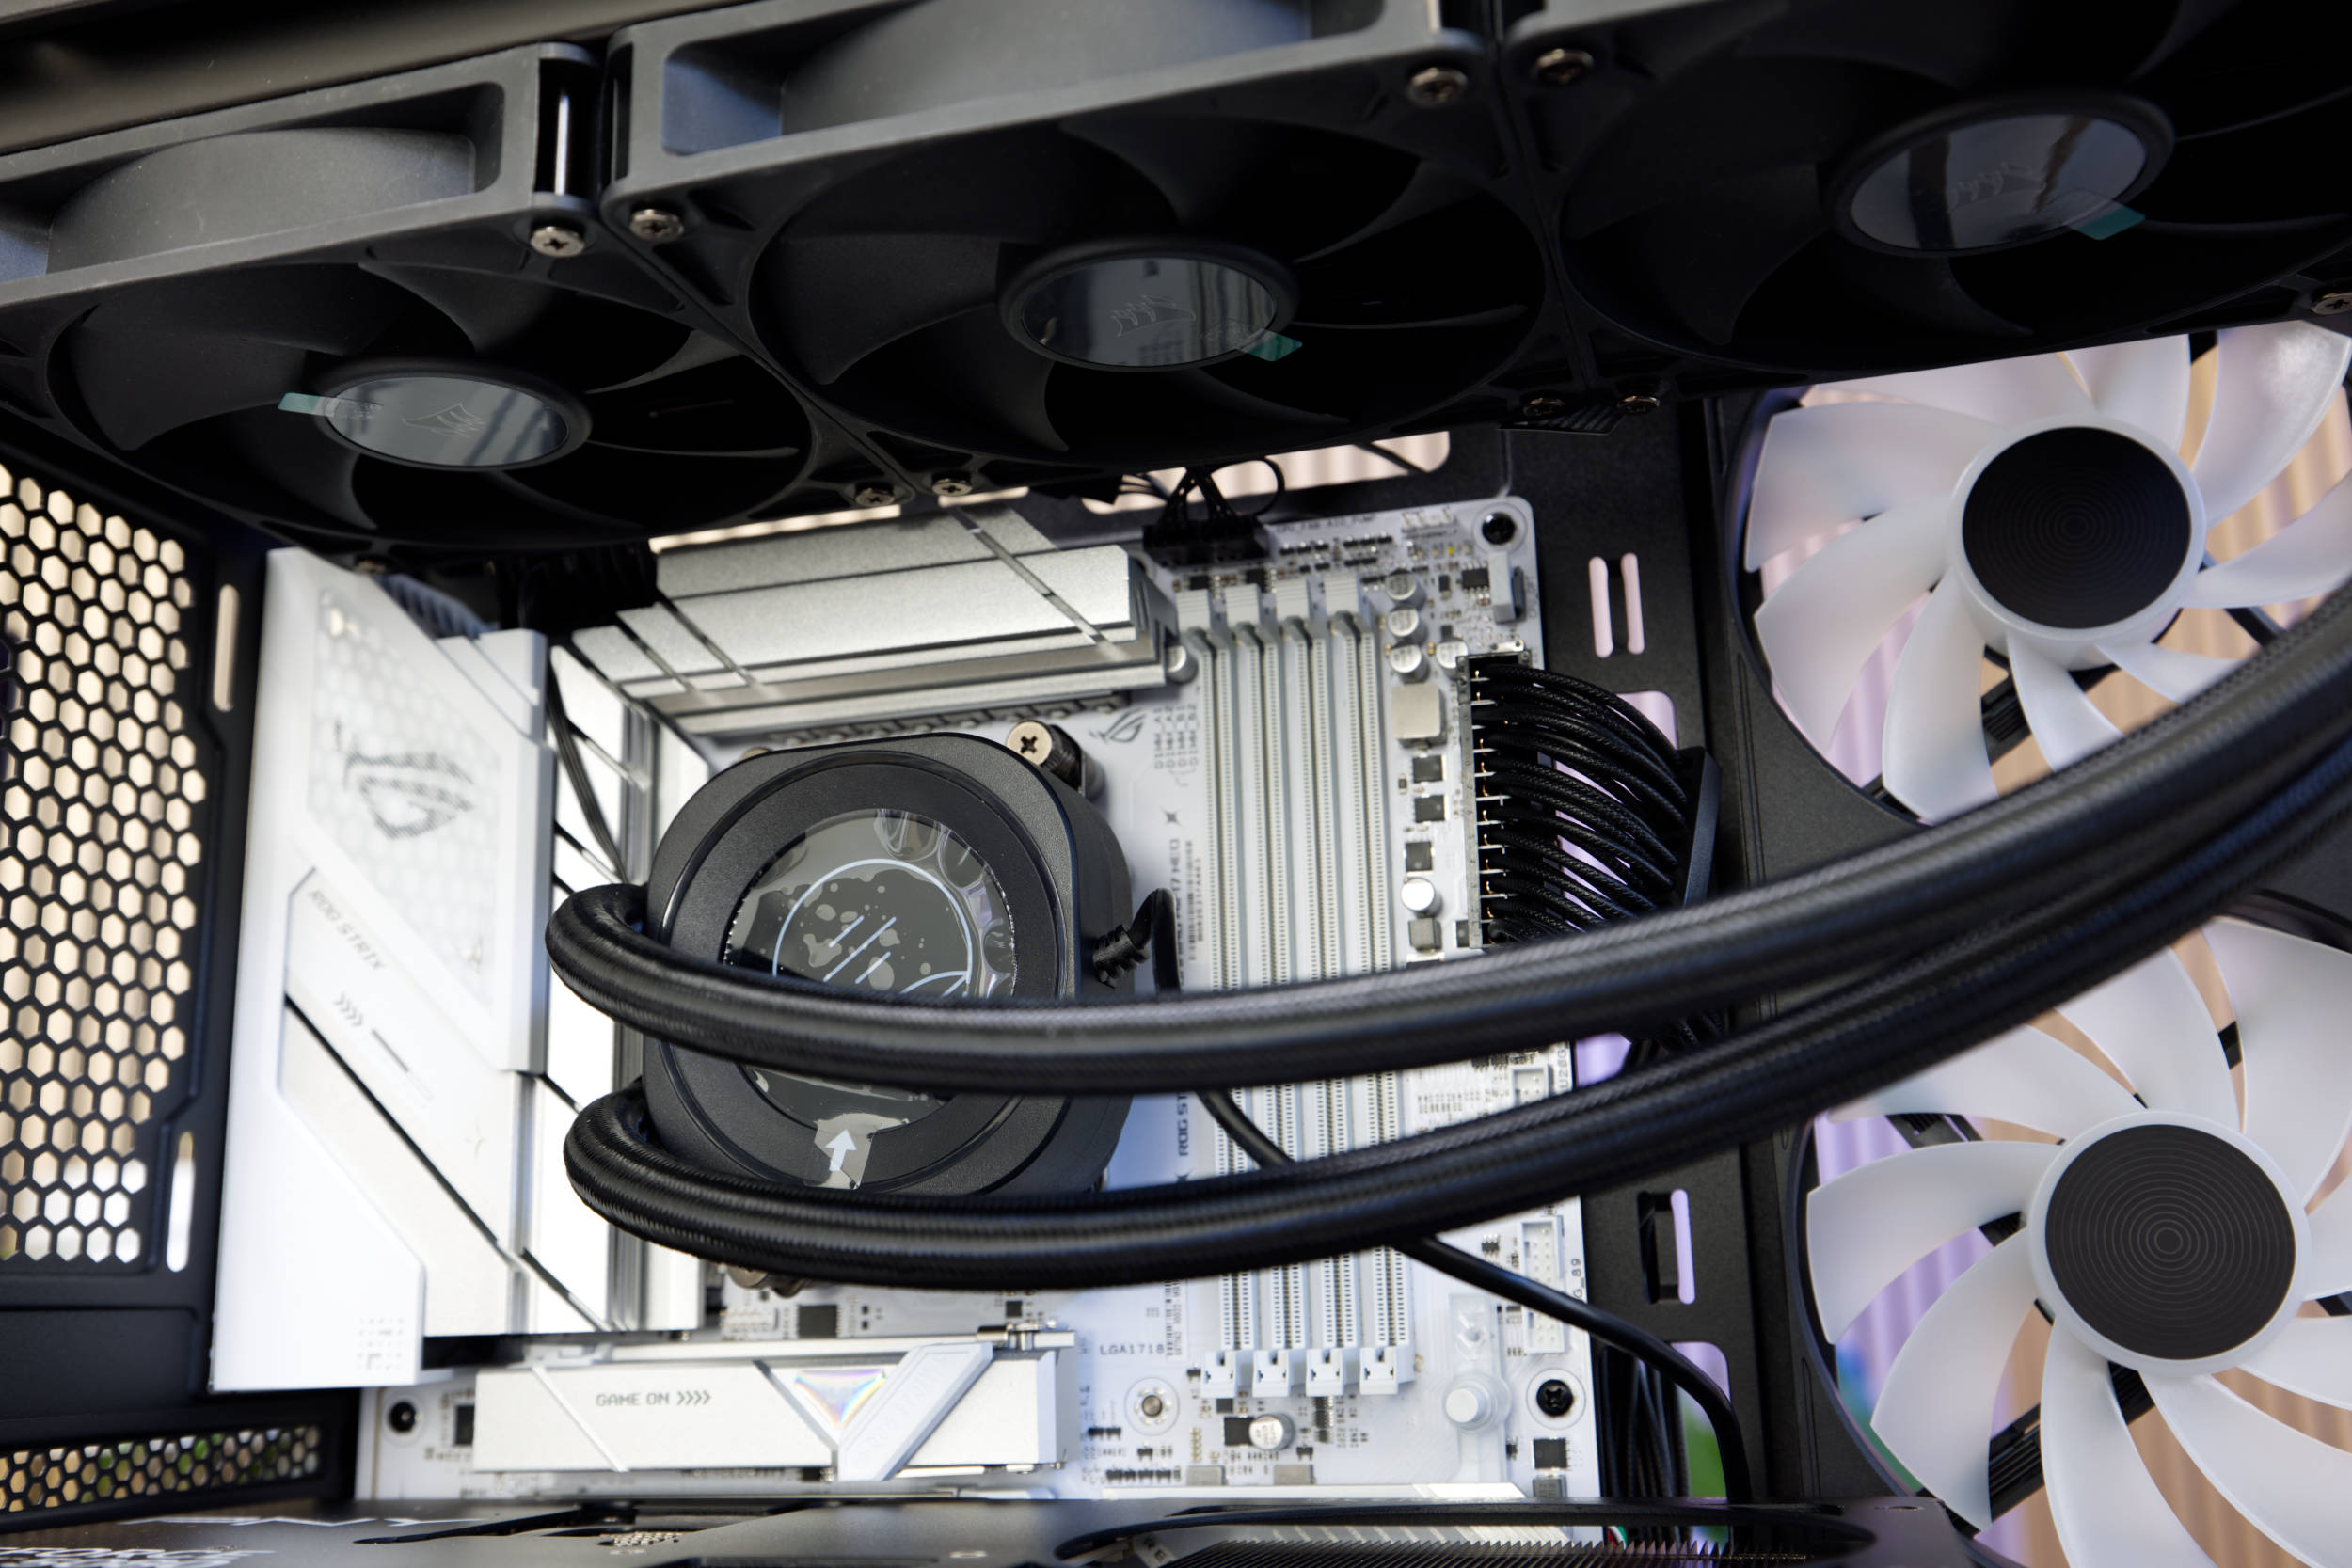 NZXT S5 RGB AIO Water Block (Image © PCMasters.de)
Once the radiator is secured at the top, the water block can be mounted on the CPU. The length of the hoses and cables worked out well here.
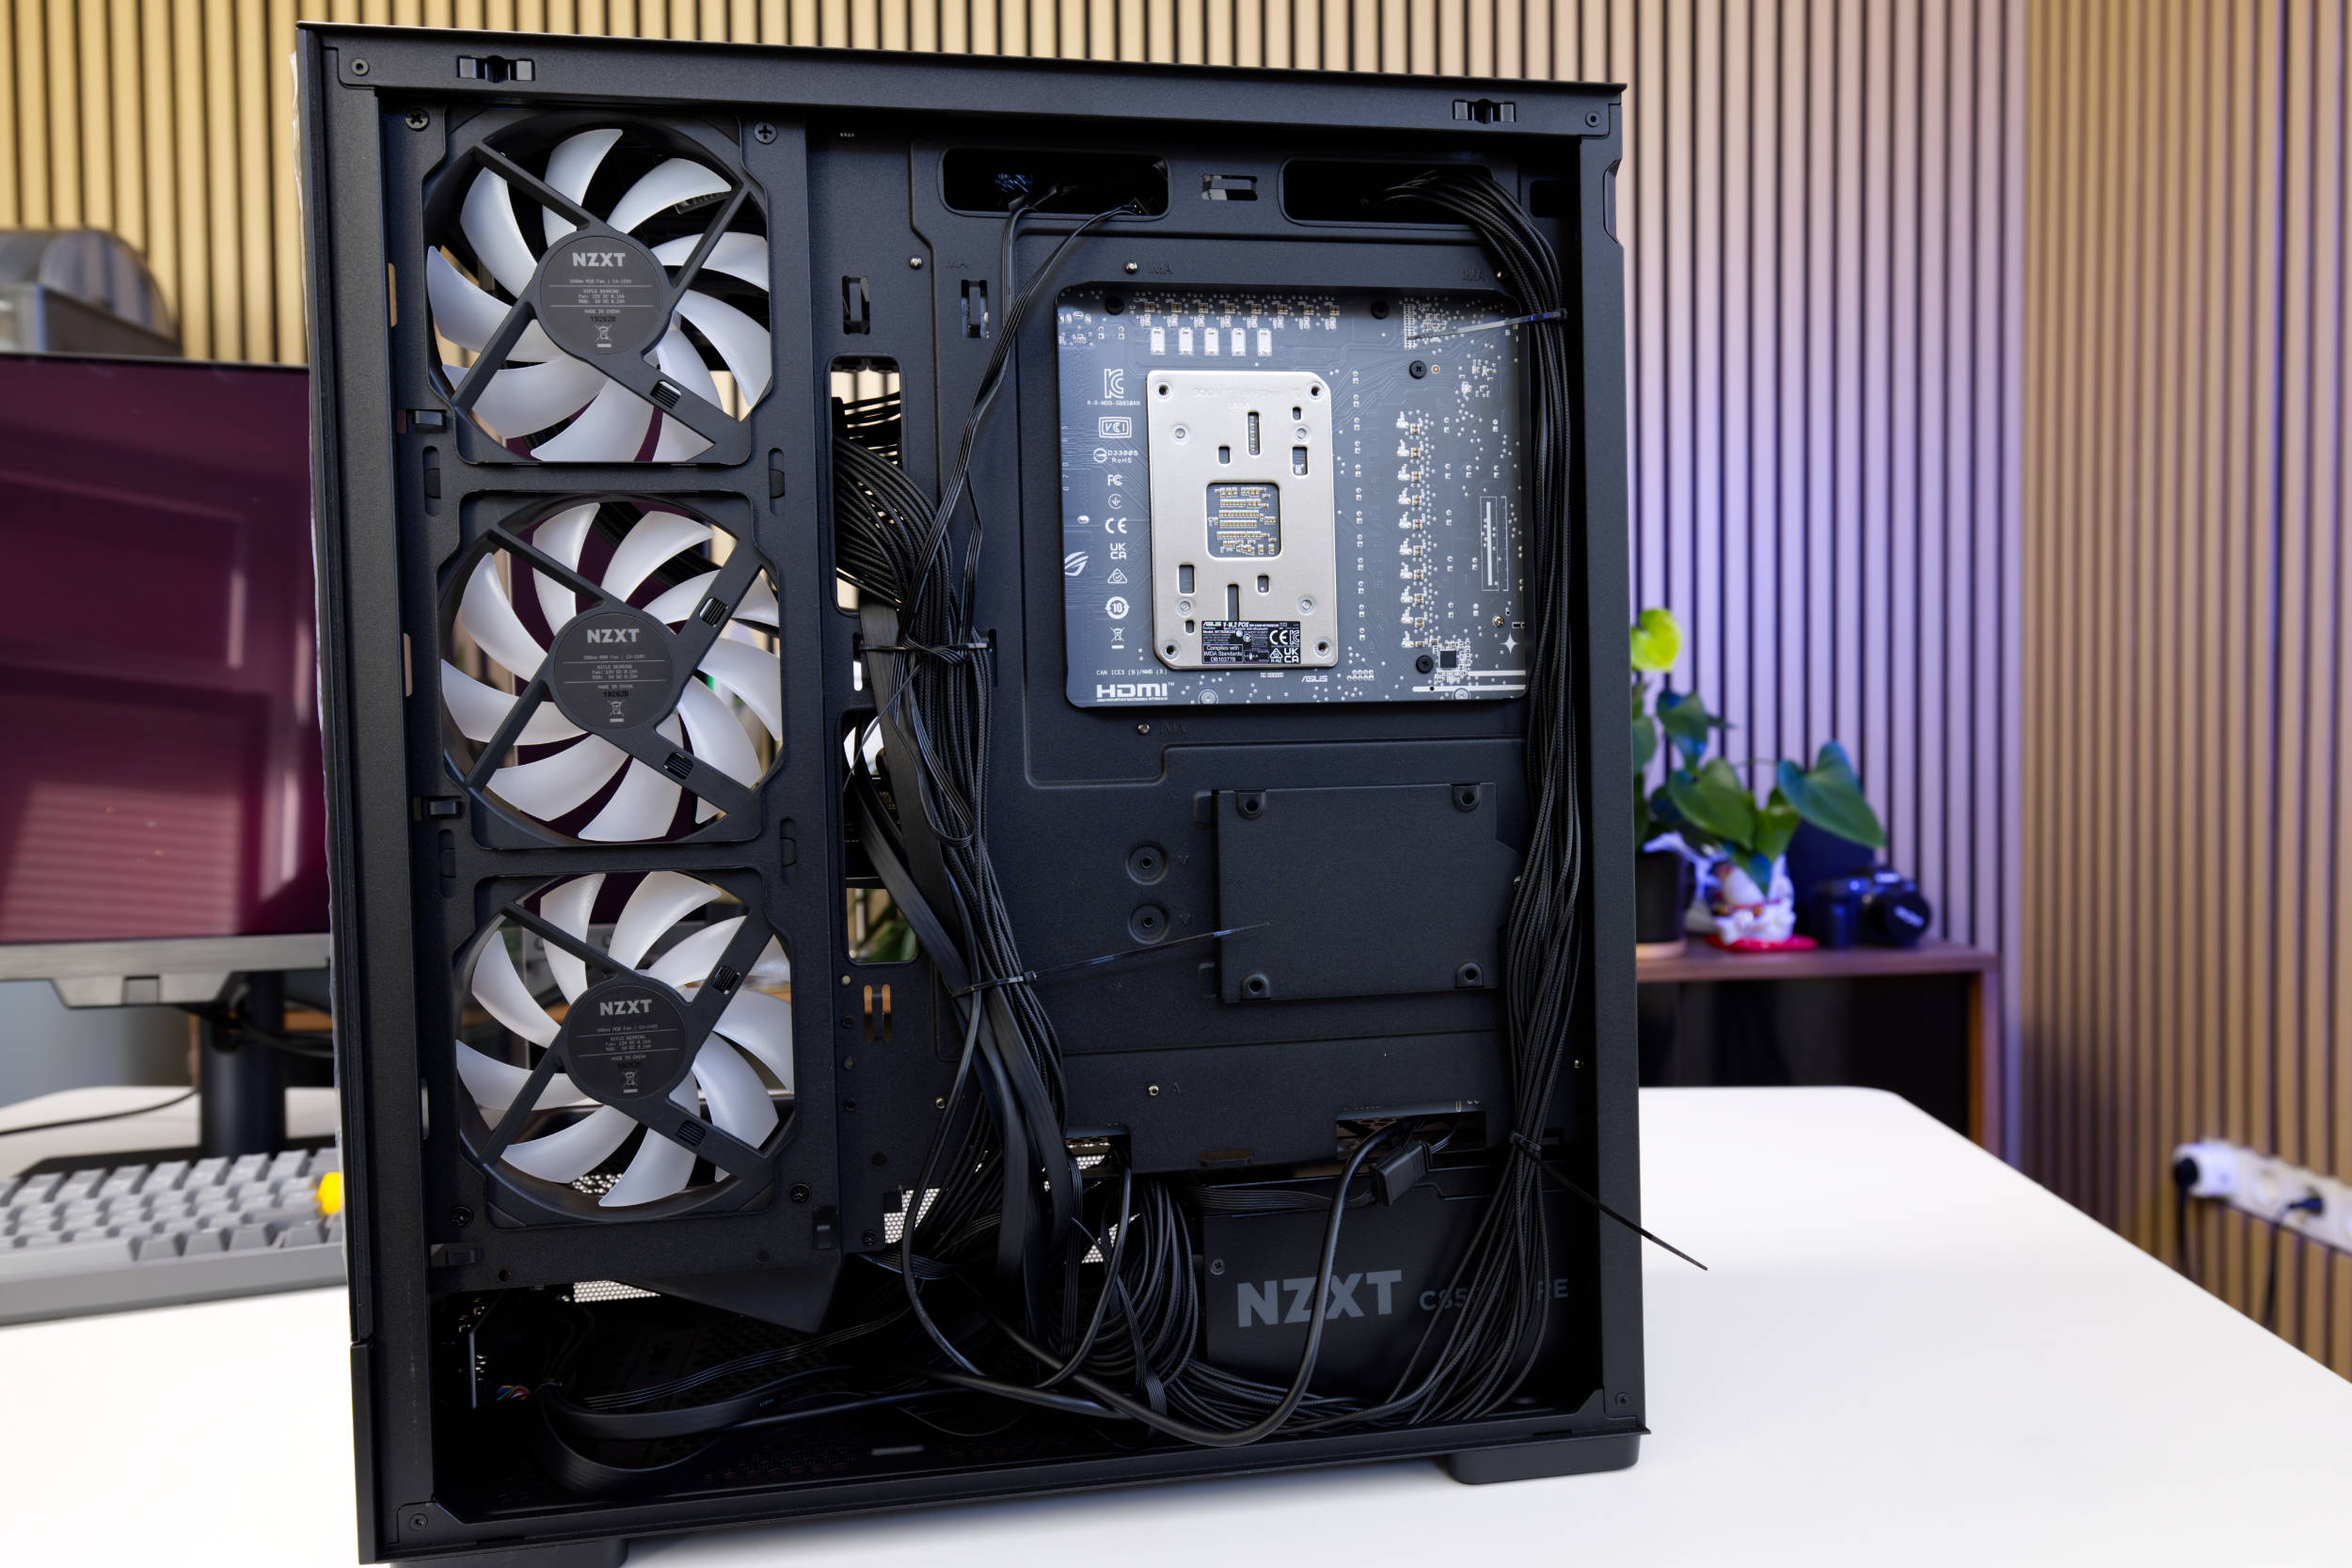 NZXT S5 RGB Cable Management (Image © PCMasters.de)
Cable Management
When it comes to cable management, there are definitely some less-than-ideal features. There are no cable guides, so you’ll have to make do with cable ties. The openings are large enough and well-positioned, but we’d like to see rubber covers here.
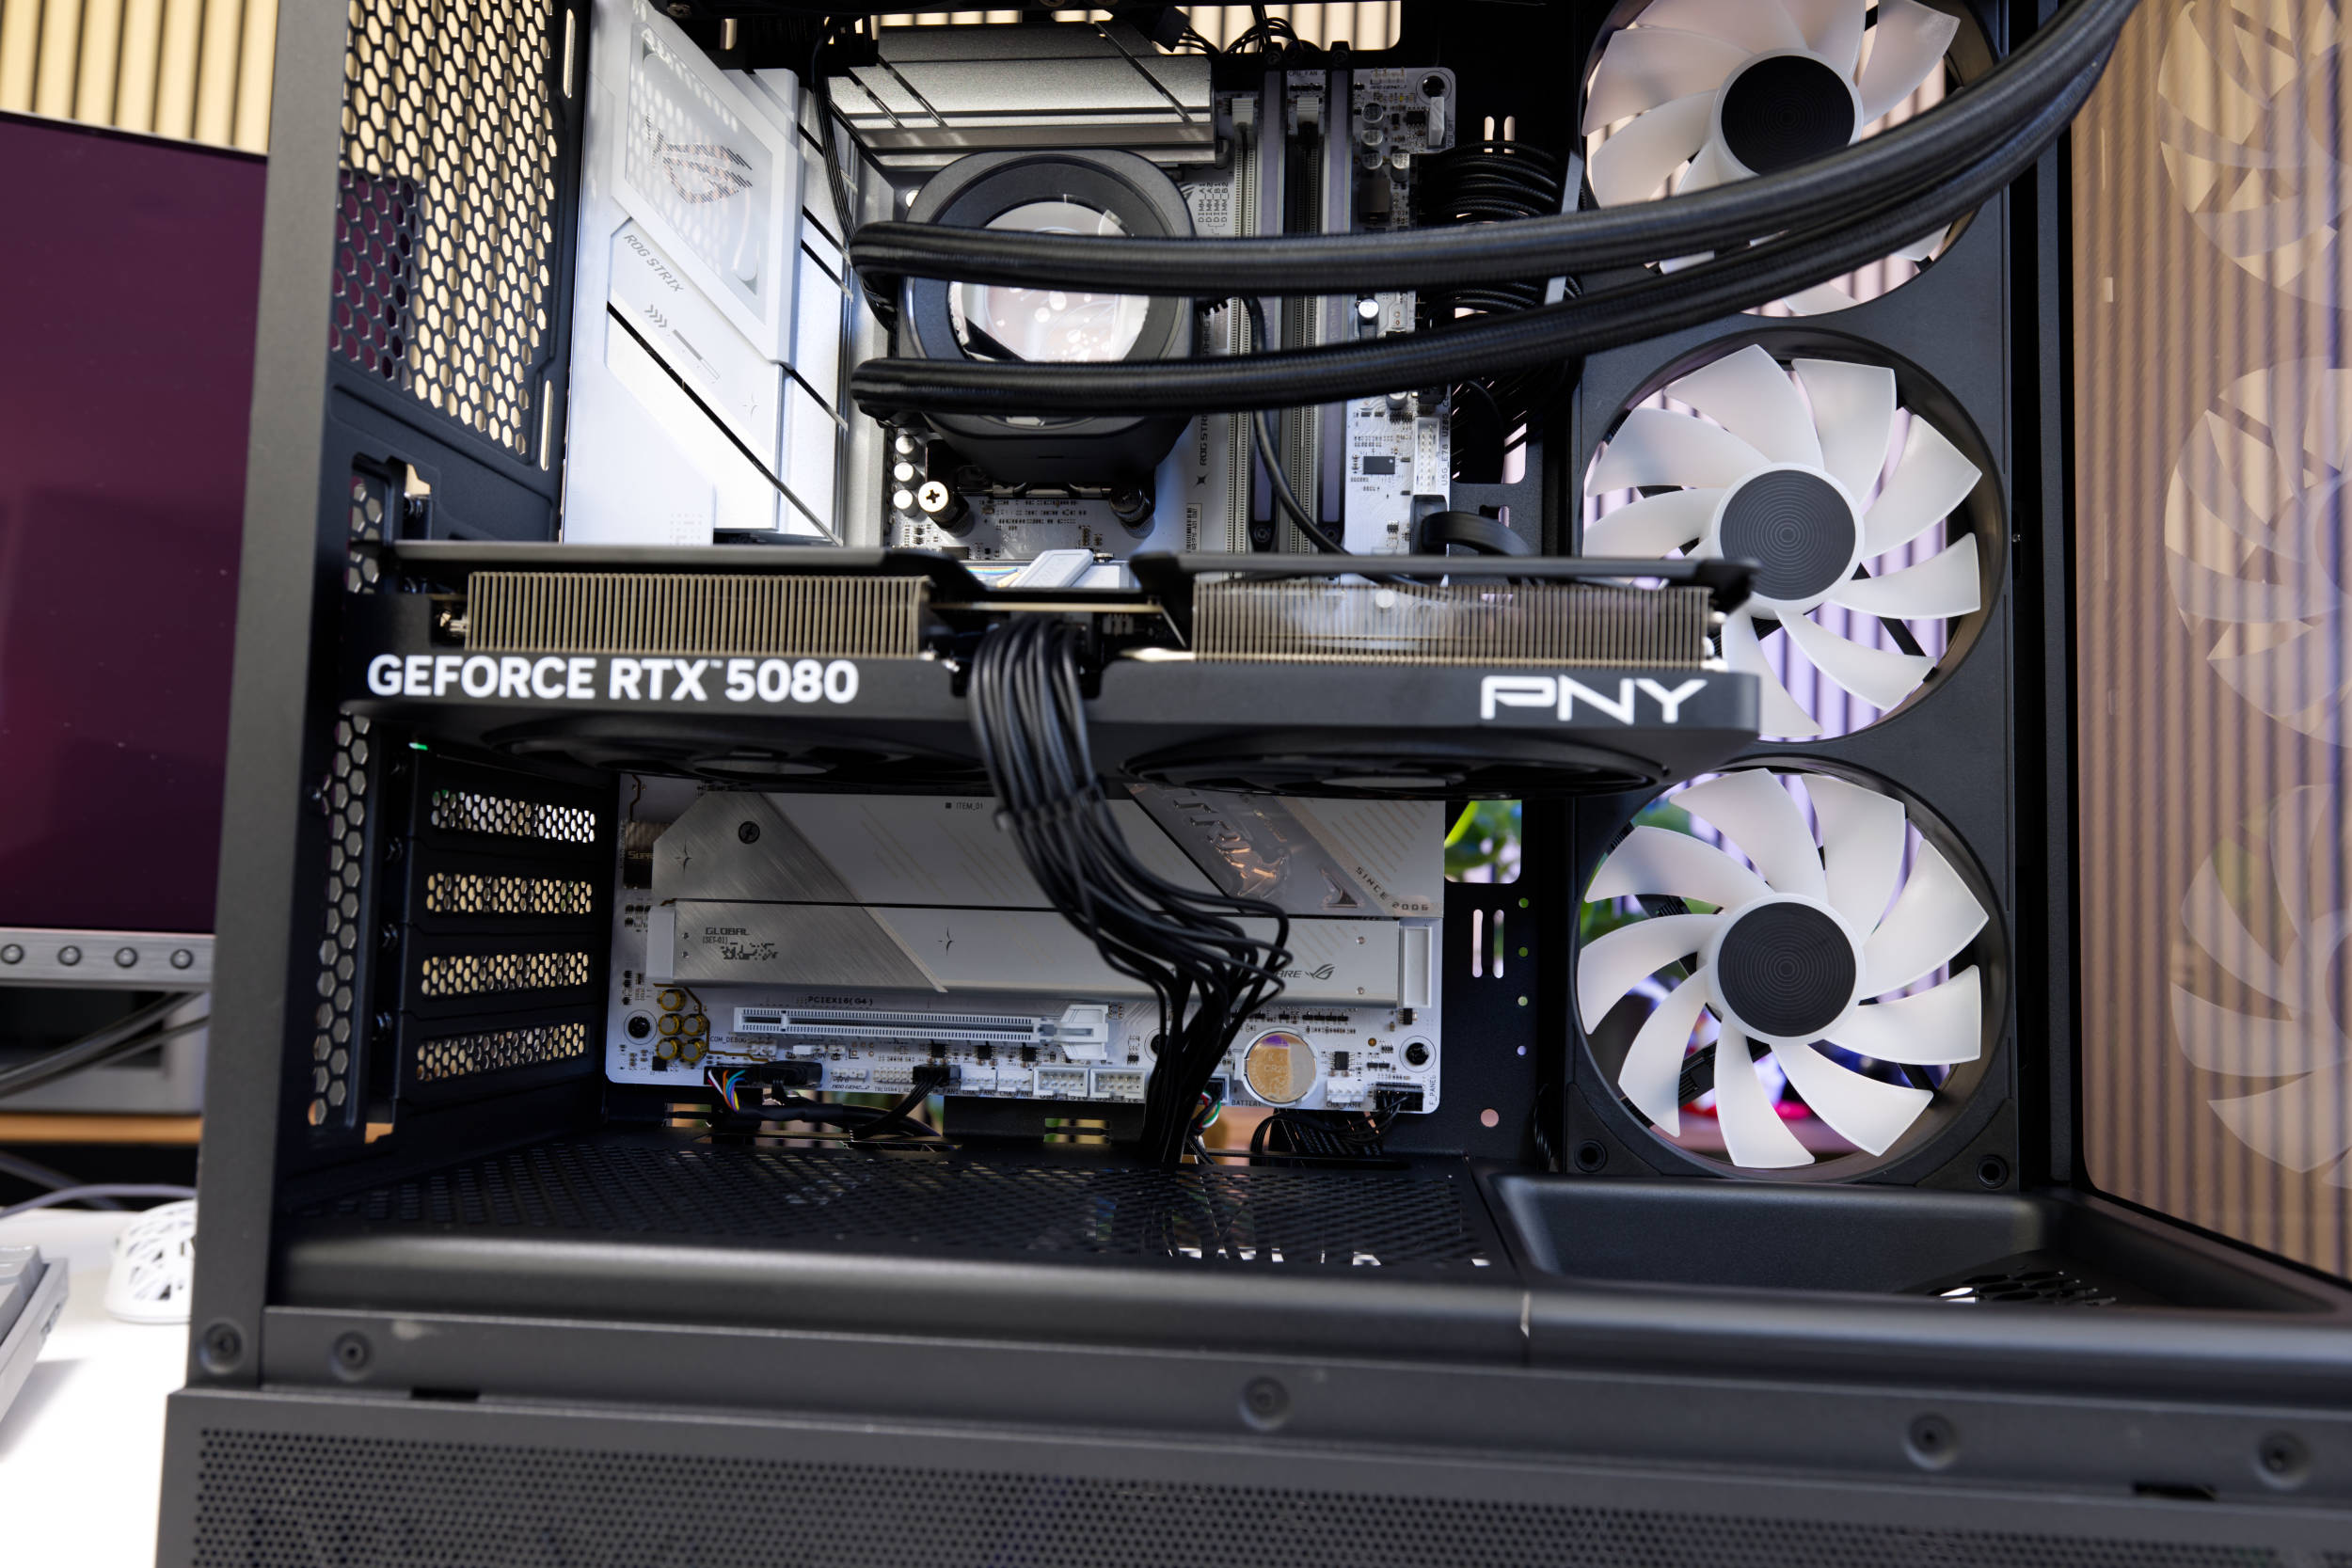 NZXT S5 RGB Front Cable Management (Image © PCMasters.de)
You also have good access to the motherboard and graphics card from below. Behind the tray, there’s only about 20 mm of clearance to the side panel. So you’ll need to route the cables as flat as possible wherever you can.
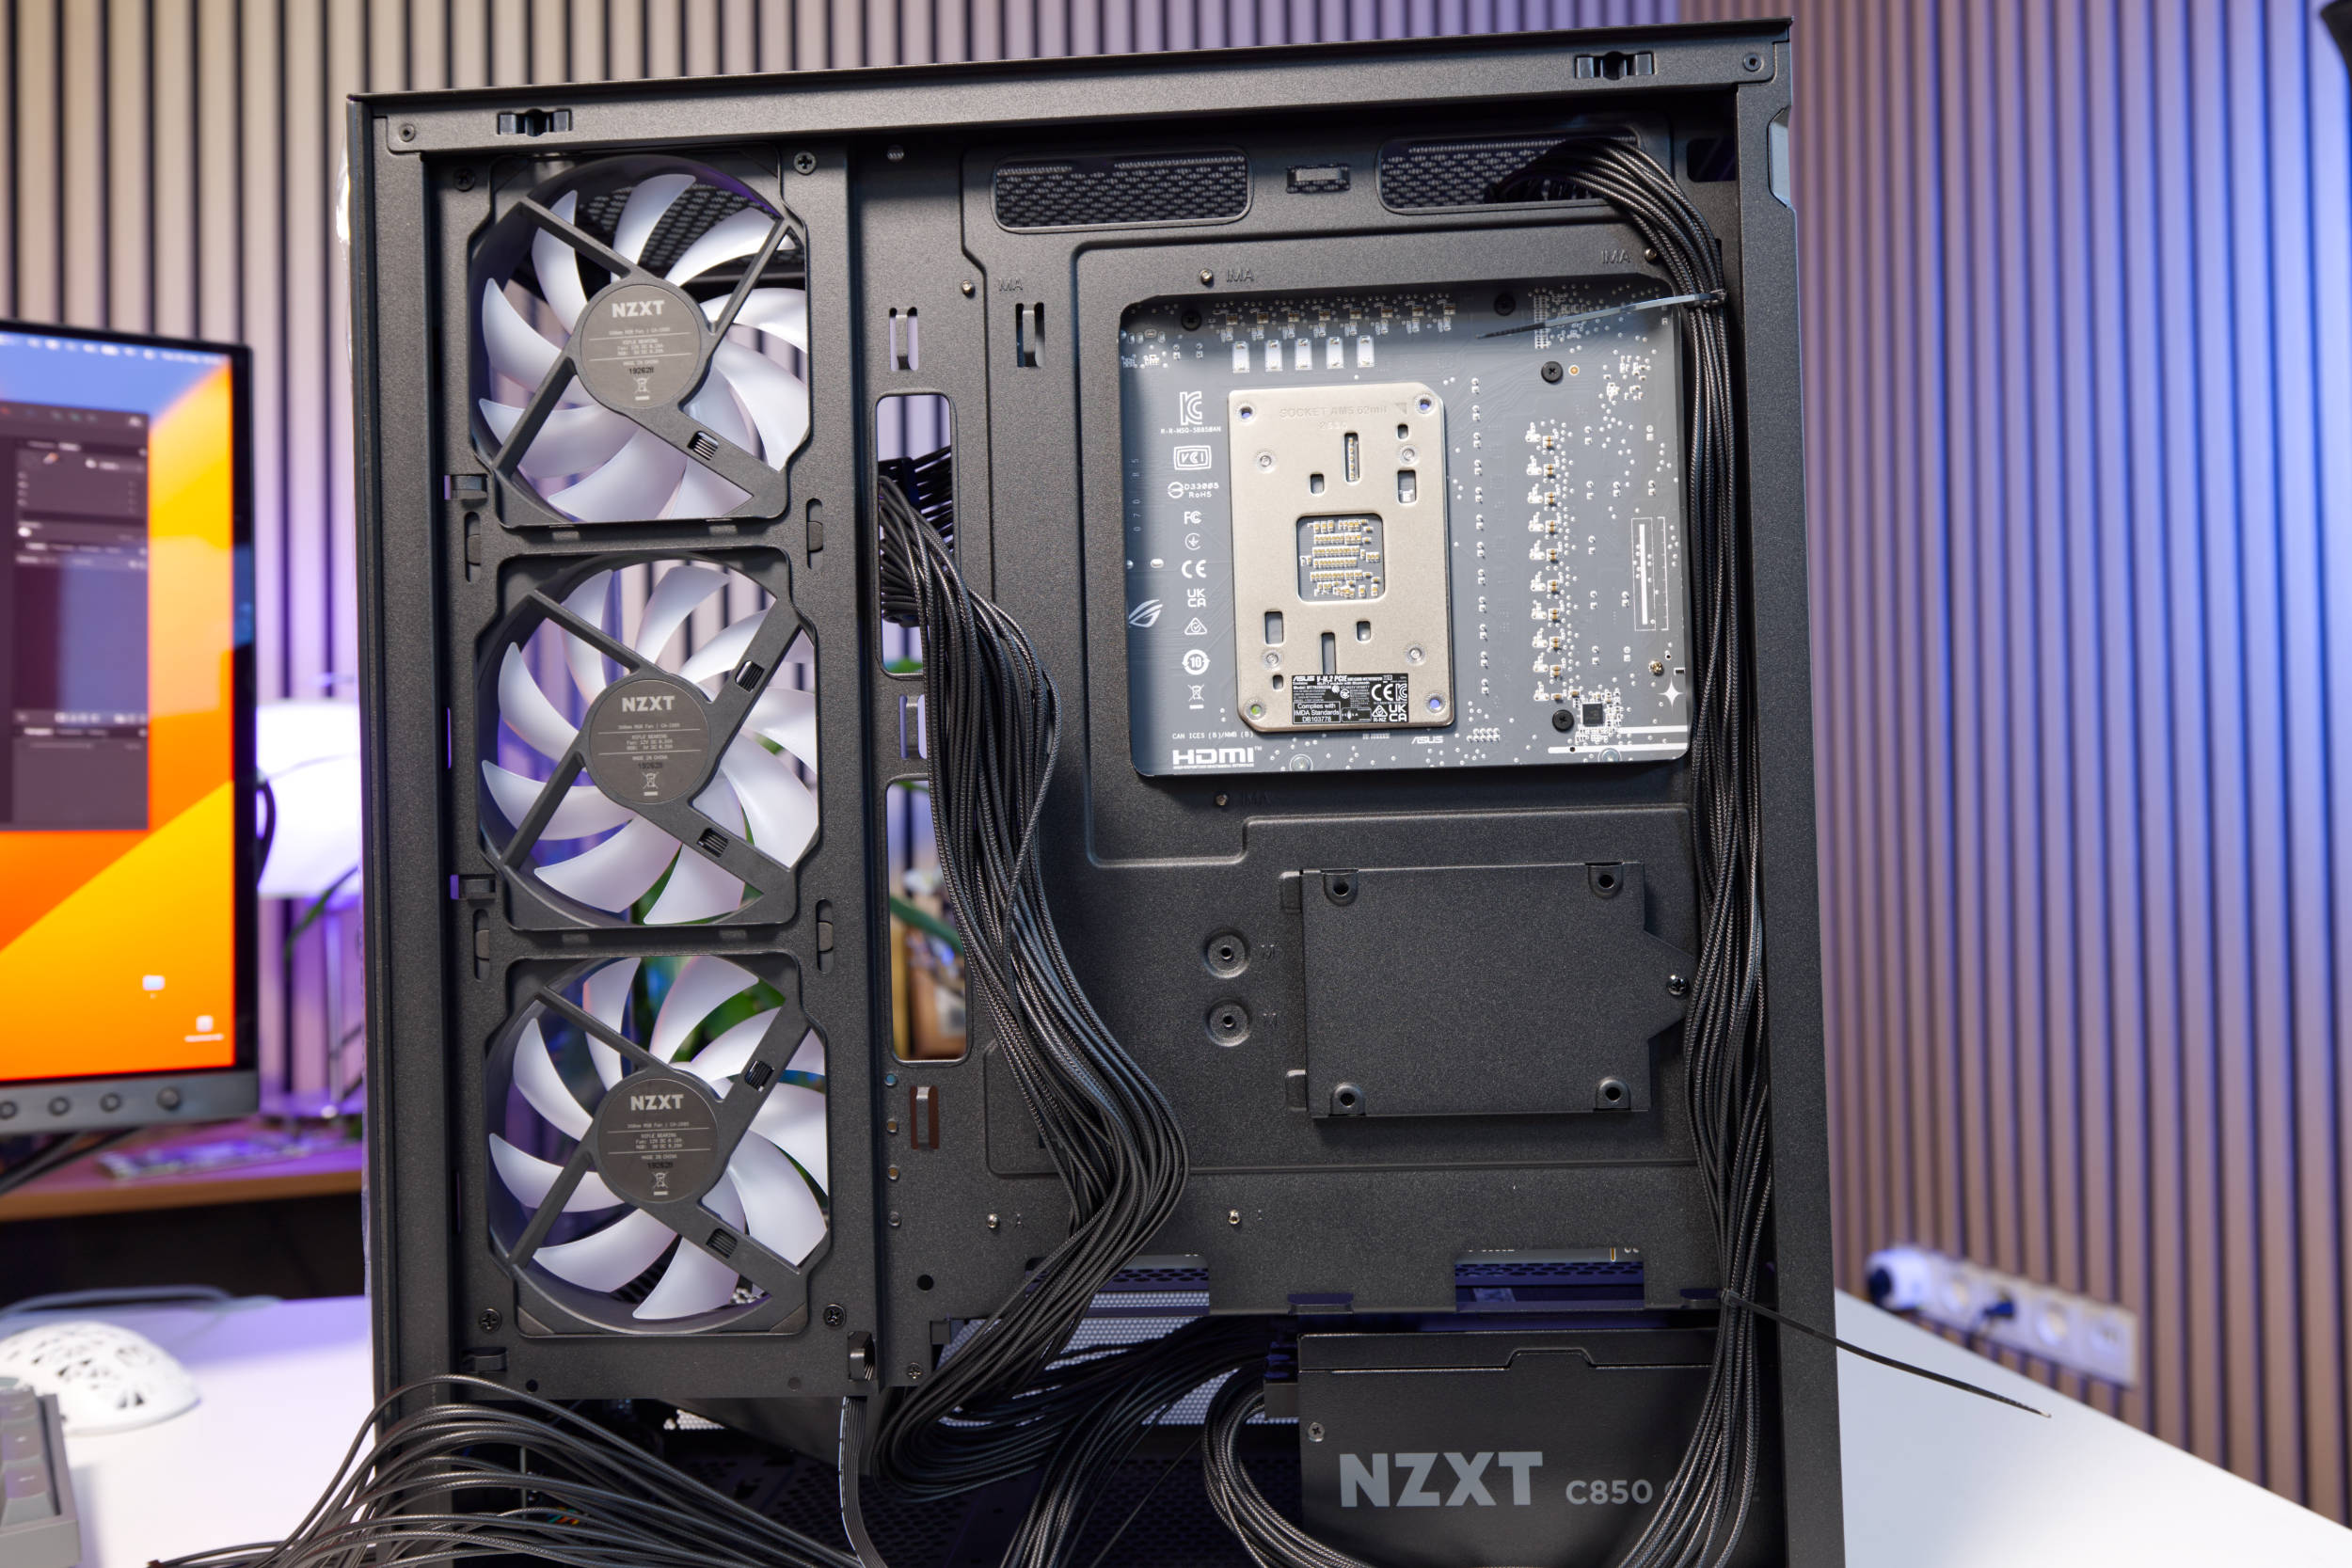 NZXT S5 RGB Cable Management 2 (Image © PCMasters.de)
If you have a black power supply, you can use sleeved PSU cables (Affiliate) to enhance the look. Also, connect only the cables you need—the rest can stay in the box. You can also make the cabling neater—there’s always room for improvement.
SSD Installation
A 2.5" SSD can be installed at the back of the motherboard tray, or a 3.5" hard drive can be installed at the bottom of the case. There is no HDD cage. For our system, we now rely exclusively on NVMe SSDs, which are mounted directly on the motherboard. These are hidden from view since they’re installed behind a cooler in the M.2 slot.
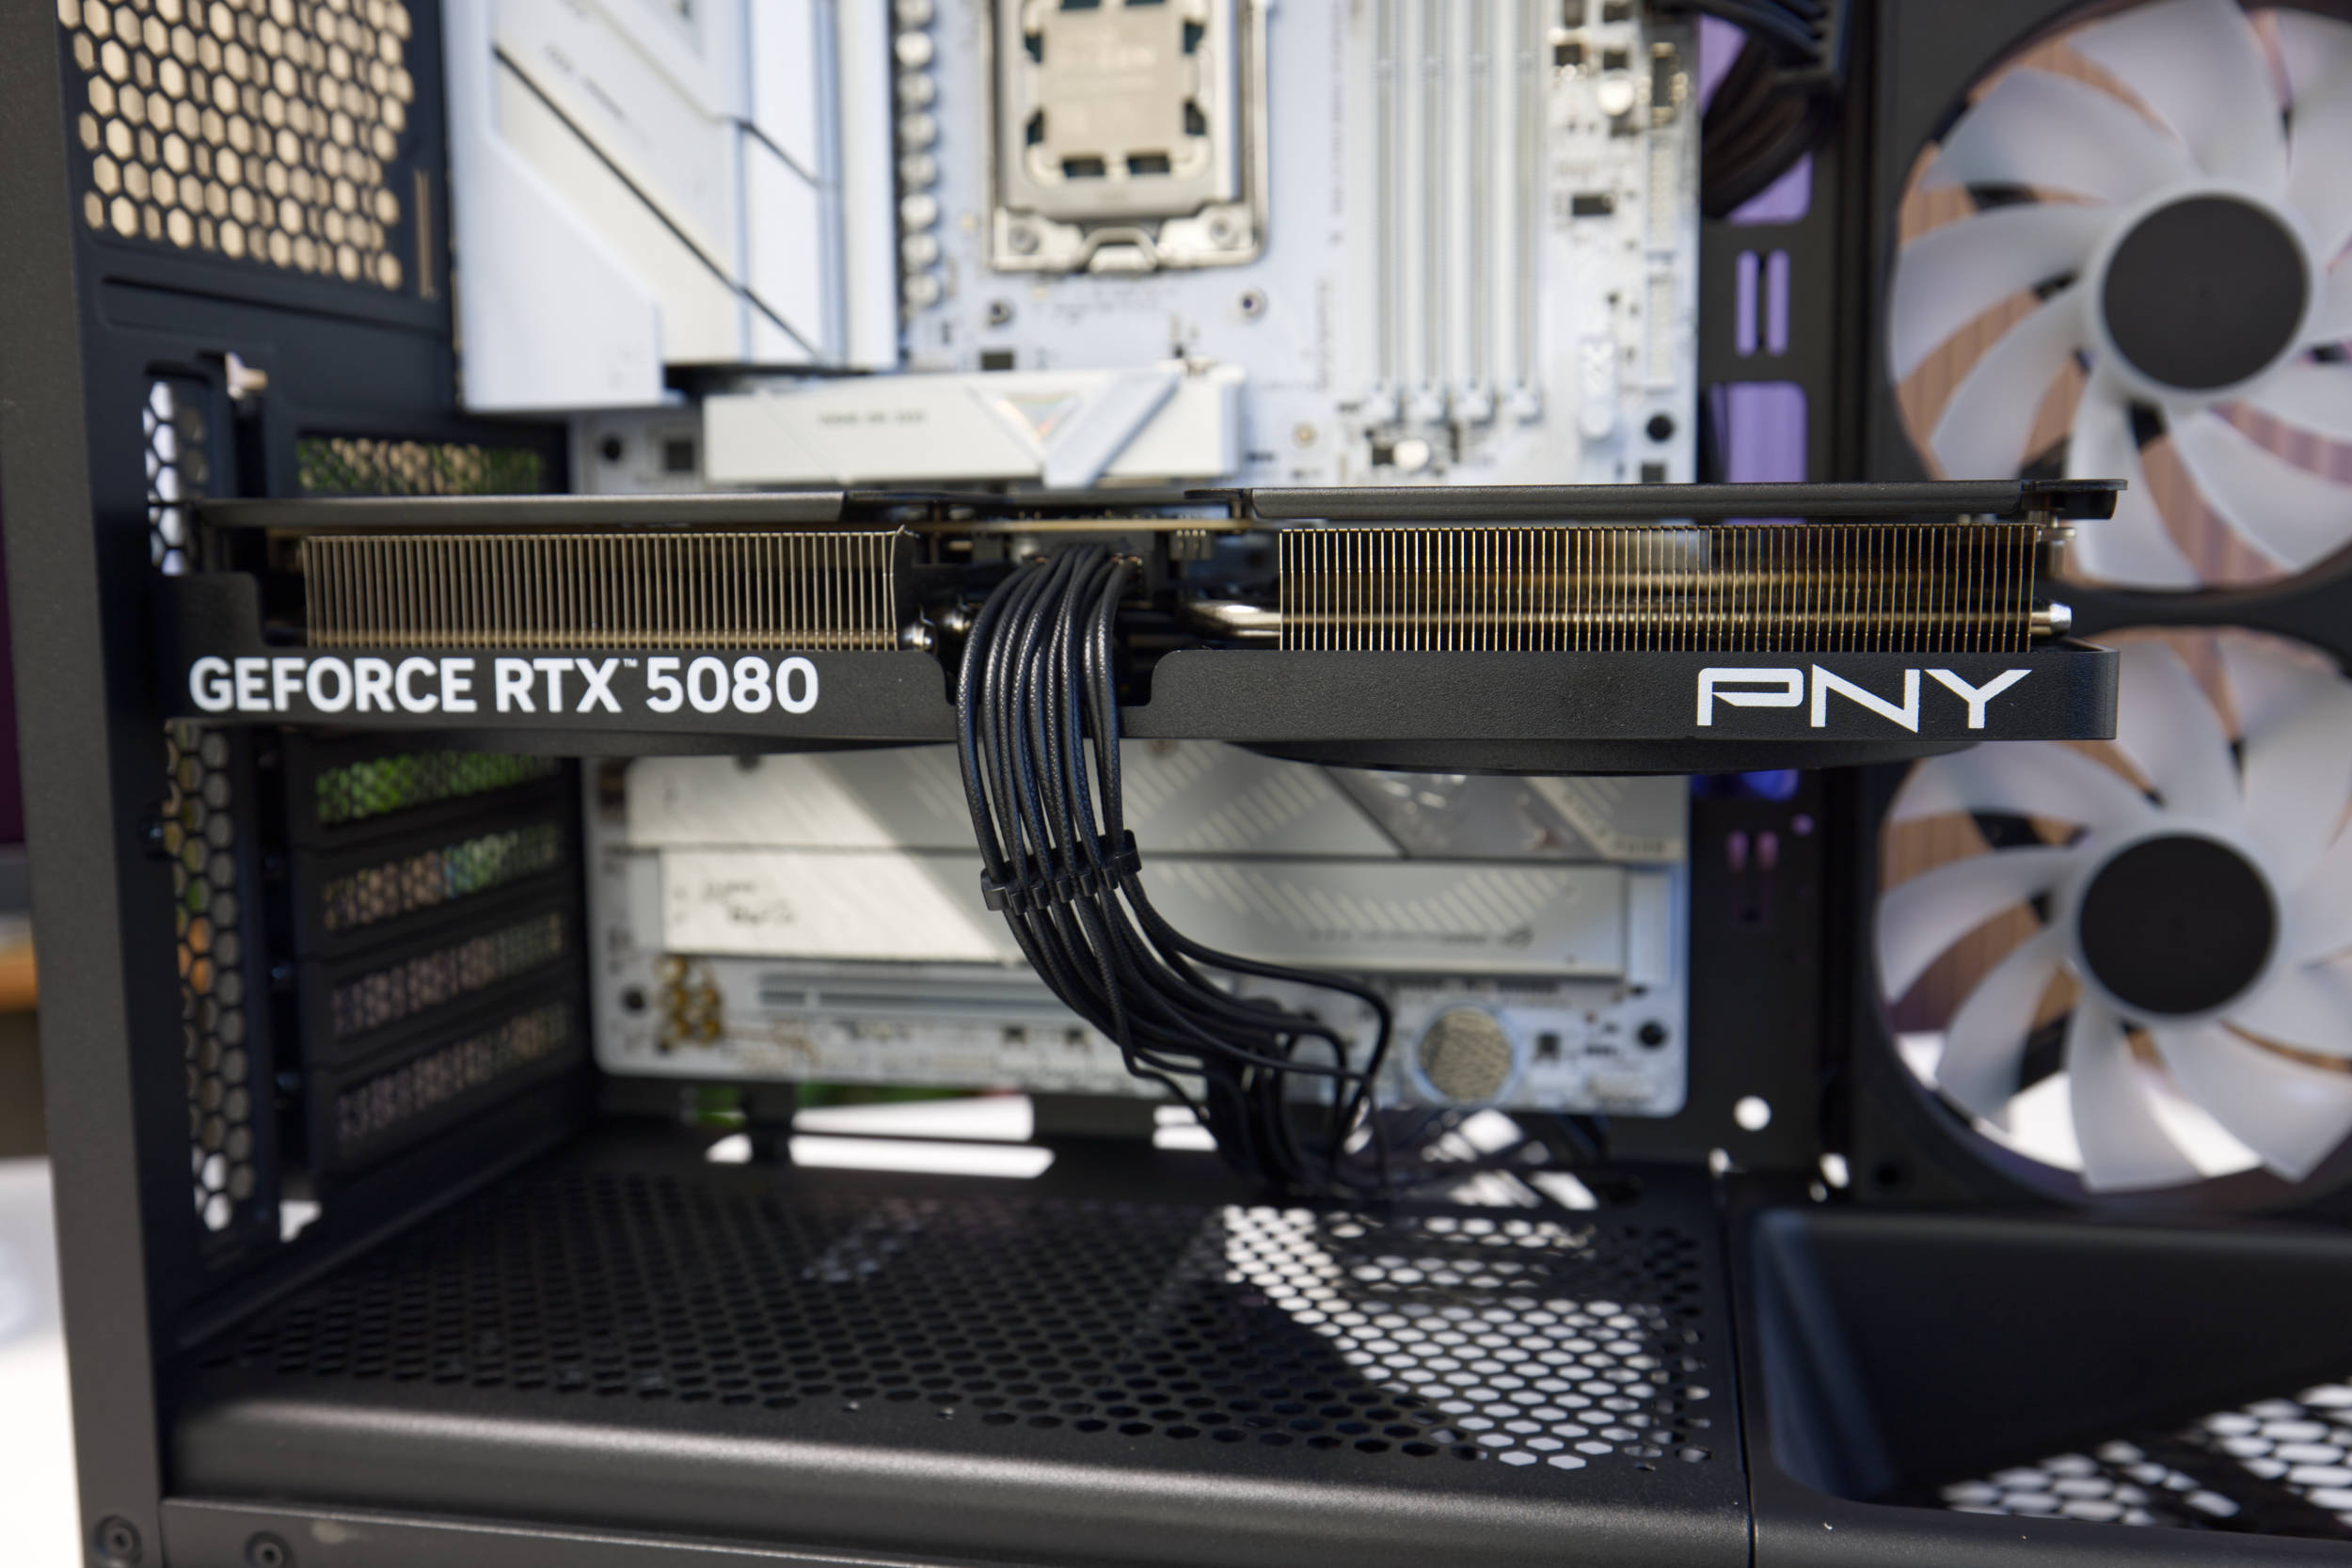 NZXT S5 RGB Graphics Card (Image © PCMasters.de)
Graphics Card Installation
Inside the case, the graphics card can only be installed horizontally, as is standard. On the motherboard, we use the first PCIe x16 slot, and the selected graphics card occupies two slots. The expansion cards are secured with screws.
We routed the 12V 2x6 PCIe cable from the bottom, as there is an opening provided for this purpose. Once the GeForce RTX 5080 is installed and connected to the power cable, you can reattach the side panels and connect the other cables to the PC.
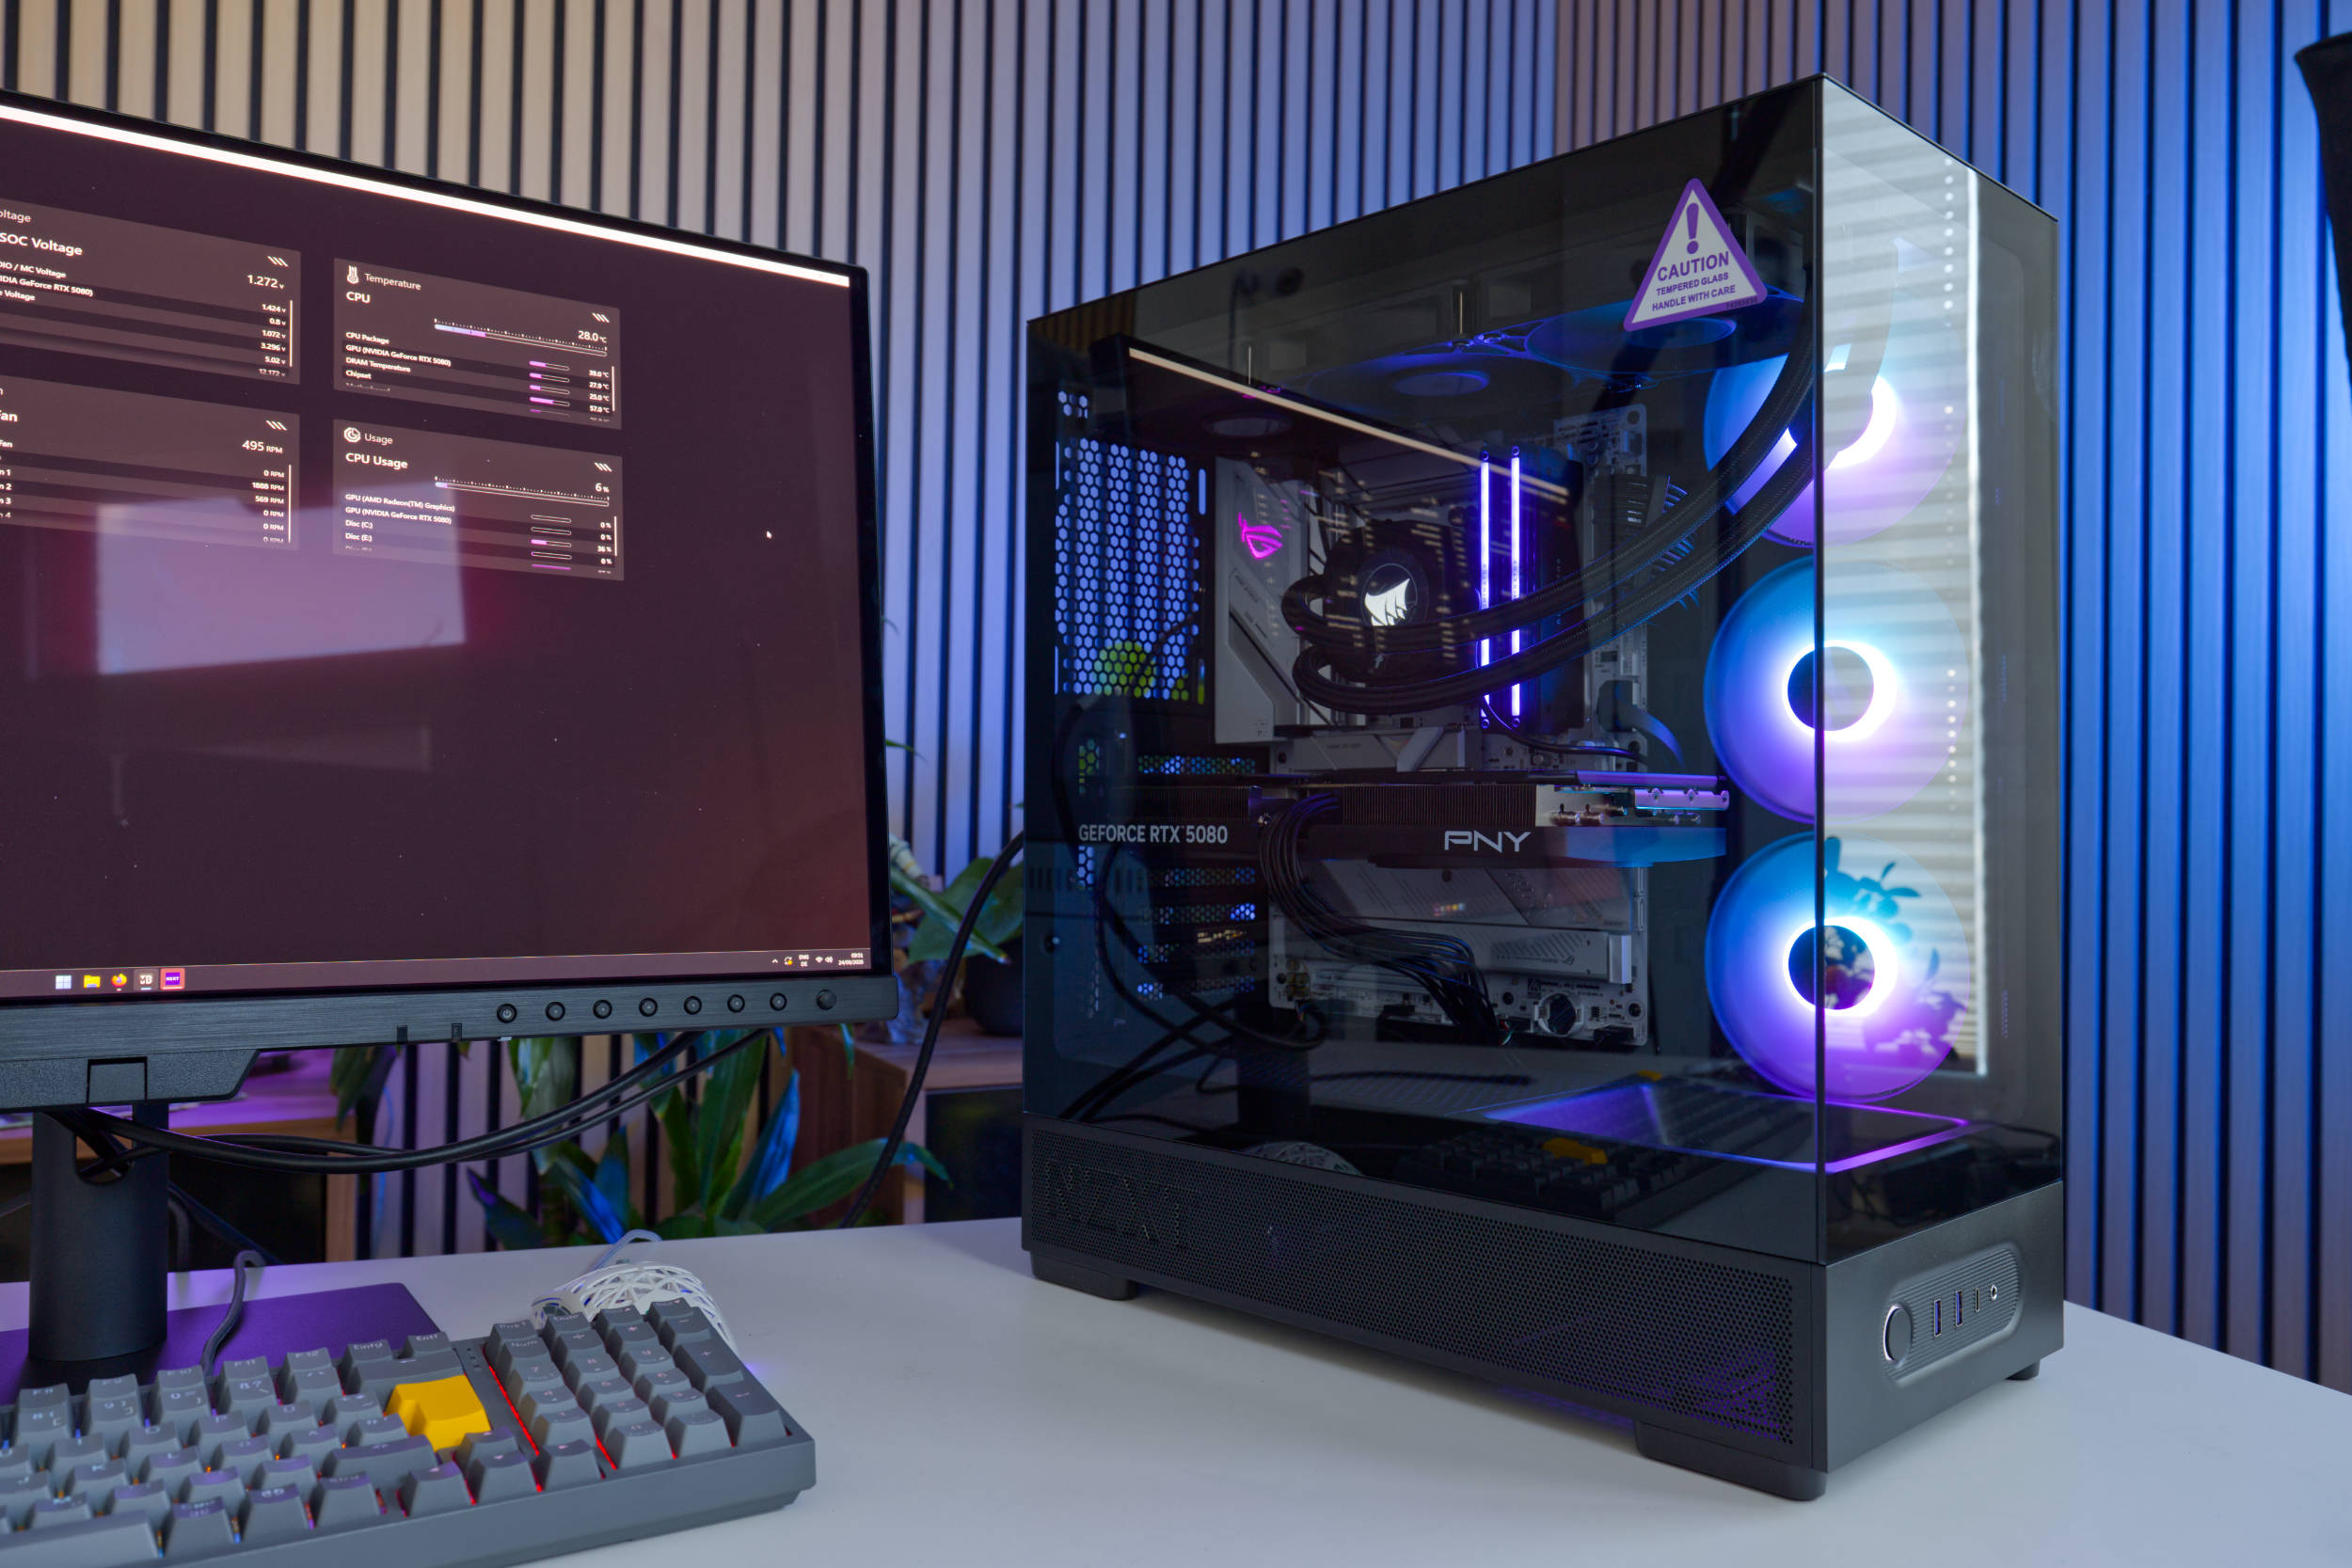 NZXT S5 RGB Conclusion (Image © PCMasters.de)
Conclusion on the NZXT S5 RGB
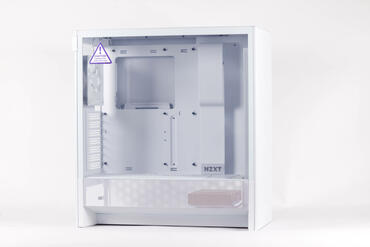
The S5 RGB is NZXT’s first case to hit the market for under 100 €, and at 59 €, it’s well below that price point. At this price, however, you’ll clearly have to make some compromises and won’t get everything you’re used to from NZXT cases. The material is thinner, there’s no CAM Hub, the extensive cable management options are missing, and you only get five cable ties. At first glance, this might seem like a real letdown, but in reality, the case is actually quite well-positioned for the price.
You get a "fish tank" case with two tempered glass panels for a clear view inside, plus a factory-installed 360mm Single-Frame Reverse-Blade fan that can also operate quietly, as it can be controlled via a PWM signal between 1,500 and 200 RPM. It’s actually quite usable even below 1,000 RPM.
Installing the components goes smoothly, except for mounting the radiator. Even though NZXT lists 280mm radiators as compatible, their own NZXT Kraken PLUS 280 doesn’t fit in the case because it collides with the motherboard.
At [a price of €59][5], it’s still a solid case worth keeping in mind for budget builds.
Pros
- Acceptable build quality (for the price)
- A 360mm single-frame fan on the front with ARGB lighting
- Compatible with mini-ITX through ATX motherboards
- Fish tank design
- Supports large CPU coolers, graphics cards, and power supplies
- Very competitive price
Cons
- The I/O panel could be more extensive
- Fans are very loud at full speed
- 20-mm cable routing space at the rear
- Only 5 cable ties included and poor cable management options
- 280mm radiators interfere with motherboards