
 Computer Forum
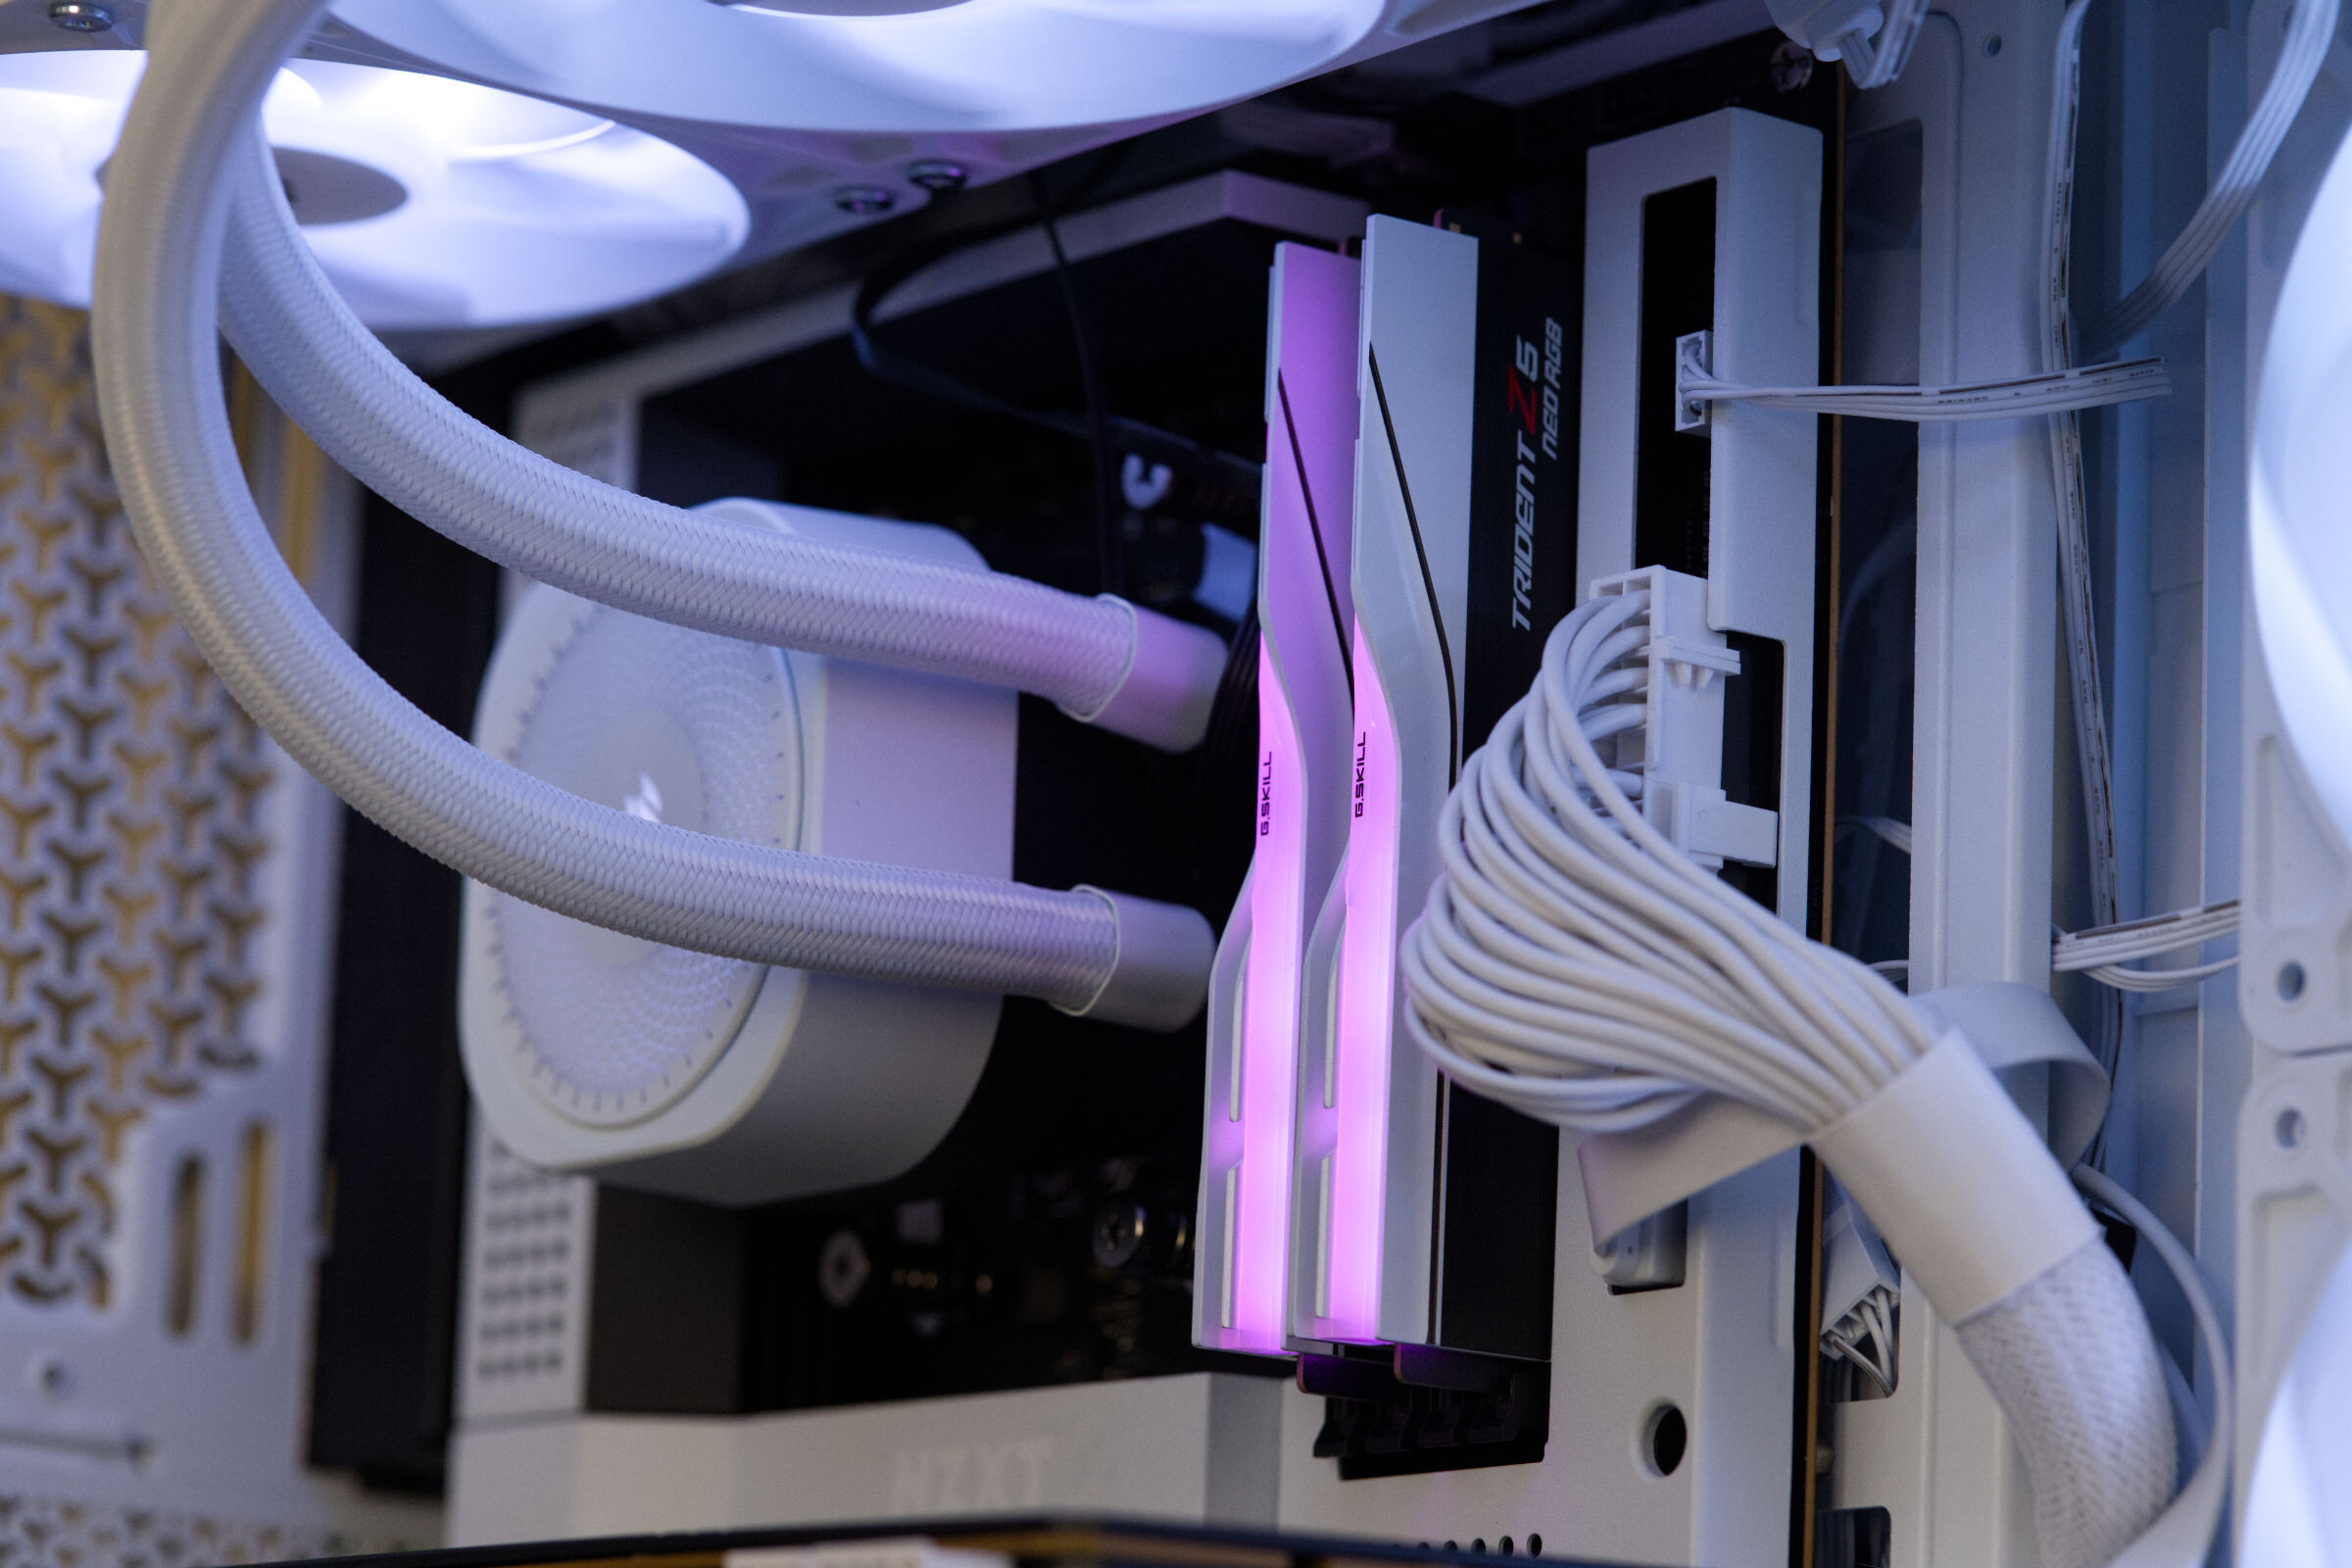 G Skill Trident Z5 NEO RGB 32 GB Kit DDR5 6000 CL26 Test (Image © PCMasters.de)
Recognize signs of a memory failure
Hardware failures in RAM rarely occur in isolation. Users usually notice a pattern of instability before a total failure occurs. Common signs include frequent system crashes, the appearance of blue screens and applications that freeze or close without warning. In some cases, memory errors can lead to visual anomalies or distorted graphics on the screen. If a computer won't boot up at all, RAM is often the culprit.
Preparing the system for the test
Before you carry out a hardware diagnosis, you must rule out instabilities at the software level. To do this, you must first ensure that the BIOS, operating system and chipset drivers are completely up to date. Outdated firmware can lead to compatibility issues that act like a hardware failure.
Another important step is to remove overclocking settings. Increasing RAM or CPU speeds beyond factory specifications often leads to instability. To reset the system to an initial state, the CMOS must be cleared. This is done by turning off the system, disconnecting the power supply and removing the coin cell battery from the motherboard for five to ten minutes. Some motherboards have a special reset button or jumper for this purpose.
Perform memory test and memory diagnostics
Once the system is stabilized and configured according to the motherboard manual, the software tests can be started.
For Windows users, the integrated Windows memory diagnostics tool offers an initial check. If you search for the tool in the system menu and select the option to reboot and check for problems, the operating system can perform a basic scan during the boot process. However, this tool is not always comprehensive.
For a more thorough analysis, MemTest86 is the industry standard. This tool works independently of the operating system, allowing it to test the memory without interference from the operating system. To do this, you need to create a bootable USB stick and change the boot order in the BIOS. As it performs in-depth read and write operations across the entire memory capacity, the process can take several hours.
Isolate memory errors
If software tests indicate errors, the next step is to determine which specific module is defective. In systems with multiple RAM bars, it does not make sense to test them as a group.
To do this, you must switch off the computer and remove all but one module. Each bar is then tested individually using the diagnostic tools mentioned above. If a particular module triggers an error, it is considered defective. If all modules pass the test individually, but show an error together, the problem may be due to the slots on the motherboard or a compatibility conflict between the bars.
Technical documentation
The final phase of the diagnostic process is documentation. With advanced tools such as MemTest86 you can save the results as an HTML file. This file serves as technical proof of the fault, which is essential when contacting support or arranging a hardware replacement. Using these logs, technicians can quickly check the nature of the fault and suggest the correct replacement hardware.