
 Computer Forum
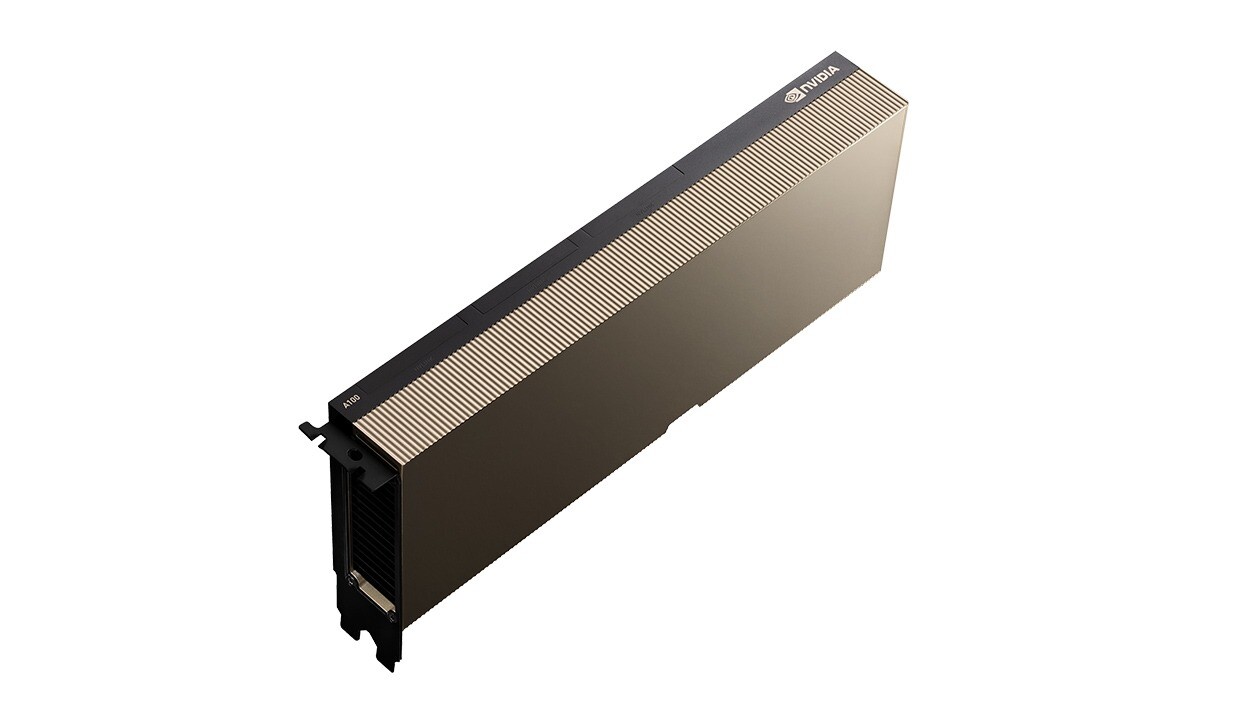 nvidia A100 (Image © NVIDIA)
This setup requires Ubuntu 22.04 LTS or Ubuntu 24.04 LTS, as well as the “NVIDIA Open GPU Kernel Modules” driver package from the 580.x branch. Due to the high heat output of the unlocked hardware and the passive cooling provided by the heatsinks, active cooling—specifically fans running at more than 4,000 RPM in a 4U rack enclosure—is required to prevent thermal shutdown.
The unlock process begins with a system check to confirm the presence of device IDs 10de:20c2 or 10de:20b0 on the PCIe bus. Here is the command to run the check:
lspci -nn | grep -i nvidia
Important: Dependencies, including Python 3, the PyYAML parser, and the “build-essential” tools, must be installed.
sudo apt update && sudo apt install -y build-essential python3 python3-pip python3-yaml git pciutils wget
Next, install the “nvidia-driver-580-open” and “nvidia-utils-580” packages via the “graphics-drivers” PPA and mark them as “hold” to prevent automatic updates from overwriting the modified kernel modules.
sudo add-apt-repository ppa:graphics-drivers/ppa -y sudo apt update sudo apt install -y nvidia-driver-580-open nvidia-utils-580
Automatic updates that corrupt the kernel modules:
sudo apt-mark hold nvidia-driver-580-open
A crucial step in this process is backing up the original GSP (GPU System Processor) firmware file, “gsp_tu10x.bin,” before making any changes. Next, the CMPUnlocker tool is cloned from its repository, and a specific memory profile is selected based on the physical hardware revision—typically the 8-GB profile for cards intended to reach 64 GB of VRAM.
Check if GSP firmware is present:
ls -la /lib/firmware/nvidia/580.*/gsp_tu10x.bin
Unlike standard software updates, this modification requires a strict cold boot cycle to reset the WPR2 register and clear the state of the SEC2 capacitor. To do this, the system must be powered off and all power cables disconnected for at least 60 seconds to ensure that all standby voltage is discharged from the capacitors on the motherboard and the GPU.
Determine the exact path to the driver directory:
GSP_DIR=$(dirname$(ls /lib/firmware/nvidia/580.*/gsp_tu10x.bin | head -n1))
Then we create the backup:
sudo cp “${GSP_DIR}/gsp_tu10x.bin” “${GSP_DIR}/gsp_tu10x.bin.stock”
echo “Backup saved to ${GSP_DIR}/gsp_tu10x.bin.stock”
When the system reboots, the installation script runs to apply the patches. Since register changes are volatile and do not survive a power cycle, a systemd daemon is activated to monitor the registers and automatically reapply the patch during boot or when drivers are reloaded.
A final check is performed using nvidia-smi to confirm the updated VRAM display (e.g., 65,536 MiB) and the removal of SM clock frequency limitations. Additionally, a CUDA initialization test is run via a Python script to ensure full computational throughput.
Clone the local repository:
cd /opt
sudo git clone [https://github.com/amoghmunikote/cmpunlocker.git](https://github.com/amoghmunikote/cmpunlocker.git)
cd cmpunlocker
Check profile settings:
sudo ./install.sh --profile=8gb
For the rarer 10-GB models, it may be possible to unlock 40 GB or even 80 GB, but this requires different parameters:
sudo ./install.sh --profile=10gb)
If the system still only shows 8 GB of VRAM, the issue is usually due to a skipped cold boot or a faulty GSP patch. Thermal throttling or PCIe bus failures indicate insufficient airflow. If kernel crashes occur under heavy workloads with large language models (LLMs), this may indicate a silicon defect in the HBM2e stack, requiring the user to reduce the VRAM allocation to 32 GB or 40 GB via the configuration files.
Next, start CMPUnlocker as a background service and ensure that the patch is automatically loaded along with the driver when the system starts:
cd /opt/cmpunlocker
We must perform the installation as root:
sudo ./install.sh
Check the status of the systemd service:
sudo systemctl status cmpunlocker.service
Let’s take a look at the logs to verify the patch’s effect:
journalctl -u cmpunlocker -f -n 20
Finally, let’s verify that the memory and processing units are available by running nvidia-smi and performing a quick CUDA test:
nvidia-smi --query-gpu=name,memory.total,clocks.max.sm --format=csv
We should see a matching GPU with approximately 65,536 MB of VRAM and about 1,410 MHz here.
Frequently Asked Questions (FAQ)
What is the main purpose of using CMPUnlocker on the CMP 170HX?
The tool is designed to bypass factory-set restrictions that disable certain streaming multiprocessors and limit the available HBM2e memory. This allows the user to restore the GPU’s full computational potential and expand the VRAM capacity—often from 8 GB up to 64 GB.
Why are a cold boot and disconnecting the power supply absolutely necessary?
A normal reboot is not sufficient, as the WPR2 register and SEC2 capacitors must be fully discharged for the unlock patches to take effect. Disconnecting the power supply for 60 seconds ensures that the hardware is reset to a state where the registers can be overwritten.
What specific drivers are required for this process to work?
The process relies on the NVIDIA Open GPU Kernel Modules, specifically the 580.x driver branch. This is because the unlocker depends on specific register overwrites within the GSP firmware, which is loaded by these open-source drivers.
What thermal risks are associated with this modification?
Since the process restores disabled hardware components, the GPU generates significantly more heat. Passive cooling is insufficient; high-static-pressure fans (4,000+ RPM) are required to prevent the card from triggering a thermal shutdown.
What should you do if the system crashes under heavy AI load after unlocking?
Crashes under heavy load often indicate a hardware failure in one of the newly enabled memory stacks. In such cases, the user should adjust the “constants.yaml” file or run the installation script with a lower profile (e.g., 40 GB) to limit the VRAM to a more stable capacity.
How can you verify that the unlock was successful?
Success can be verified using the “nvidia-smi” command, which should display the total size of the expanded memory (e.g., 65,536 MiB) and the maximum SM clock frequency. Additionally, a CUDA initialization script can confirm that the GPU is functioning properly.