
 Computer Forum
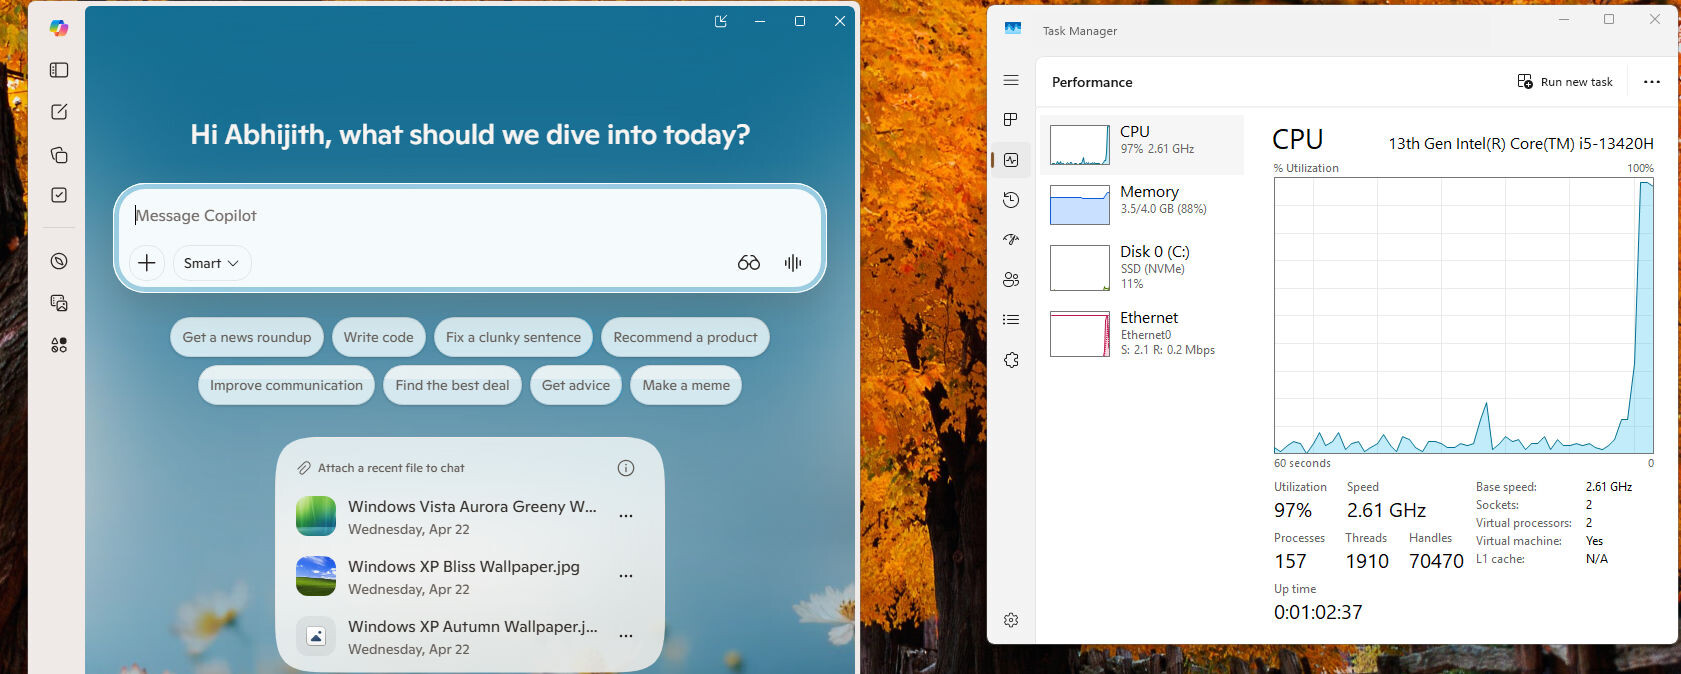 Win 11 Low Latency Profile LLP (Image © Windowslatest)
Check the system requirements
Before attempting to enable the feature, you must ensure that your system is running the required build version. You can check this by navigating to “Settings > System > About”. The Low Latency Profile is available for systems running build versions 26200.8524, 26100.8524 or a later version.
Step-by-step instructions for activation
To bypass the step-by-step introduction and activate the CPU boost immediately, follow the technical steps below:
- download ViveTool: Go to the official ViveTool GitHub repository and download the latest ZIP version.
- extract files: Extract the contents of the ZIP file into a separate directory, e.g. C:\ViveTool.
- start command prompt: Open the start menu, search for “cmd”, right-click on the “Command Prompt” application and select “Run as administrator”.
- navigate to the directory: Use the command cd C:\ViveTool (or the path where the files were extracted to) and press Enter.
- execute command: Enter the following command and press Enter: vivetool /enable /id:58989092.
- restart the system: Restart the computer to apply the changes to the operating system.
Reset and check
If a user wants to disable the function, the same operation can be performed by using the /disable command instead of /enable. Note that once Microsoft has switched the feature to a default setting for all users, it will no longer be possible to switch it manually via ViveTool.
Since Windows 11 does not provide a visual toggle or setting in the user interface to indicate whether the low-latency profile is active, verification must be done by observing performance. Users should monitor the load times of the Action Center, Start menu and system search function to determine if the response speed has improved from the previous state.