
 Computer Forum
 Fail2ban installiere konfigurieren Schutz gegen Brute Force Angriffe in Ubuntu und Linux (Image © PCMasters.de)
Fail2ban Features
Fail2ban monitors system logs for specific patterns that indicate failed authentication attempts. Once a predefined threshold of failed attempts is reached within a specified time period, the software triggers a blocking action. This is done by updating the system firewall to block all incoming traffic from the identified malicious IP address.
Installation Procedures for Various Distributions
The installation of Fail2ban varies slightly depending on the Linux distribution used.
For Ubuntu and Debian Systems
The package is available via the standard repositories:
apt update
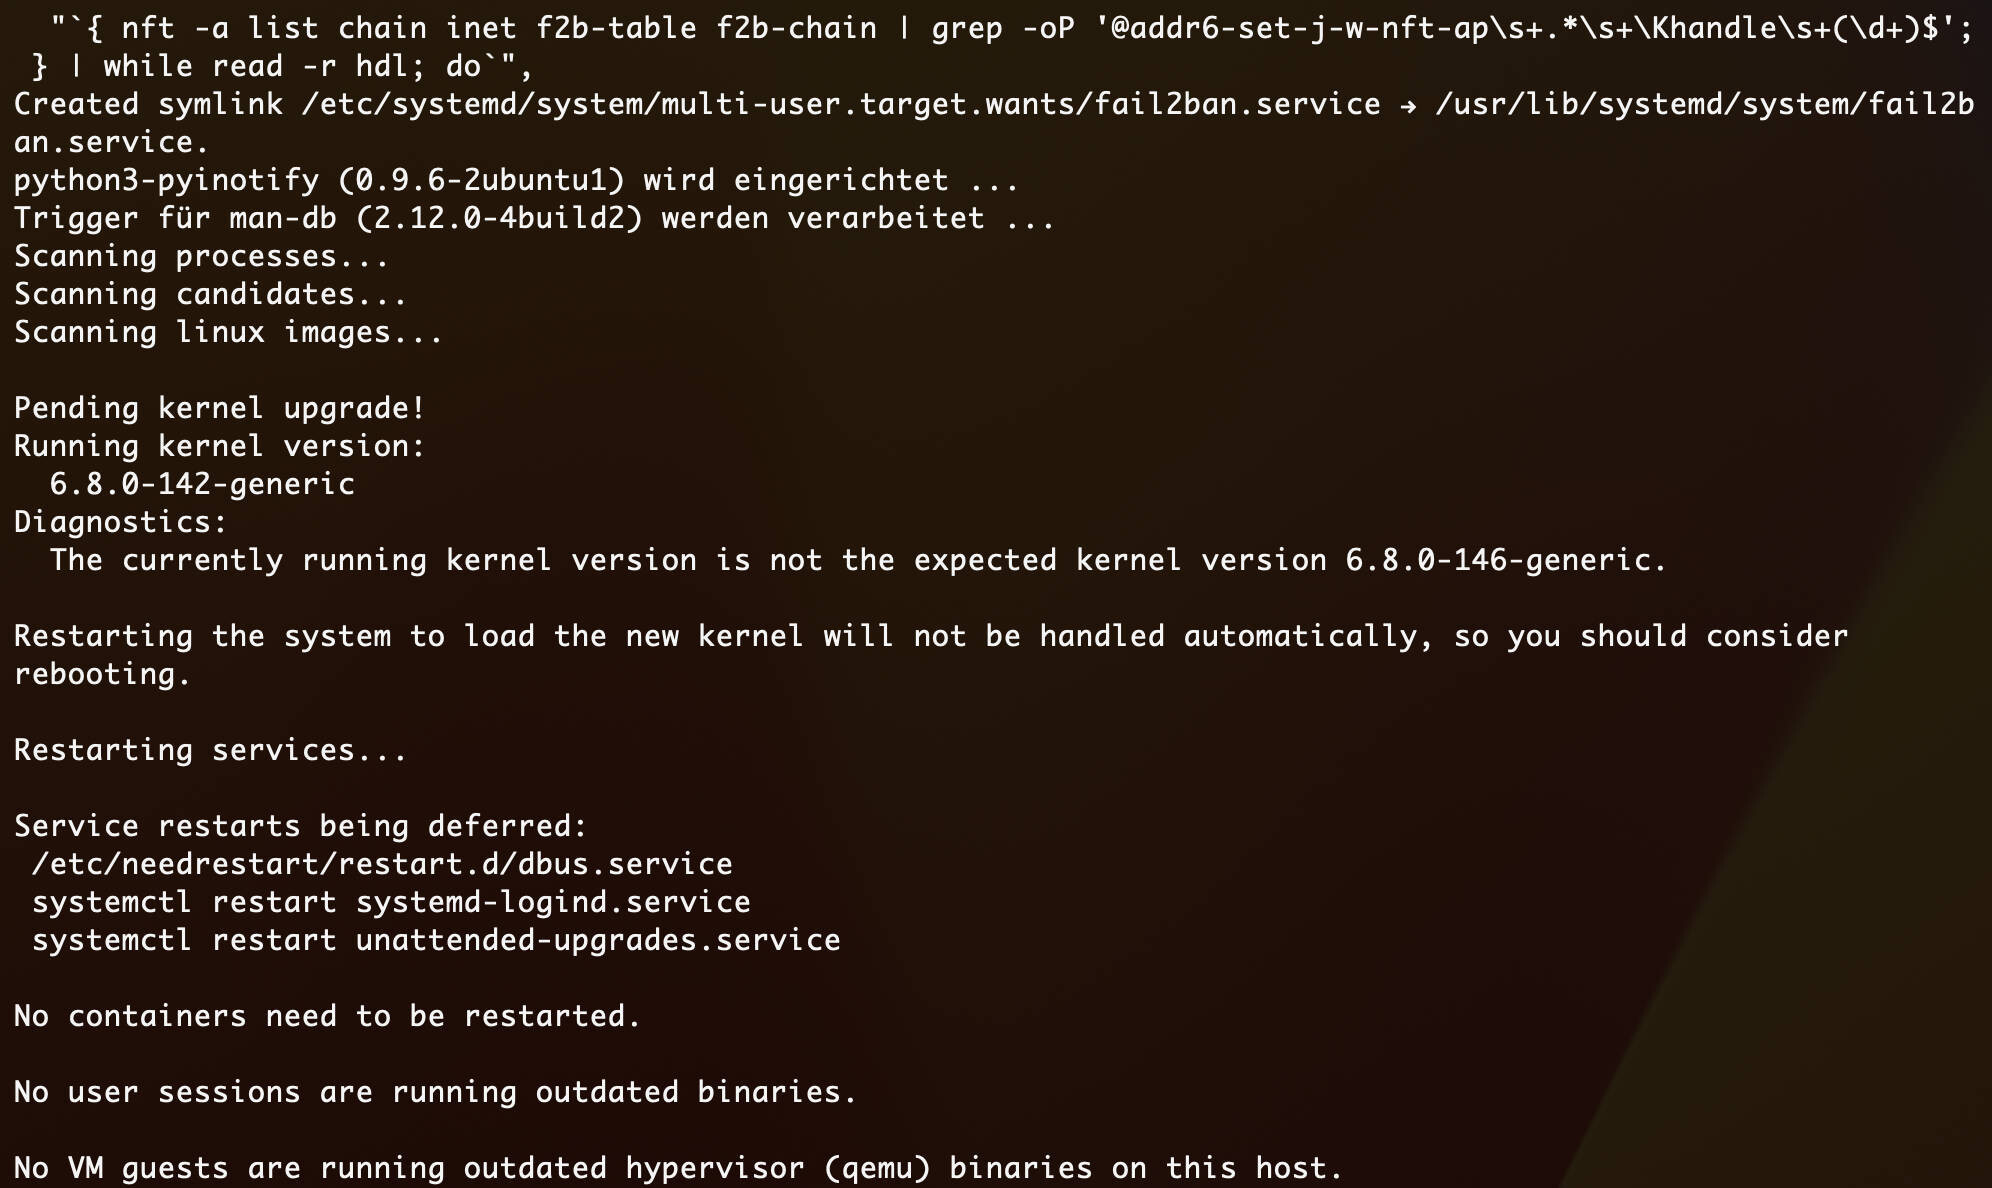
apt install fail2ban
For CentOS, RHEL, and AlmaLinux Systems
The EPEL (Extra Packages for Enterprise Linux) repository must first be installed:
dnf install epel-release
dnf install fail2ban
Enabling the Service
Regardless of the distribution, the service must be configured to start automatically at system boot and to start immediately:
systemctl enable fail2ban
systemctl start fail2ban
Configuring Fail2ban
Fail2ban uses a two-file configuration system to ensure that system updates do not overwrite user-defined customizations. The file /etc/fail2ban/jail.conf contains default settings and should not be modified. Instead, administrators should create and edit a file named /etc/fail2ban/jail.local.
To initialize the local configuration:
cp /etc/fail2ban/jail.conf /etc/fail2ban/jail.local
nano /etc/fail2ban/jail.local
In the [DEFAULT] section, three main variables control the blocking logic:
- bantime: The duration for which an IP address is blocked (e.g., 10m for ten minutes).
- findtime: The time period during which failed login attempts are counted (e.g., 10m).
- maxretry: The number of allowed failed login attempts before the ban is triggered.
Time formats are defined as s (seconds), m (minutes), h (hours), and d (days). Administrators can also configure email notifications by setting destemail, sender, and action to %(action_mwl)s.
Implementing Service-Specific Jails
A jail is a specific set of rules applied to a particular service.
Secure Shell (SSH) Protection
To secure SSH, the [sshd] section must be configured. If the server uses a non-standard port, it must be specified:
[sshd]
enabled = true
port = ssh    filter = sshd
logpath = /var/log/auth.log
maxretry = 3
bantime = 1h
Web Server Protection (Apache and Nginx)
For Apache, administrators can enable apache-auth to secure authentication, as well as apache-badbots to block known malicious crawlers. Similar jails are available for Nginx: nginx-http-auth and nginx-botsearch. Both typically monitor the directories /var/log/apache2/ and /var/log/nginx/, respectively, and target ports 80 (HTTP) and 443 (HTTPS).
Protection for Mail Servers (Postfix and Dovecot)
Mail servers are high-priority targets. The [postfix] jail protects SMTP (ports 25, 465, 587), and the [dovecot] jail protects IMAP/POP3 (ports 110, 143, 993, 995), with both monitoring the file /var/log/mail.log.
Operations Management and Client Commands
The fail2ban-client tool is used for real-time management of the service.
Check Status
To display all active jails:
fail2ban-client status
To view detailed statistics for a specific jail
fail2ban-client status sshd
Manual IP Management
To manually ban an IP address:
fail2ban-client set sshd banip 192.168.1.100
To manually unban an IP:
fail2ban-client set sshd unbanip 192.168.1.100
To lift all bans for a specific jail:
fail2ban-client unban –all
Administrative Security Measures and Whitelisting
To prevent accidental blocking, administrators must define trusted IP addresses in the ignoreip directive within the [DEFAULT] section:
ignoreip = 127.0.0.1/8 ::1 192.168.1.0/24 [THE_STATIC_IP]
Advanced Security Measures: The “Recidive” Jail
For environments facing a high volume of persistent attacks, an aggressive configuration is recommended. This includes increasing the bantime to 24 hours and implementing the recidive jail. The Recidive jail monitors the Fail2ban log itself (/var/log/fail2ban.log) to identify IPs that are repeatedly banned and unbanned, and then applies a long-term ban (e.g., one week) to these repeat offenders.
Monitoring and Troubleshooting
Log Analysis
Real-time monitoring of bans can be performed as follows:
tail -f /var/log/fail2ban.log
grep “Ban” /var/log/fail2ban.log
grep “Unban” /var/log/fail2ban.log
Configuration Check
Before restarting the service, the syntax should be checked:
fail2ban-client -t
systemctl reload fail2ban
Troubleshooting
If a Jail fails to start, administrators should check the system logs:
journalctl -u fail2ban -n 50
Common causes of errors include missing log files, incorrect logpath definitions, or regex patterns in the filter that do not match the current log format. To test whether a filter correctly detects errors, you can use the following command:
fail2ban-regex /var/log/auth.log /etc/fail2ban/filter.d/sshd.conf