
 Computer Forum
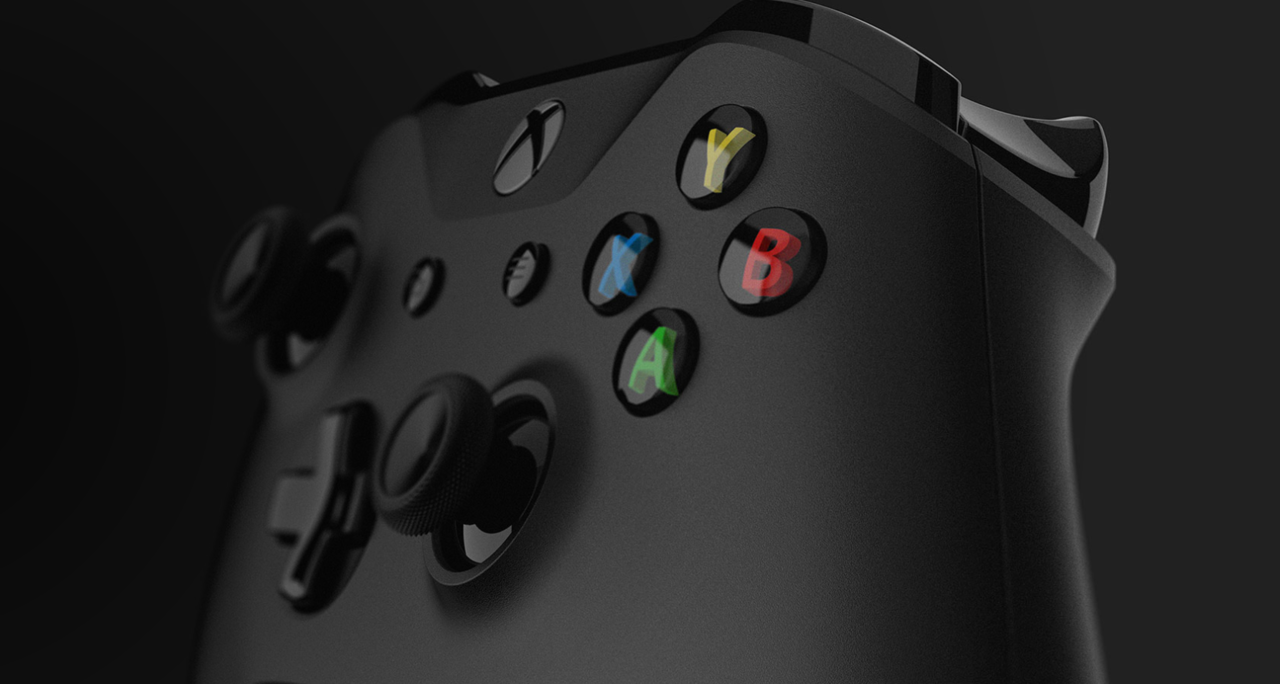 Xbox One X Controller (Image © Microsoft)
All reasonably recent Xbox controllers are compatible with all current versions of Windows. Depending on your preference, you can continue to use the older Xbox One controller on your PC even though you retired your console long ago, or use the latest Xbox Wireless Controller (Series X/S) with the somewhat outdated Windows 7.
In this tutorial, you’ll find the appropriate instructions:
Xbox Wireless Controller on a PC running Windows 11 or Windows 10
Many gaming fans consider a modern gaming PC running Windows and a current Xbox Wireless Controller for the Xbox Series X or Series S to be the ideal setup for many games. Microsoft ensures that you can use this setup. To use your latest Xbox Wireless Controller on your PC, all you need to do is connect it to your PC; Microsoft has made sure the driver is available without any issues.
Xbox Wireless Controller on a PC: Step-by-Step Guide (with USB Cable)
- Have your controller and a USB-C cable ready.
- Connect your controller to your PC using the cable.
- Your controller will now vibrate briefly and turn on. If that doesn’t happen, try a different cable (not all cables support data transfer; inexpensive cables are often only suitable for charging batteries).
- Windows will now set everything up automatically. As soon as the Xbox logo stays lit, your controller is ready to play.
Xbox Wireless Controller on a PC: Step-by-Step Guide (Wireless)
If your PC has Bluetooth or you have a Microsoft wireless adapter, you can use your controller wirelessly:
- Turn on the controller by pressing the Xbox button.
- Hold down the controller’s pairing button for about three seconds (the button is located above the USB port).
- The Xbox logo on the controller will start flashing rapidly.
- Now open your PC’s Bluetooth settings and search for a new device.
- Click the option to connect.
Xbox Wireless Controller on a PC with Windows 7
To use your Xbox Wireless Controller on a PC running Windows 7, you can generally follow the same steps as for the older Xbox One Controller: First, connect the controller to the PC, then give Windows a few seconds to install and set up the driver.
Xbox Wireless Controller with Windows 7 – Step by Step:
- Have the controller and a compatible USB-C cable ready.
- Plug the cable into the PC and the controller.
- Windows 7 will now begin searching for, downloading, and installing the necessary driver via Windows Update.
- Wait a few seconds and, if Windows prompts you to do so, restart your computer.
Xbox One Controller on a PC with Windows 11 or Windows 10
Your Xbox One controller is supported by all common versions of Windows—Microsoft includes the necessary drivers in Windows 11 and Windows 10 right out of the box, so you don’t need to install anything. Simply connect your controller to a USB port on your PC using a cable and wait a moment: Windows will configure the driver, and in just a few moments you’ll be able to play your PC games with your Xbox One controller.
Here’s the correct step-by-step procedure again:
- Have your Xbox One controller ready.
-
Have a micro-USB cable ready.
- Connect the controller to a USB port on your PC using the cable.
- Wait a moment while the necessary driver is automatically installed.
- If Windows suggests restarting your PC, go ahead and restart it.
Xbox One Controller on a PC Running Windows 7
Your Xbox One controller is also compatible with Windows 7, regardless of whether you’re using the 32-bit or 64-bit version of the operating system. Unlike with Windows 11 and Windows 10, the driver isn’t preinstalled in Windows 7. Windows 7 will download and install the driver via Windows Update as needed. The process for setting up your Xbox One controller on Windows 7 is very simple: Plug in the controller, wait a few moments for Windows to complete all the necessary steps, and you’re ready to start gaming.
Xbox One Controller with Windows 7 – Step by Step:
- Have your controller and a micro-USB cable ready.
- Connect the controller to a USB port on your PC using the cable.
- Windows 7 will now automatically download and install the driver via Windows Update. Let the installation run its course and, if Windows prompts you to do so, restart your computer.
If the automatic installation doesn’t work, you can open Windows Update and check for updates. Under “Optional Updates,” you can then select the Windows 7 driver for the Xbox One controller and start the installation manually. If Windows suggests a restart: Do so.