
 Computer Forum
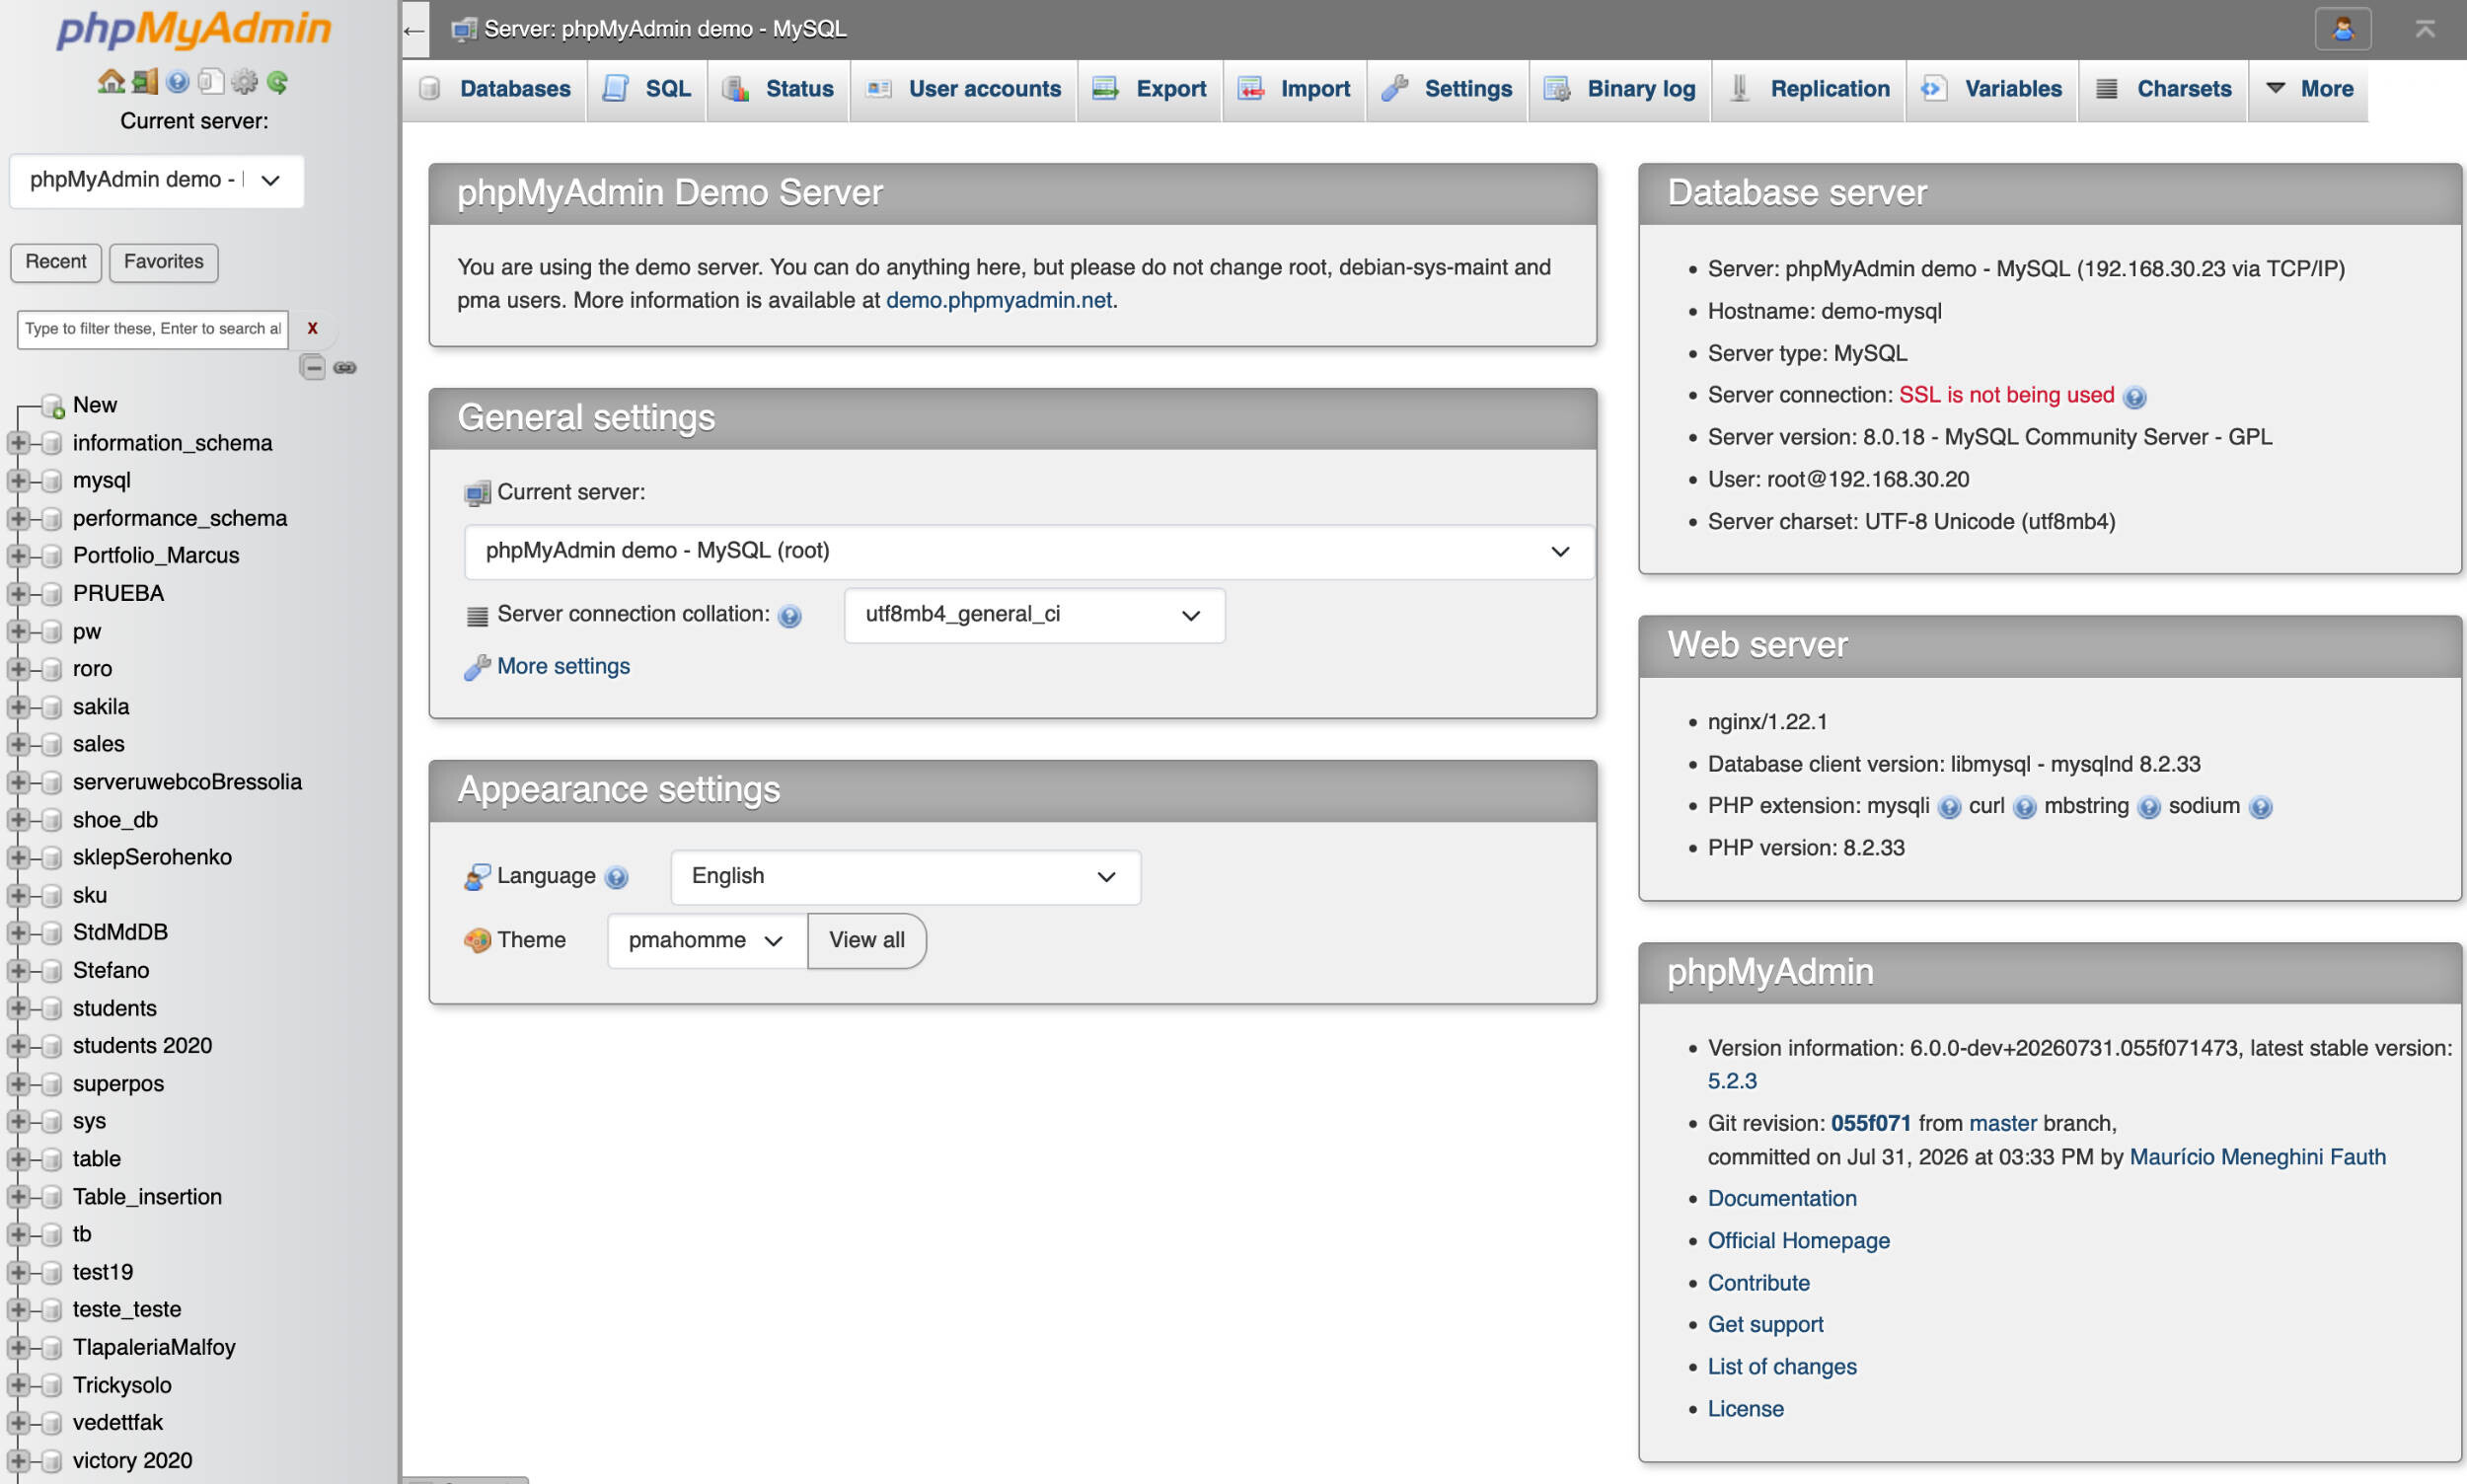 phpMyAdmin installieren und absichern (Image © PCMasters.de)
System Requirements
Before proceeding with the installation, the server must meet the following technical requirements:
- Web server: A working installation of Apache or Nginx.
- PHP: Version 7.4 or higher; version 8.x is recommended for better performance and security.
- Database engine: An active instance of MySQL or MariaDB.
Installing phpMyAdmin on Ubuntu and Debian Systems
Automatic Installation via APT
For users on Debian-based systems, the software can be installed using the Advanced Package Tool (apt).
1. Update and install:
apt update
apt install phpmyadmin
2. Configuration Steps:
During the installation process, the system prompts the user to:
- Select the web server (choose apache2 for automatic configuration or select Nginx manually).
- Confirm the use of dbconfig-common to configure the database for phpMyAdmin.
- Set a password for the internal phpMyAdmin user.
If Apache was selected, the interface is immediately accessible via http://serverip/phpmyadmin.
Manual Installation for Nginx Environments
Nginx requires manual setup because it does not automatically configure the phpMyAdmin directory.
1. Install PHP-FPM and dependencies:
apt install php-fpm php-mysql php-mbstring php-zip php-gd
2. Download and extract the source code:
cd /usr/share
wget https://files.phpmyadmin.net/phpMyAdmin/5.2.3/phpMyAdmin-5.2.3-all-languages.zip
tar -xzf phpMyAdmin-5.2.3-all-languages.tar.gz
mv phpMyAdmin-5.2.3-all-languages phpmyadmin
rm phpMyAdmin-5.2.3-all-languages.tar.gz
3. Configure the application:
Copy the sample configuration file:
cp /usr/share/phpmyadmin/config.sample.inc.php /usr/share/phpmyadmin/config.inc.php
Generate a 32-character Blowfish secret using OpenSSL:
openssl rand -base64 32
Paste this string into the file /usr/share/phpmyadmin/config.inc.php:
...
$cfg[‘blowfish_secret’] = ‘SECURE_32_CHAR_SECRET’;    ...
4. Set up a temporary directory:
mkdir /usr/share/phpmyadmin/tmp
chown www-data:www-data /usr/share/phpmyadmin/tmp
chmod 755 /usr/share/phpmyadmin/tmp
5. Nginx server block configuration:
Add the following configuration to the Nginx site settings:
server {
    listen 80;
    server_name pa.yourdomain.de;

    root /usr/share/phpmyadmin;
    index index.php;

    location / {
        try_files $uri $uri/ /index.php?$args;
    }
    location ~ \.php$ {
        fastcgi_pass unix:/run/php/php8.5-fpm.sock; # or another version of PHP FPM
        fastcgi_param SCRIPT_FILENAME $document_root$fastcgi_script_name;
        include fastcgi_params;
    }
location ~ /\.ht {
    deny all;
}
}
Apply changes:
nginx -t
systemctl reload nginx
Initial Authentication and Access
The application is accessed via a browser at http://serverip/phpmyadmin. Users must authenticate using existing MySQL/MariaDB credentials. Although the root user can be used, it poses a security risk.
Creating a Dedicated Administrator User
It is recommended to create a separate user for database administration:
CREATE USER ‘pma_admin’@'localhost' IDENTIFIED BY ‘secure_password’;
GRANT ALL PRIVILEGES ON *.* TO ‘pma_admin’@'localhost' WITH GRANT OPTION;
FLUSH PRIVILEGES;
Security Hardening Measures
Since phpMyAdmin is a particularly attractive target for attackers, the following security measures are recommended:
1. Encryption via HTTPS
Secure the connection with Let’s Encrypt:
certbot --nginx -d pa.yourdomain.de
2. IP-based access control Restrict access to specific known IP addresses.
For Nginx:
location / {
    allow 192.168.1.0/24;
    allow 72.100.11.50; # your public IP
    deny all;
    try_files $uri $uri/ /index.php?$args;
}
For Apache (.htaccess):
Require ip 192.168.1.0/24
Require ip 72.100.11.50
3. Secondary Authentication
Implement Basic authentication using a password file:
htpasswd -c /etc/nginx/.htpasswd pma_admin
Update the Nginx configuration:
location / {
    auth_basic “phpMyAdmin”;
    auth_basic_user_file /etc/nginx/.htpasswd;
    try_files $uri $uri/ /index.php?$args;
}
4. URL Obfuscation
Change the default access path to prevent automated bot scanning:
ln -s /usr/share/phpmyadmin /var/www/html/custom-db-path
5. Disable Root Access
Prevent the root user from logging into the web interface by editing config.inc.php:
$cfg[‘Servers’][$i][‘AllowRoot’] = false;
Advanced Configuration and Enabling Features
To enable advanced features such as the SQL history, bookmarks, and the Designer view, the configuration storage must be initialized.
1. Import the SQL schema:
mysql -u root -p < /usr/share/phpmyadmin/sql/create_tables.sql
2. Update config.inc.php:
Define the control user and storage tables:
$cfg[‘Servers’][$i][‘controluser’] = ‘pma’;
$cfg[‘Servers’][$i][‘controlpass’] = ‘password’;
$cfg[‘Servers’][$i][‘pmadb’] = ‘phpmyadmin’;
$cfg[‘Servers’][$i][‘bookmarktable’] = ‘pma__bookmark’;
$cfg[‘Servers’][$i][‘relation’] = ‘pma__relation’;
$cfg[‘Servers’][$i][‘table_info’] = ‘pma__table_info’;
$cfg[‘Servers’][$i][‘history’] = ‘pma__history’;
Software Maintenance and Updates
APT-Based Updates
apt update
apt upgrade phpmyadmin
Manual Update Process
-
Create a backup copy of the existing
config.inc.php. -
Download the latest version from the official source.
-
Replace the application folder.
-
Restore the
config.inc.phpfile and set the ownership permissions:chown -R www-data:www-data phpmyadmin